

Click the images throughout the Knowledge Base to see full size versions of screen captures.

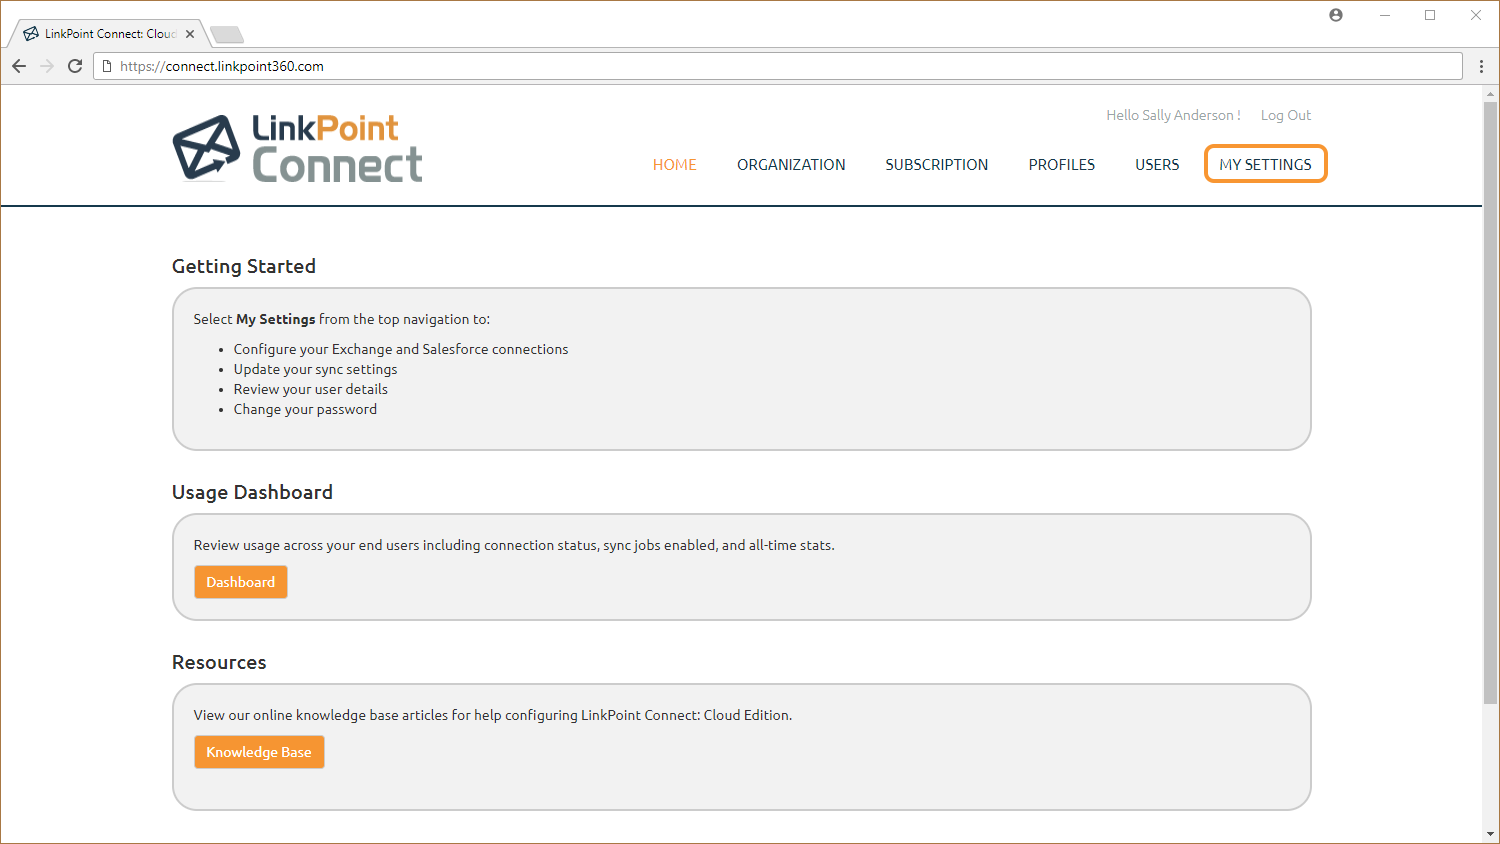
Tip: Cloud Edition Admins have the ability to set default sync settings and/or lock down these settings to prevent end user override. Your instance of Cloud Edition may not allow you to change any/all of the settings described in this section, depending on how your Admin has configured your access. Settings that are preset and locked by an Admin are visible to end users but are grayed out and cannot be edited.
Configuring Email Sync Jobs


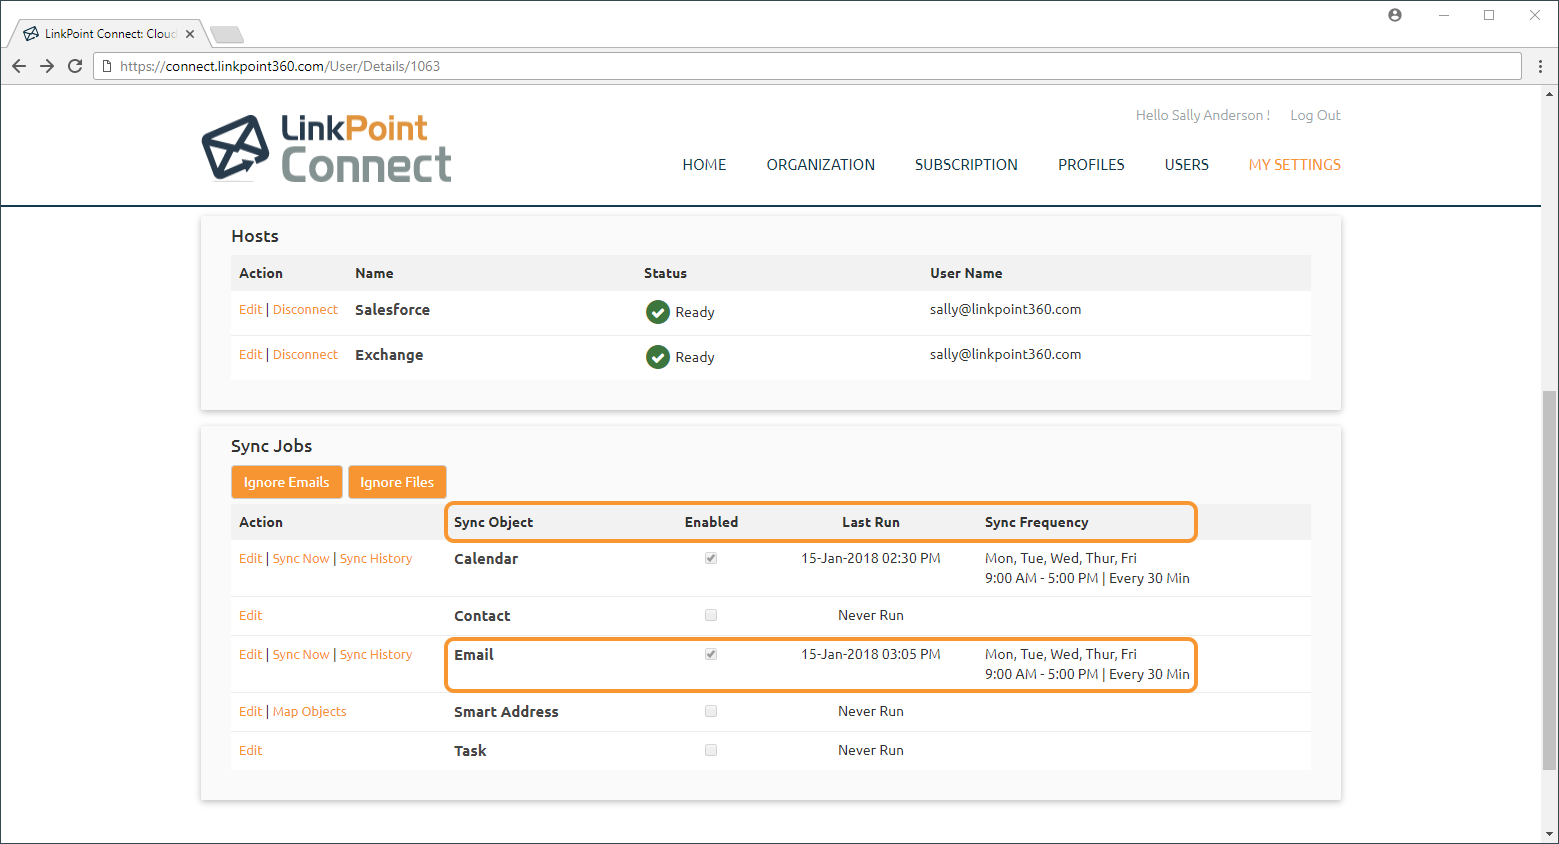
Locate the Sync Jobs section and note the information displayed for the Email Sync Object. At a glance, users can see whether the Email Sync is Enabled, when the sync was Last Run, and the configured Sync Frequency.
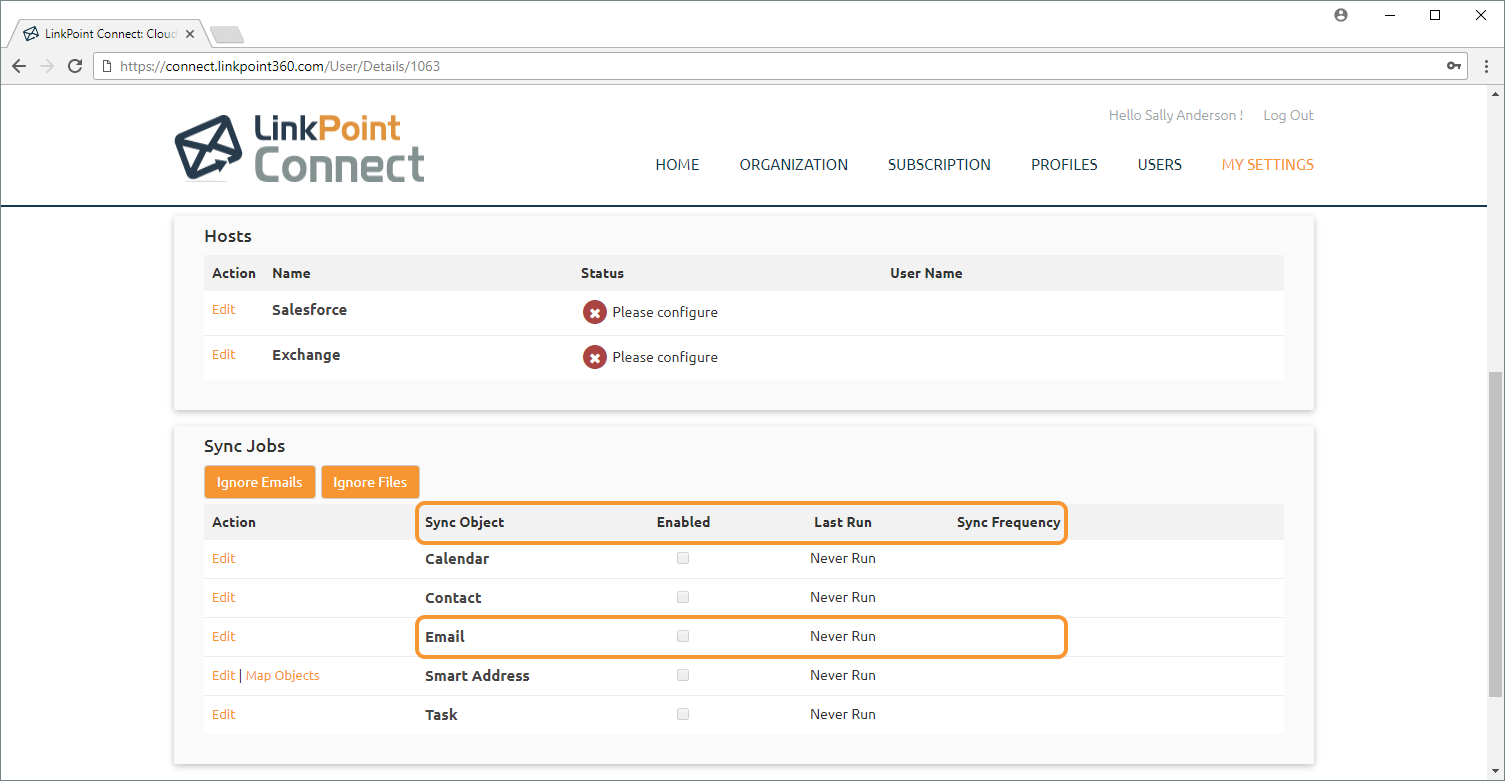
Tip: The first time you set up your Email Sync, the Enabled checkbox will be deselected, the Last Run date and time will be listed as Never Run, and the Sync Frequency will be blank.

Select the Edit link for the Email Sync Object to view the available sync options.
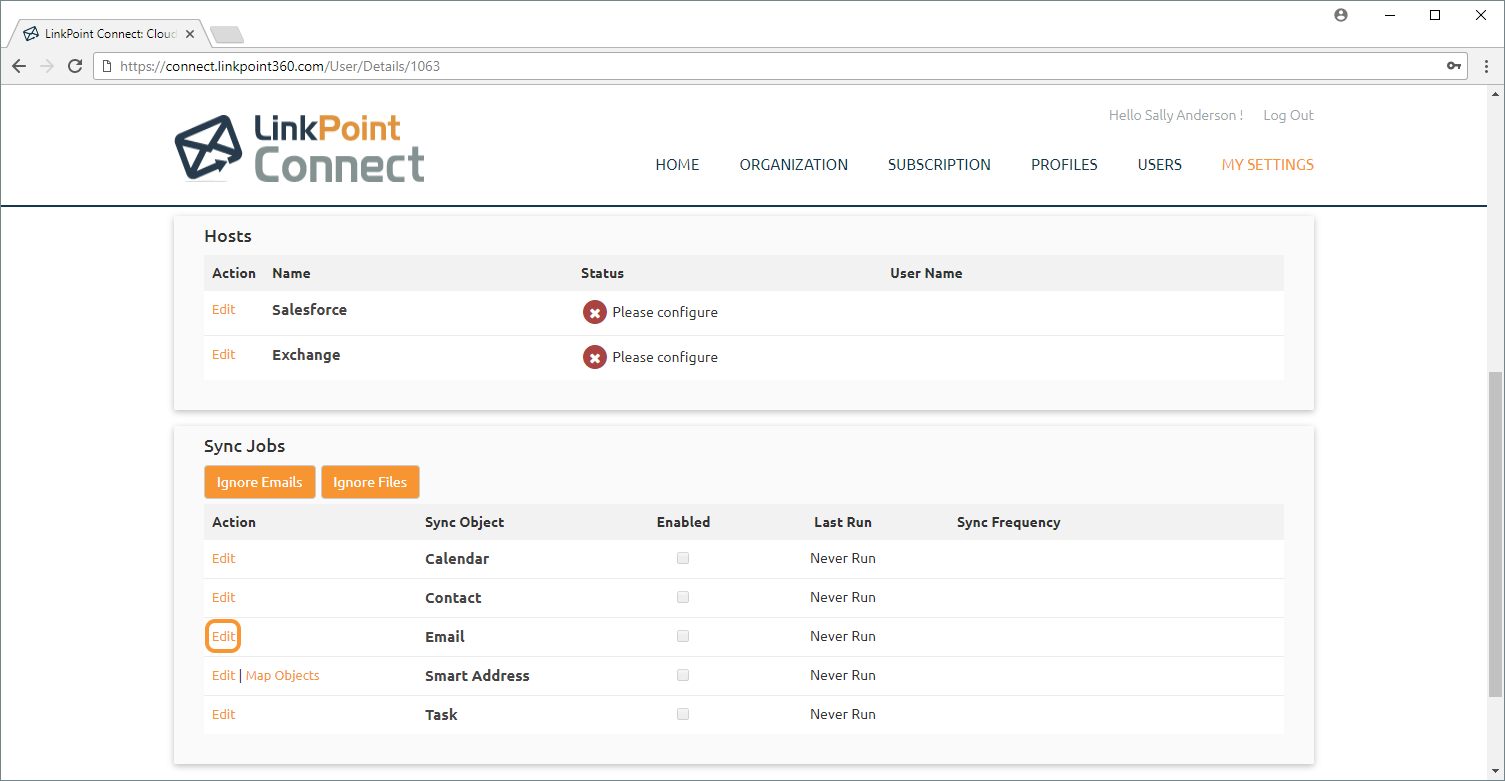
Tip: To review the sync settings without making changes, you can select Email to open the Email Sync Settings window. This will show all of the settings as read only. You can click the Edit button to make changes to the settings if needed.

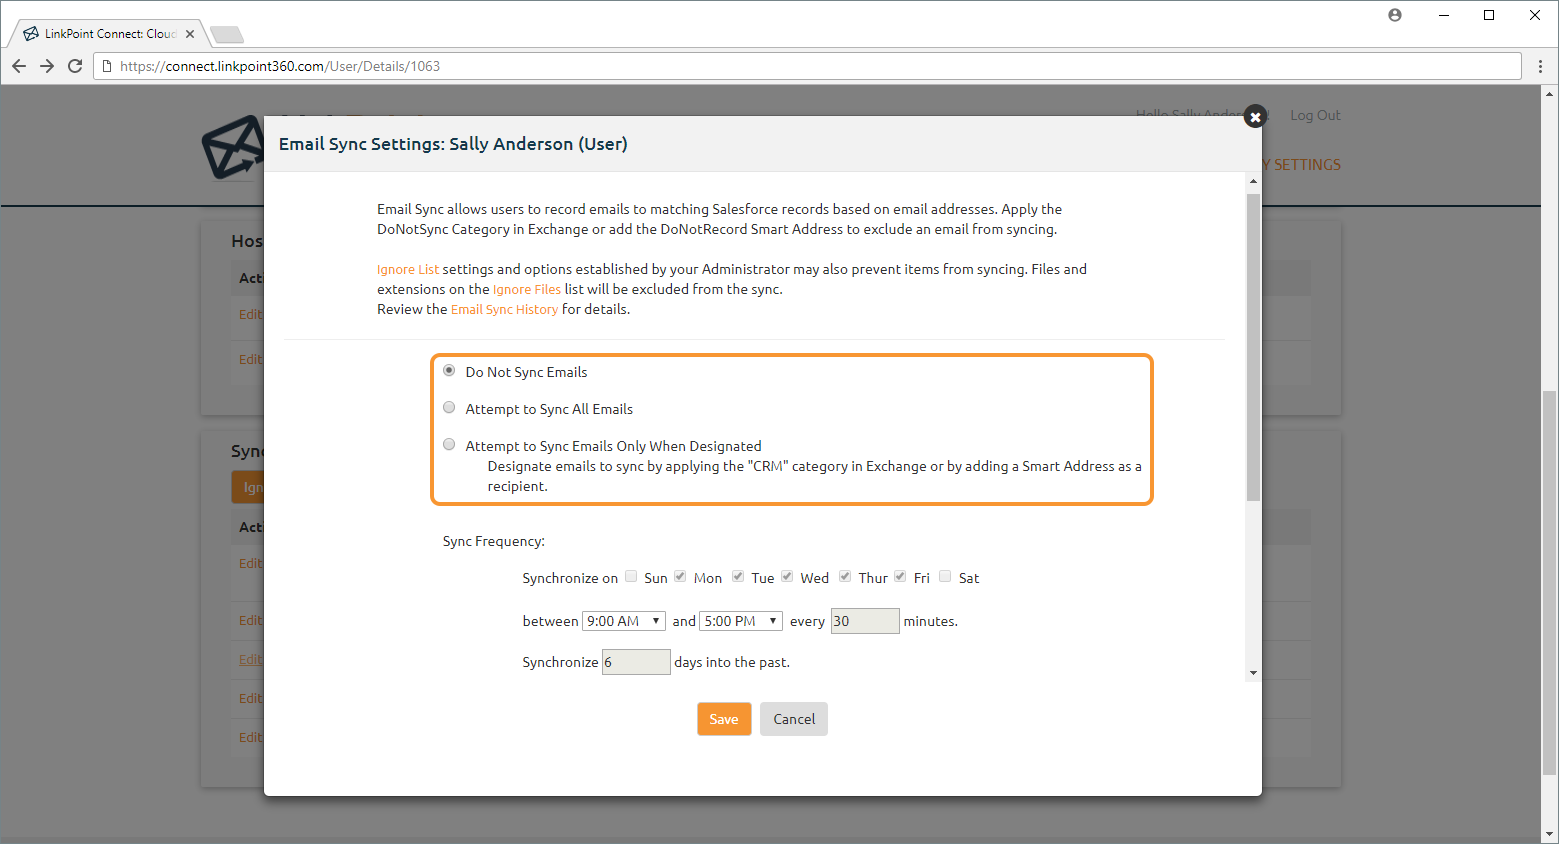
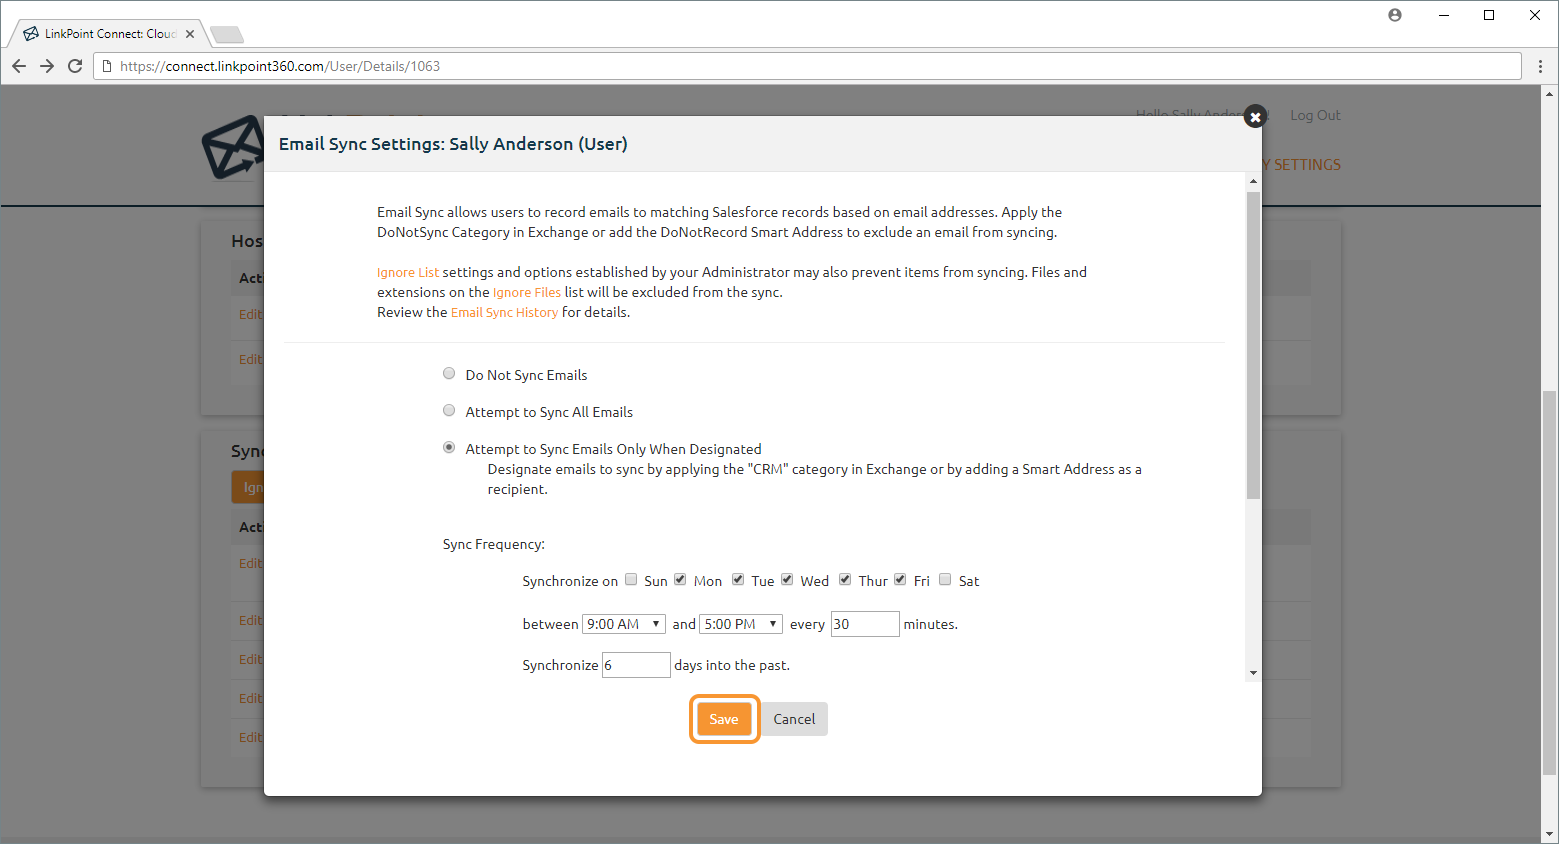
- Do Not Sync Emails:
Disable Email Sync. Email sync is off by default for all new accounts and new users.
- Attempt to Sync All Emails:
Enable Cloud Edition to sync emails for which there is a Salesforce record with a matching email address.
- Attempt to Sync Emails Only When Designated:
Enable Cloud Edition to sync only the emails you opt into the sync. Designate emails to sync by applying a CRM Category in Exchange or by adding a Smart Address as a recipient. Designated emails still require a matching Salesforce record in order to sync.

Tip: There are several ways to exclude an email from syncing.
- Add an Exchange Category with the name DoNotSync to the email.
- Include the DoNotRecord Smart Address as a recipient on the email. Adding the Smart Address to the Bcc field will hide this tag from other recipients.

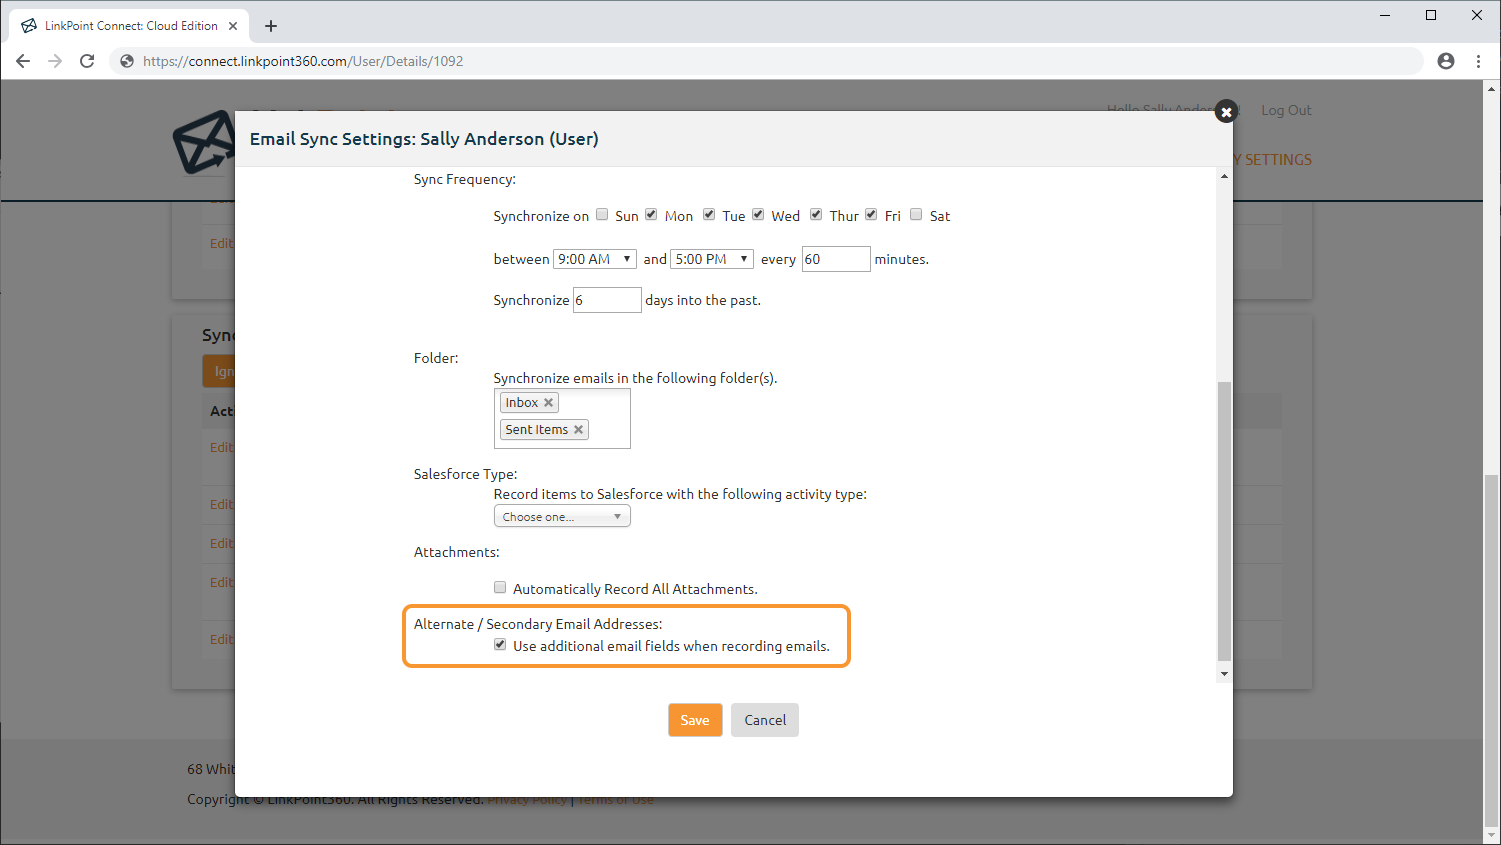
Enter the preferred Sync Frequency in the provided fields. Select the day and time range during which you want the sync to run. Note that these times will be based on the time zone you set for your user account.
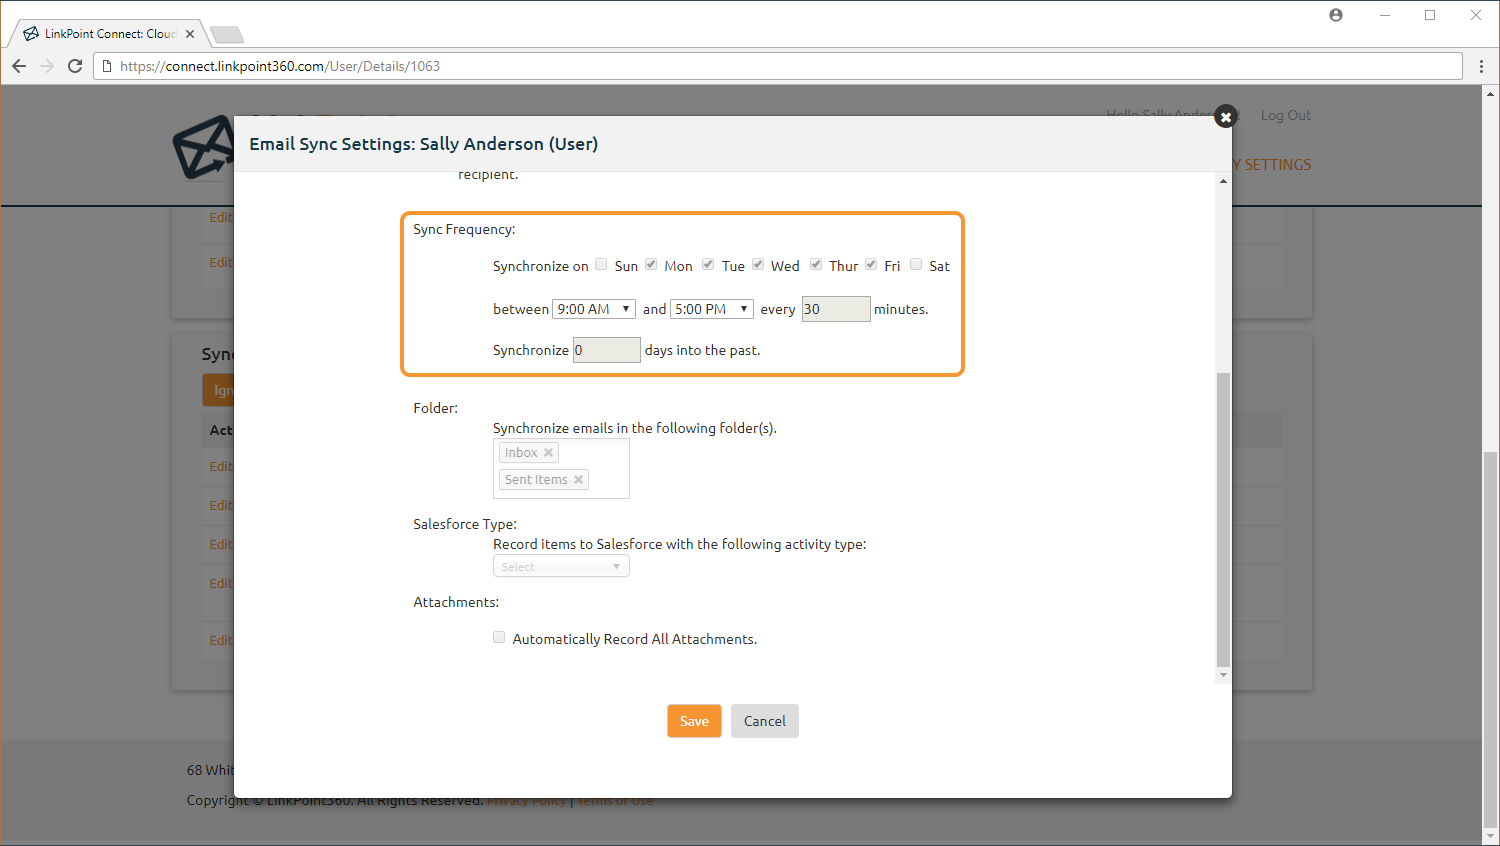
Tip: The maximum sync frequency cannot exceed 30 minutes. Users cannot sync more than 30 days of past emails and must sync at minimum 1 day of past emails.

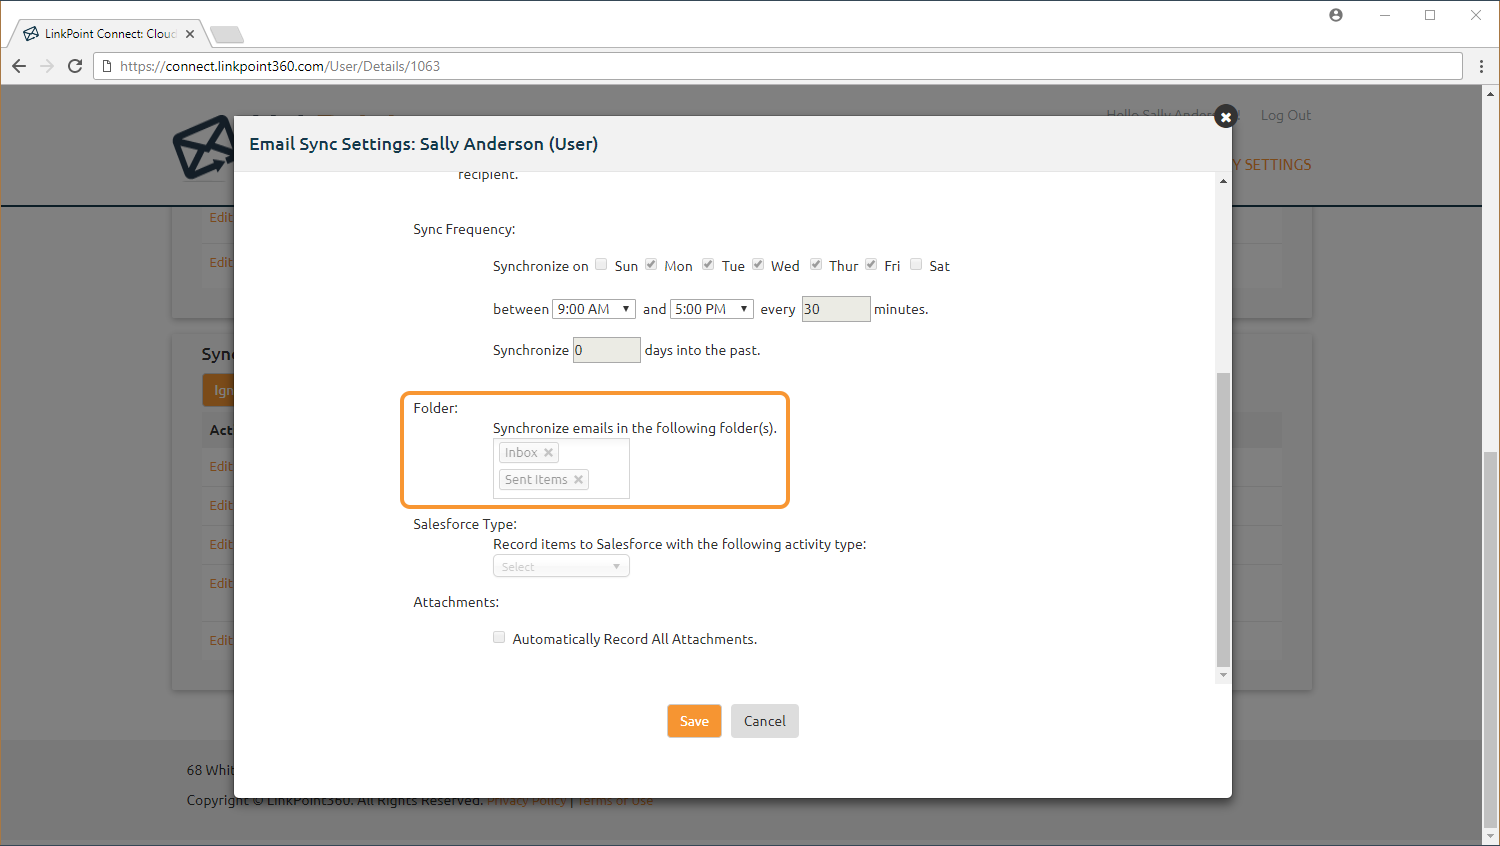
Change the Folder to map the sync to look for emails in different Exchange folders. The default selection will be your Inbox and Sent Items in order to sync all inbound and outbound communication.

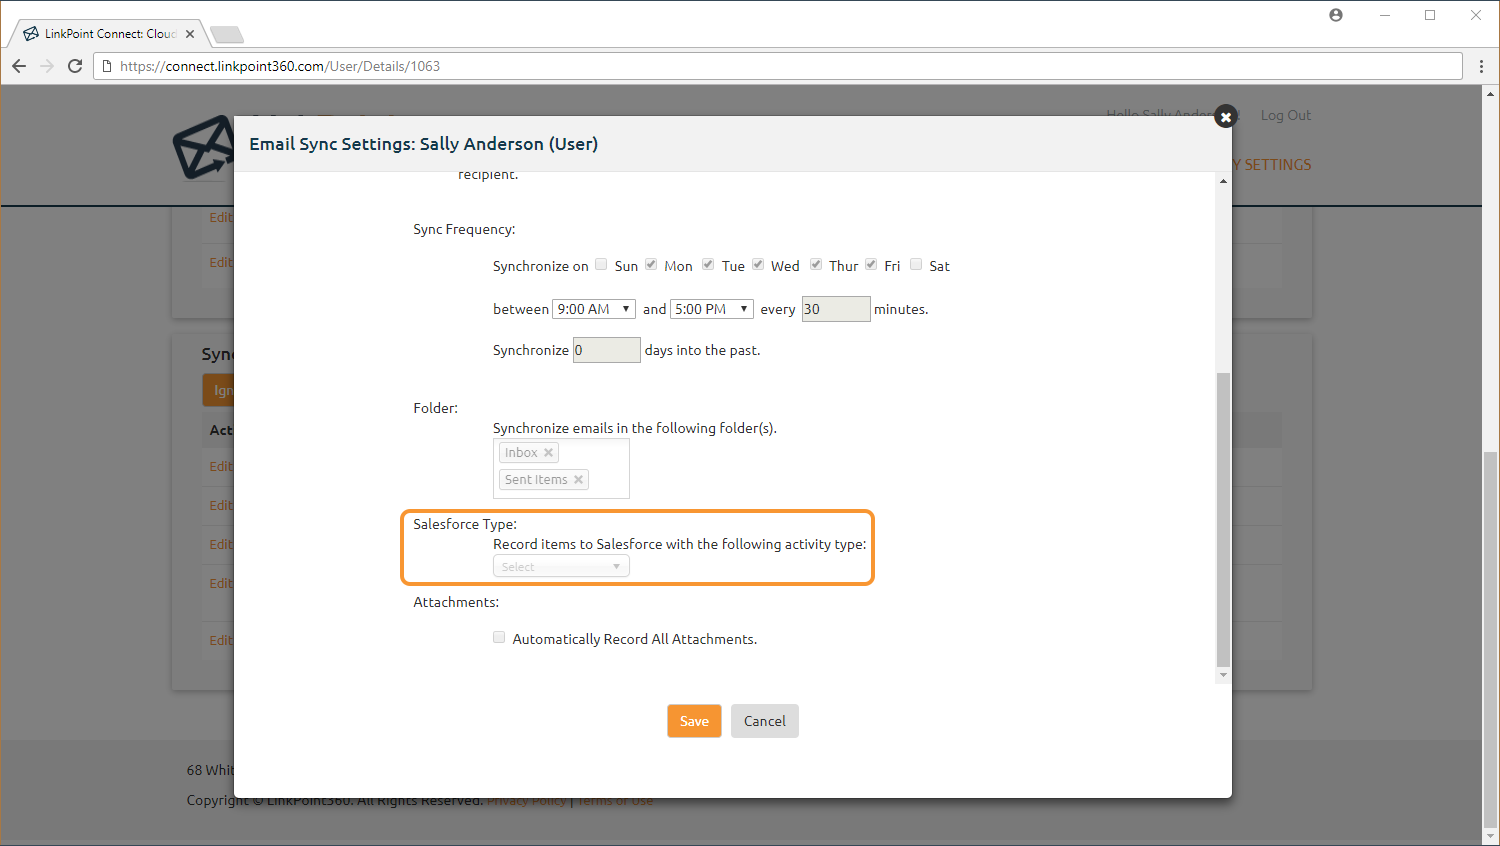
Choose a Salesforce Type to record emails to Salesforce with a default Activity Type. If no selection is made, the system will use the Salesforce default.

Select the checkbox to Automatically Record All Attachments to sync all of the attachments on any email that records to Salesforce.
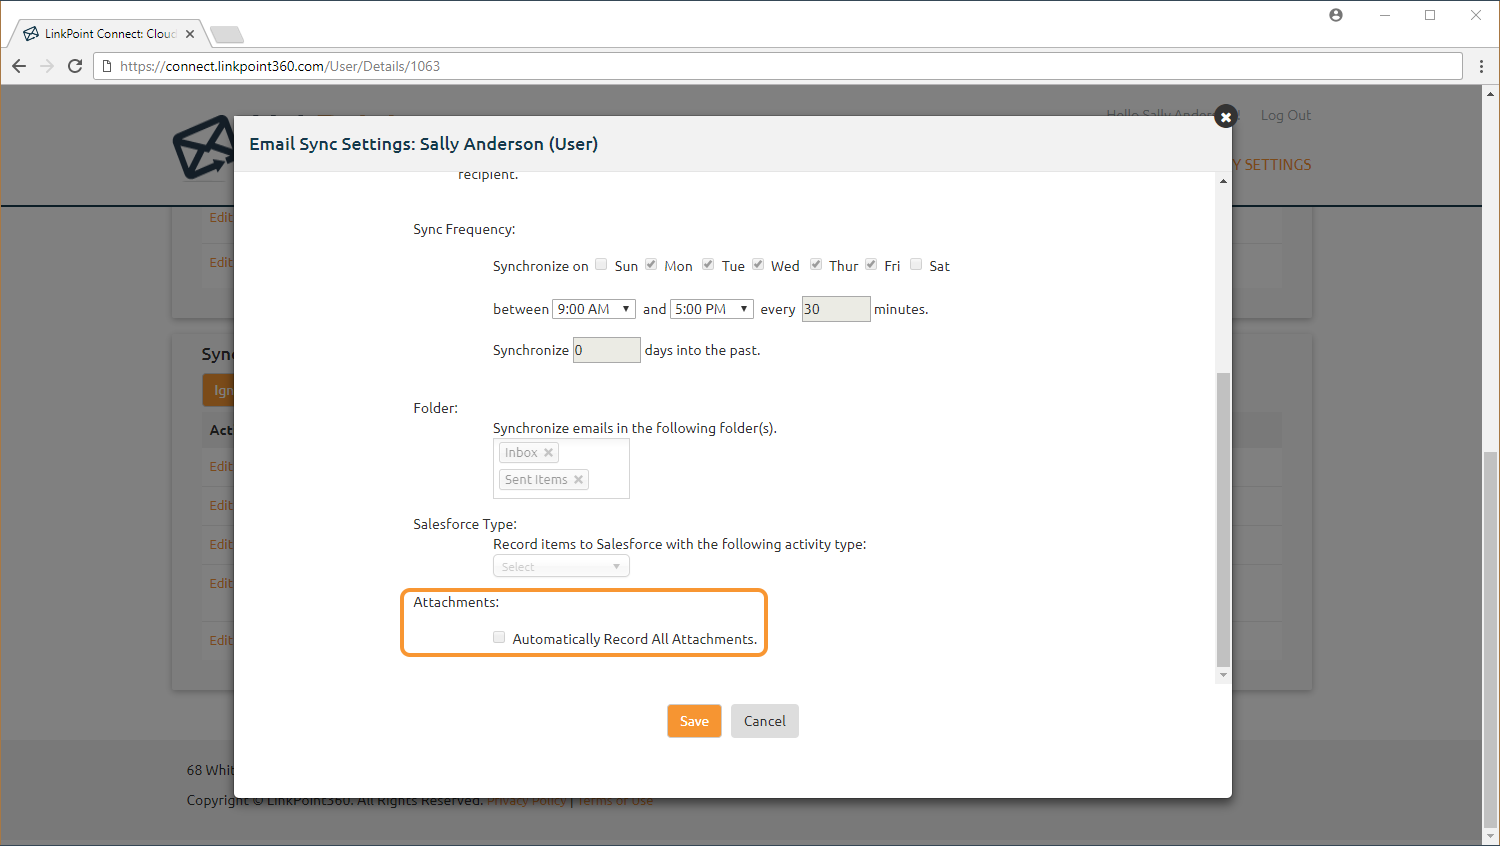
Tip: Attachments that do not exceed 5 MB will sync to Salesforce. Due to Salesforce restrictions on file sizes, files larger than 5 MB will not sync. However, the email content will still sync to Salesforce.

Select or deselect the Alternate/Secondary Email Addresses checkbox to use additional fields when syncing emails.


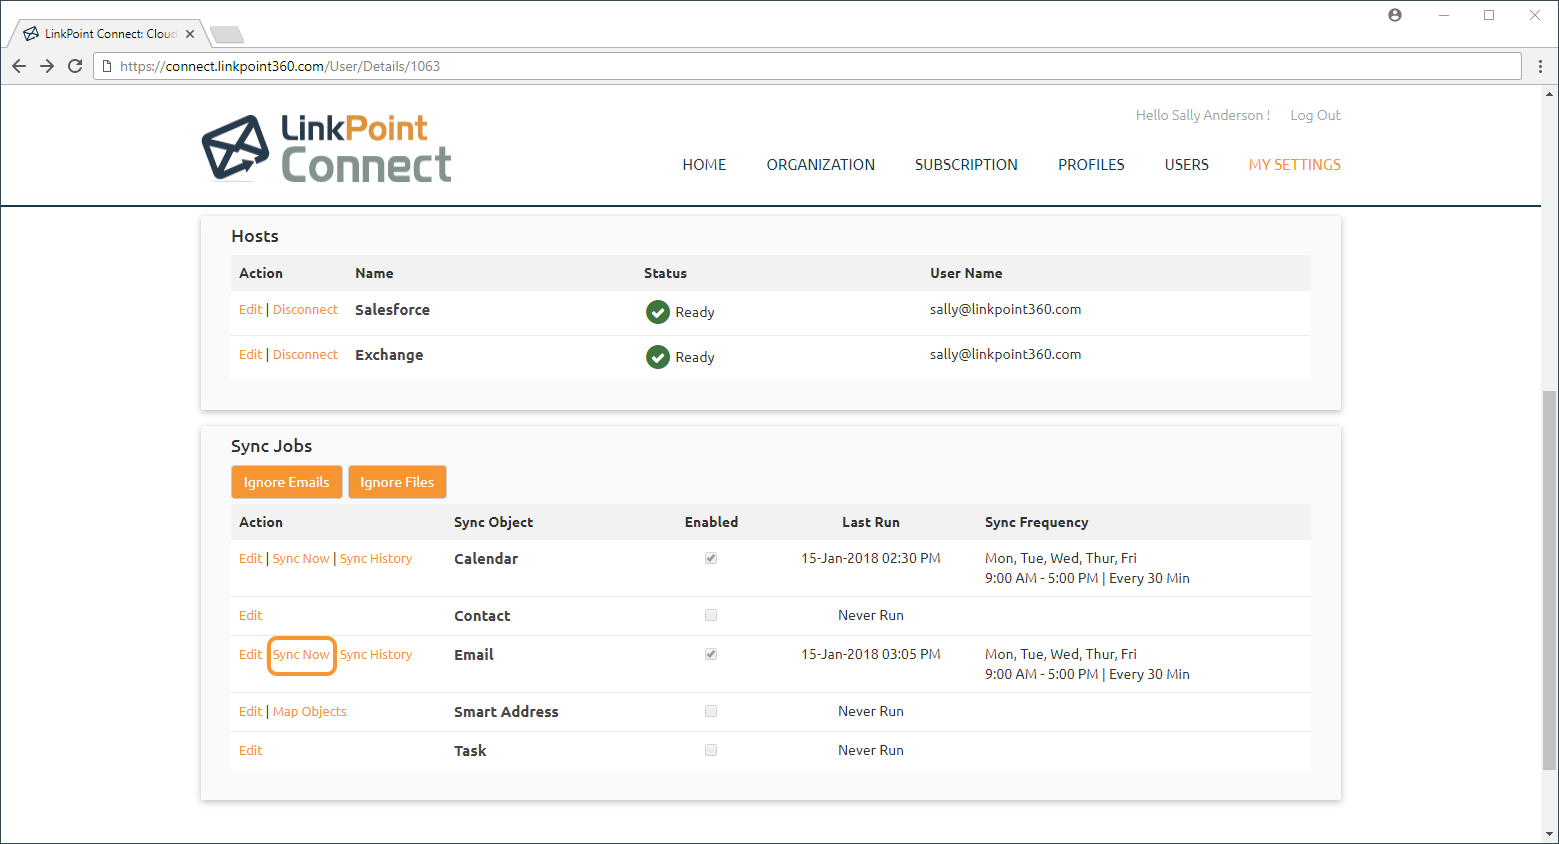
Tip: To run the Email Sync again, you can click the Sync Now option. This will place the Sync Job in the queue for processing. This does not mean that the sync immediately runs. The process can take several minutes depending on the amount of data that meets the sync criteria. To click Sync Now again, refresh the page
![]() Download: Access the complete LinkPoint Connect: Cloud Edition (Exchange + Salesforce) User Guide in .pdf format. Get the User Guide
Download: Access the complete LinkPoint Connect: Cloud Edition (Exchange + Salesforce) User Guide in .pdf format. Get the User Guide
