

Click the images throughout the Knowledge Base to see full size versions of screen captures.
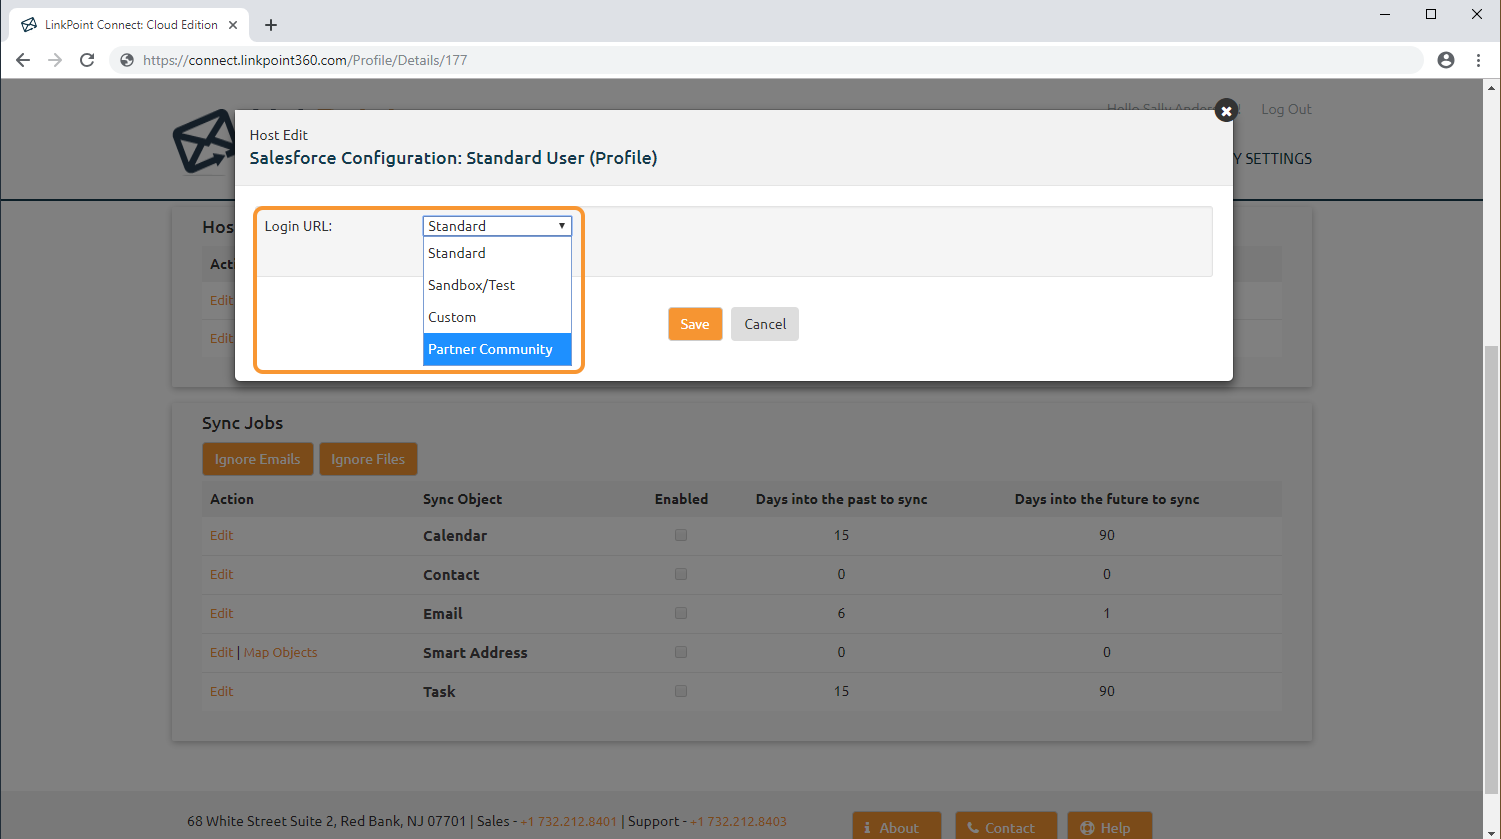
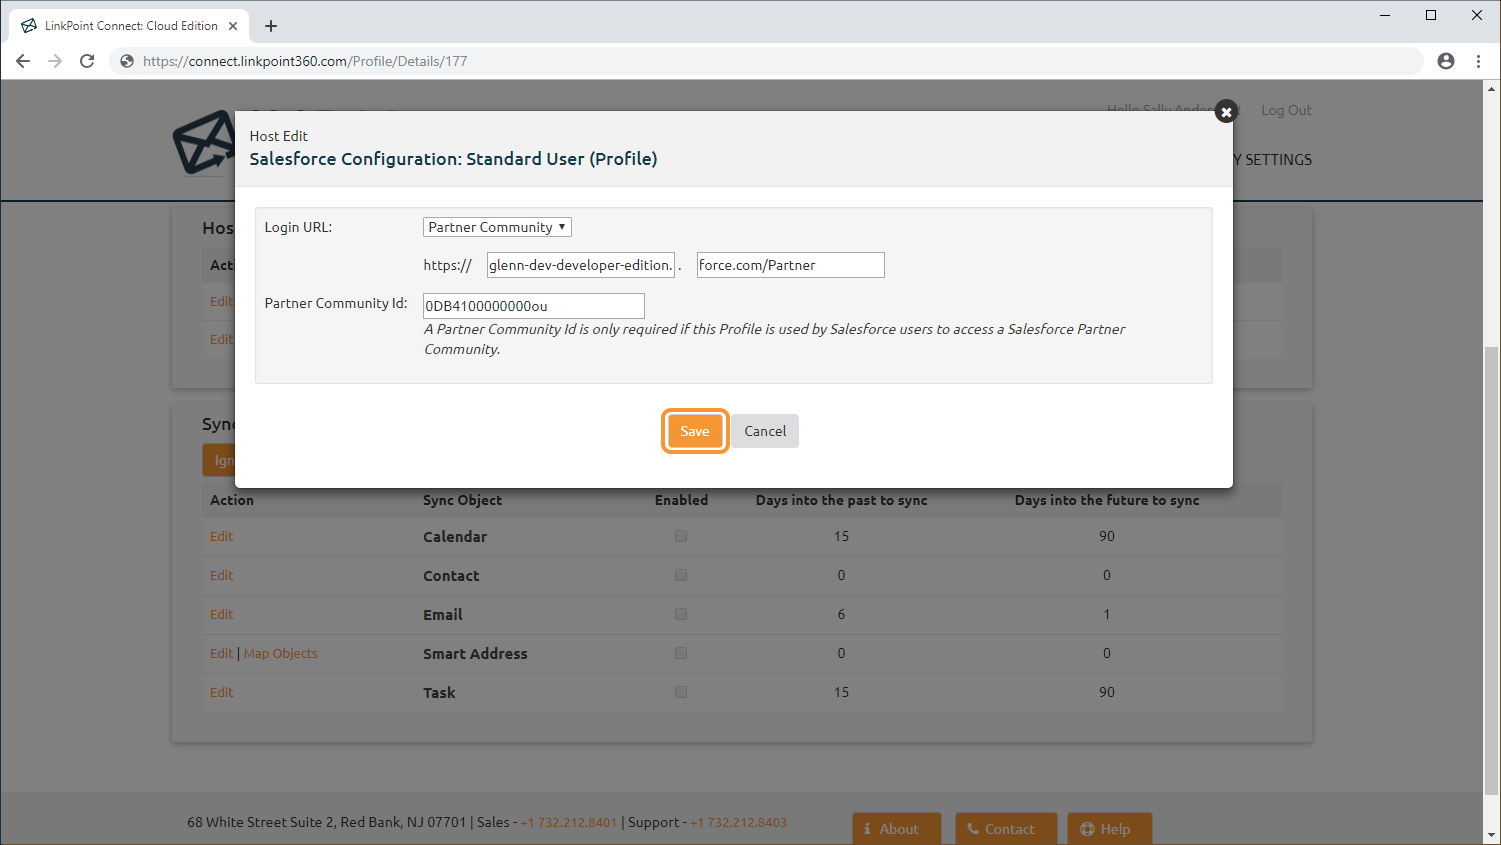
Configuring Profiles for Partner Community Users


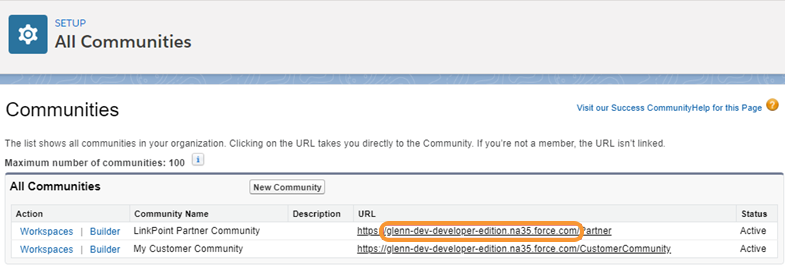


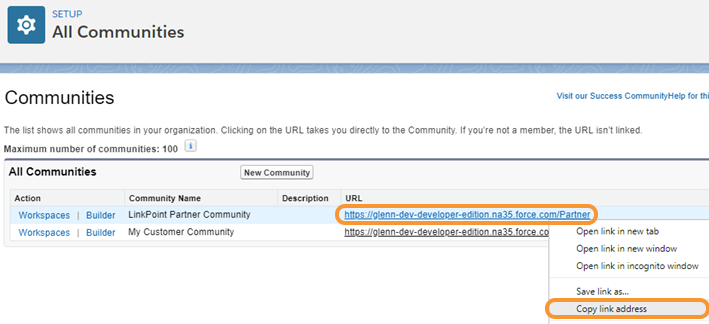
Locate the Partner Community ID. Right click the Partner Community URL and select Copy link Address from the menu. Copy the ID to a text document for reference.

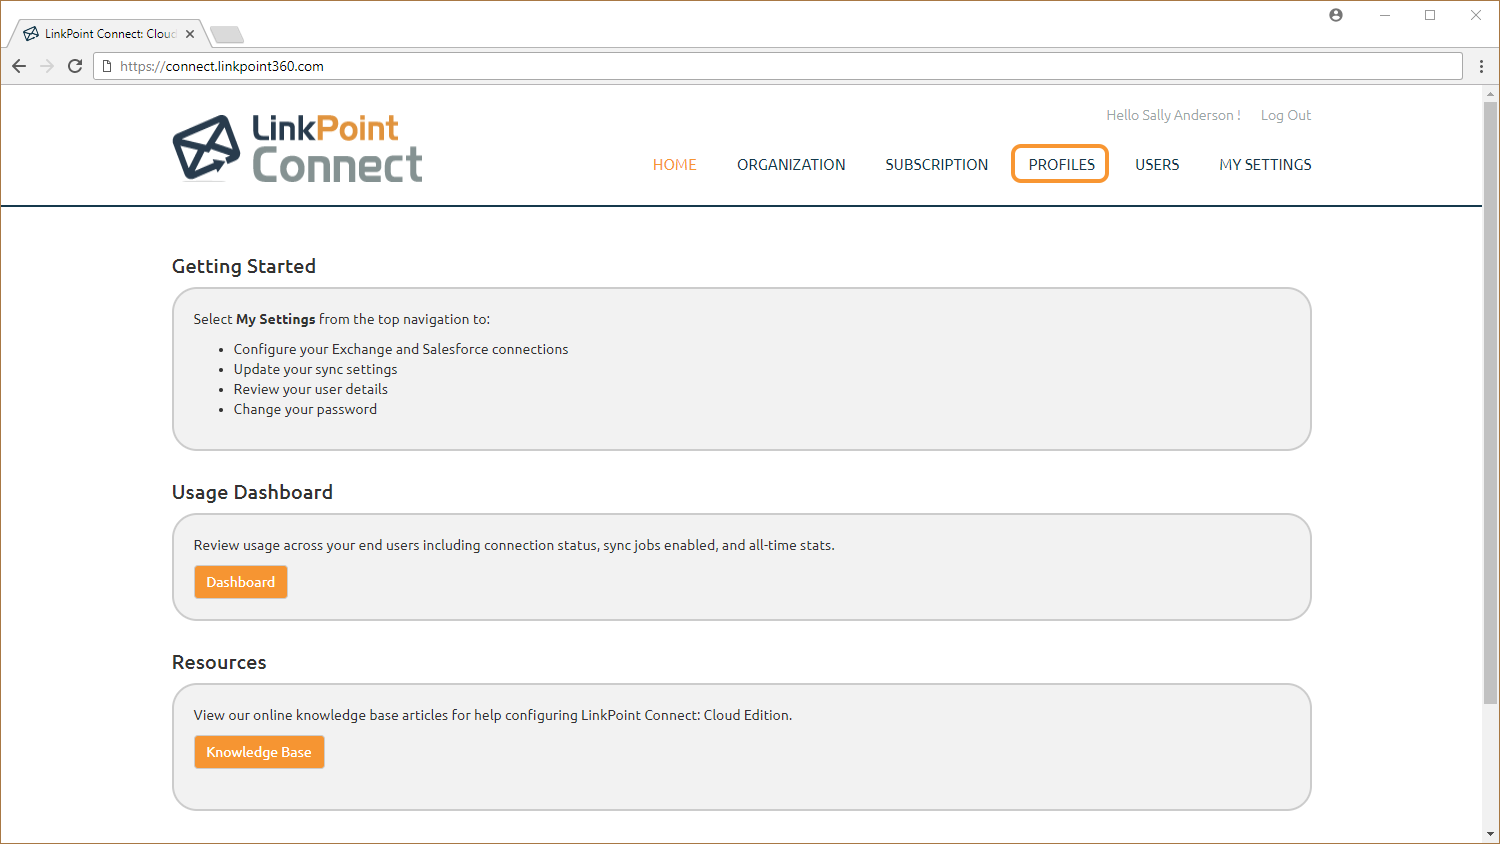
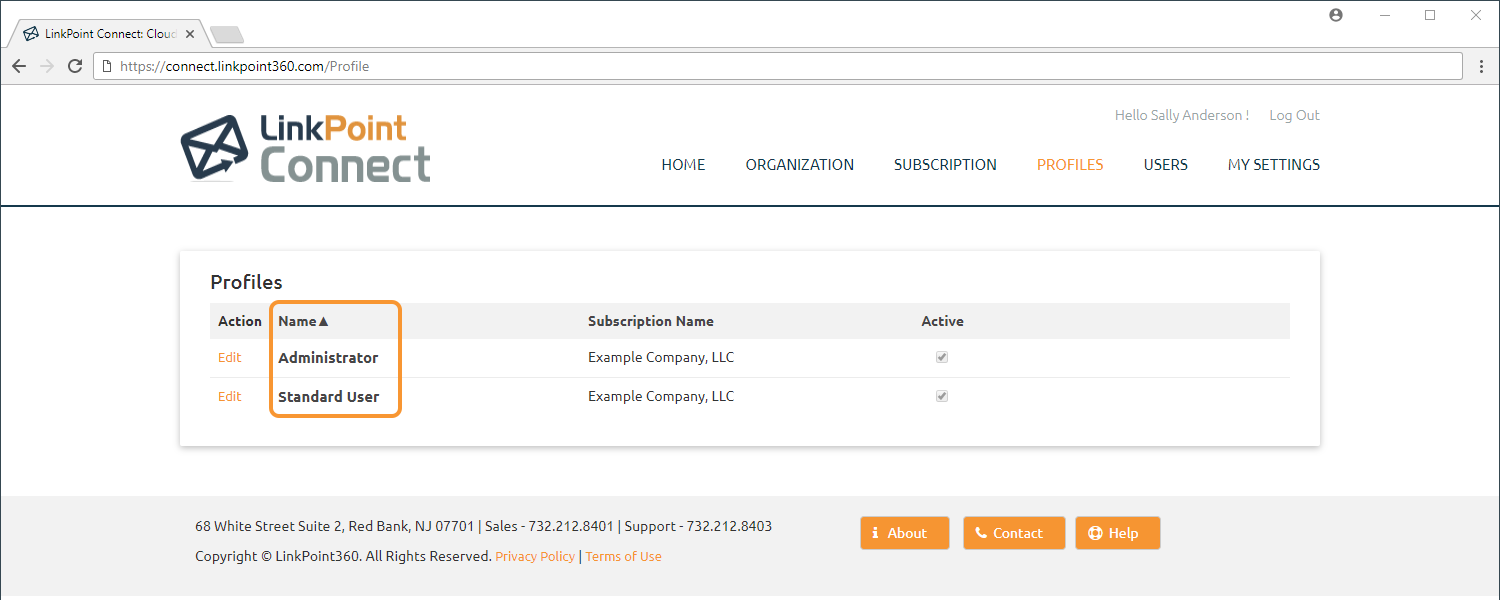
Log into Cloud Edition and select Profiles from the top navigation.


![]() Download: Access the complete LinkPoint Connect: Cloud Edition (Exchange + Salesforce) User Guide in .pdf format. Get the User Guide
Download: Access the complete LinkPoint Connect: Cloud Edition (Exchange + Salesforce) User Guide in .pdf format. Get the User Guide
