
- Accounts
- Cases
- Contacts
- Events
- Leads
- Opportunities
- Tasks
By default, users are able to configure Smart Forms to display or hide the option to update certain object types. In this section, you will learn how to configure the basic access for Smart Forms. If you need additional configuration assistance or access to custom Smart Forms, contact support@linkpoint360.com.

Click the images throughout the Knowledge Base to see full size versions of screen captures.
Configuring Smart Forms

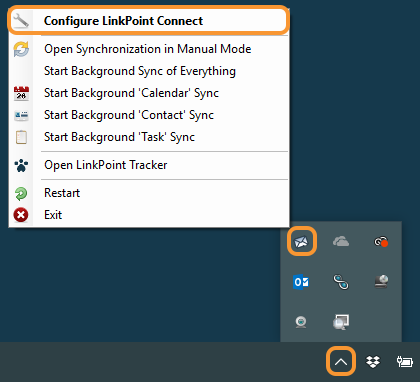

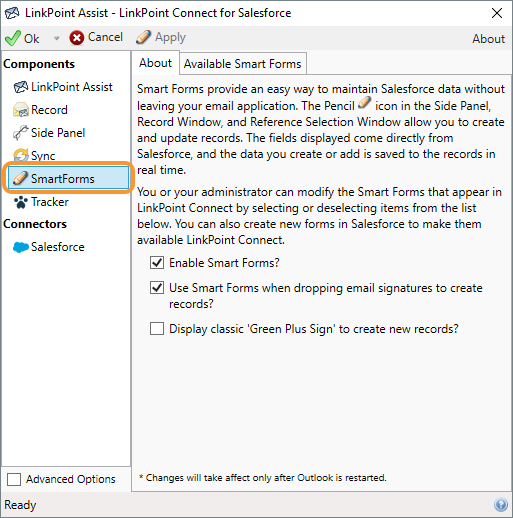
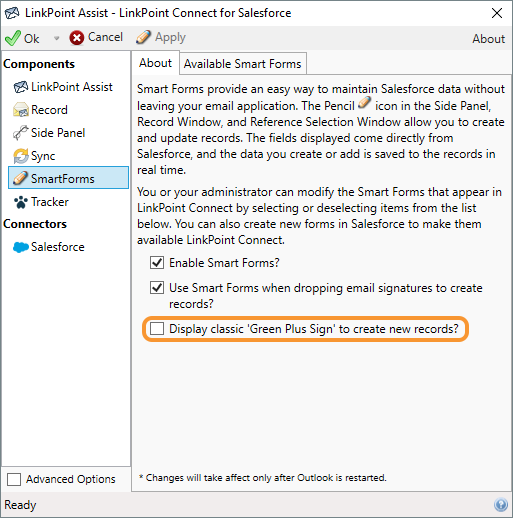
Select Smart Forms from the Components list on the left side of the LinkPoint Assist window.

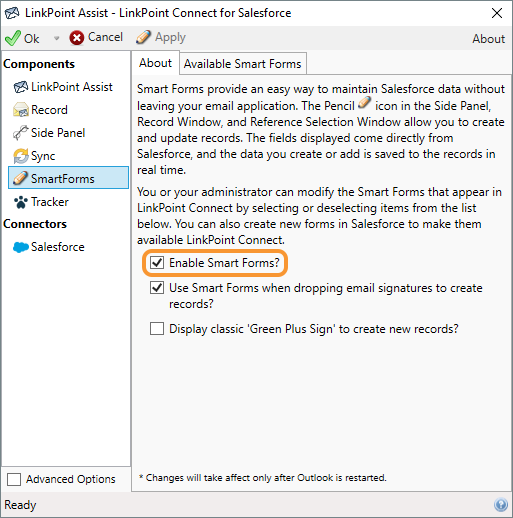
Select Enable Smart Forms to turn the Smart Forms feature on throughout LinkPoint Connect. Note that this feature is enabled by default. Deselect the option to disable Smart Forms.

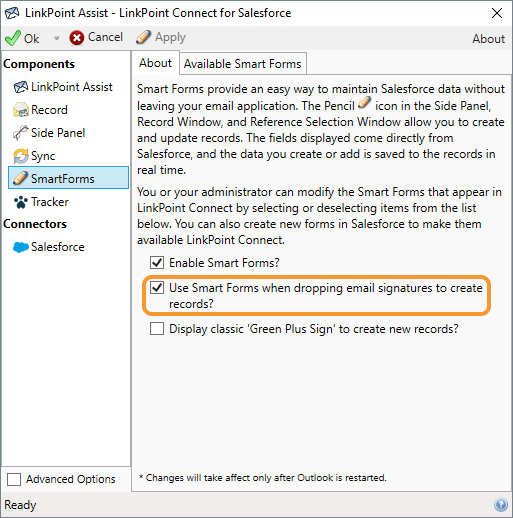
Select the checkbox to Use Smart Forms when dropping email signatures to create records? to enable or disable Smart Forms when using the Drop Zone.

Select the checkbox to Display classic ‘Green Plus Sign’ to create new records? to enable the Green Plus Sign throughout the Side Panel as an alternative to creating new Salesforce records.

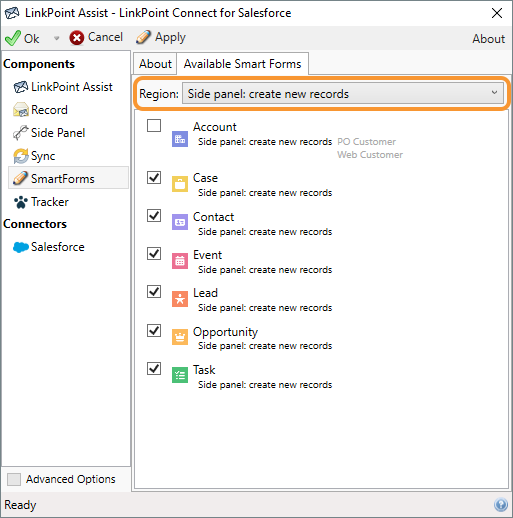
Select the Available Smart Forms tab.
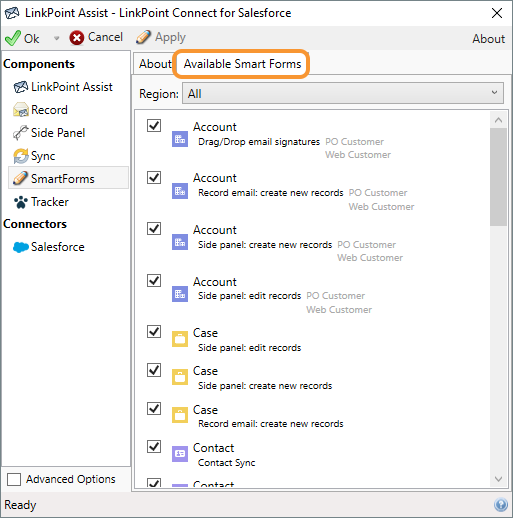

Double click any item in the Available Smart Forms list to preview the form and all included fields. This is useful to ensure that the correct forms are enabled.

Tip: In Preview Mode, mouse over the Visibility option in the top right corner to see a listing of where the Smart Form will be available within LinkPoint Connect.

Tip: The Available Smart Forms list is generated by LinkPoint Connect based on your Salesforce environment. If your organization has Global Actions enabled for Accounts, Cases, Contacts, Events, Leads, Opportunities, and Tasks, the corresponding forms will be available for use. If your organization does not use Global Actions, a standard set of forms will be provided by LinkPoint Connect and listed as available. Existing forms within Salesforce always override any default forms included with LinkPoint Connect. Any required fields from Salesforce will be honored within Smart Forms.

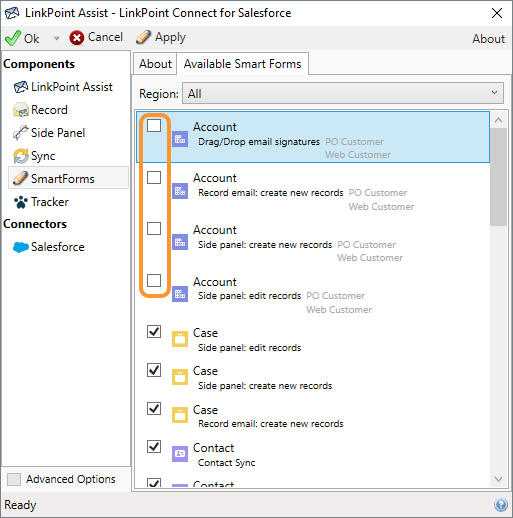
Deselect the checkboxes to remove the Salesforce object as an available Smart Form. Each line item lists the Object as well where it appears within LinkPoint Connect and the associated Record Types, where applicable.

Select a Region to edit the Smart Forms displayed within a specific section an email in your inbox.
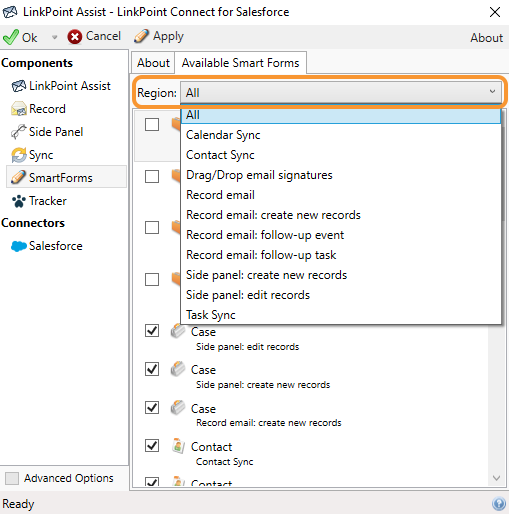
Tip: Use the Region option to customize the Smart Form icon options. View All and select or deselect checkboxes to one-off remove objects as needed.

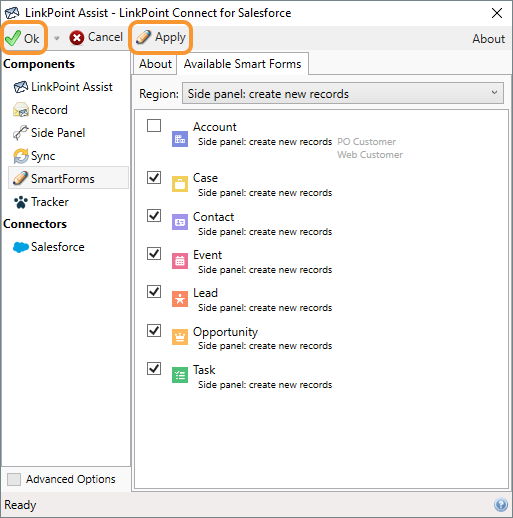
Click the Apply button to confirm the selection and click the OK button to finish and exit LinkPoint Assist.
![]() Download: Access the complete LinkPoint Connect: Microsoft Outlook + Salesforce User Guide in .pdf format. Get the User Guide
Download: Access the complete LinkPoint Connect: Microsoft Outlook + Salesforce User Guide in .pdf format. Get the User Guide
