
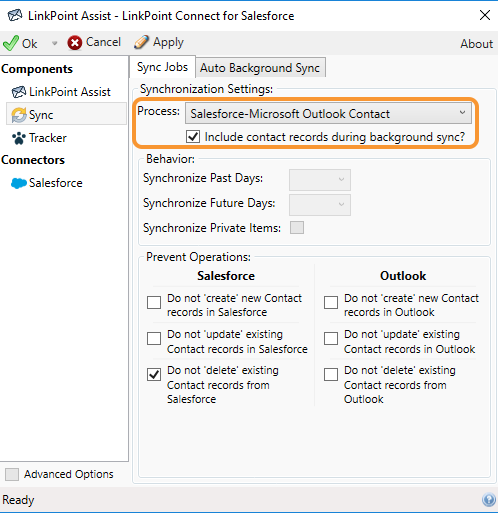
Preset contact sync to run automatically based on established rules. Users leverage sync settings in LinkPoint Assist to indicate the range, frequency, and direction (one-way or bidirectional). The sync options automate when and how contacts move between systems. By default, all contacts in Outlook and all contacts that a user owns in Salesforce will be compared and synced to the standard Contacts folder in Outlook. The option to delete contacts from Salesforce is disabled by default to protect data from errant deletion.


Establish Contact Auto Sync Settings

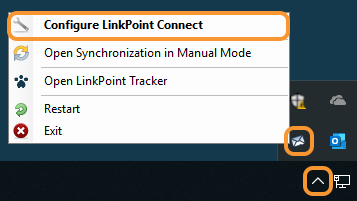
Right click the LinkPoint Assist icon in the system tray, and select Configure LinkPoint Connect.

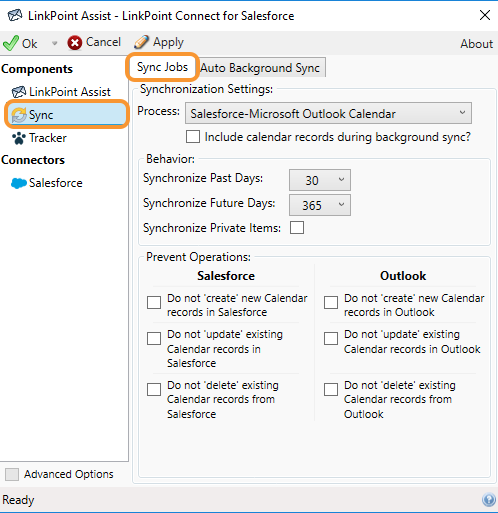
Select Sync from the Components list in the LinkPoint Assist window, and select the Sync Jobs tab.


Select the options in the Prevent Operations section based on workflow need.
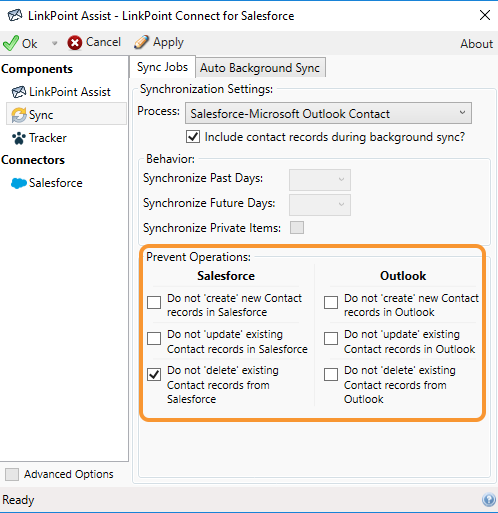
Tip: For contact sync, the Do not ‘delete’ existing Contact records from Salesforce option is selected by default in LinkPoint Connect as a precaution for users who do not want items removed from Salesforce. Users can deselect the checkbox to override this setting.

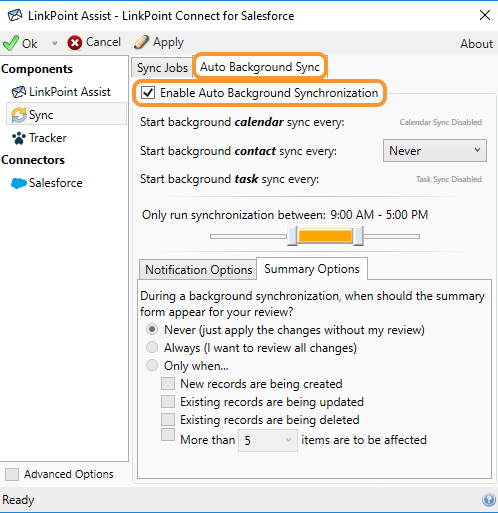
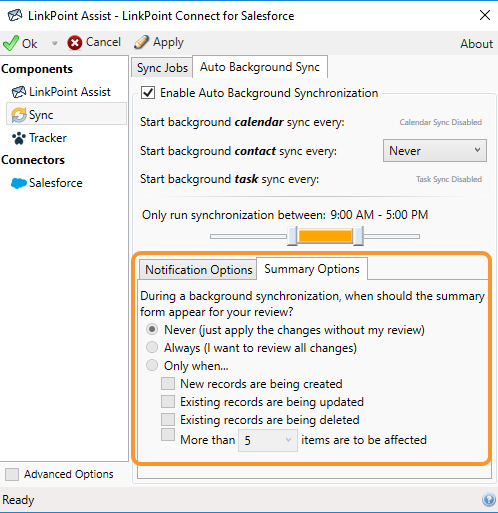
Select the Auto Background Sync tab, and click the Enable Auto Background Synchronization checkbox.

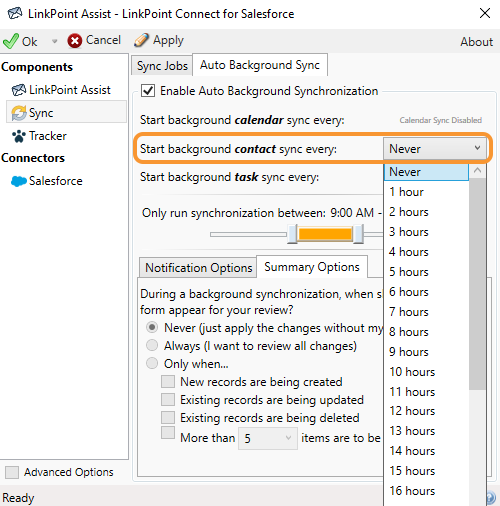
Select the frequency from the Start background contact sync every drop-down list.

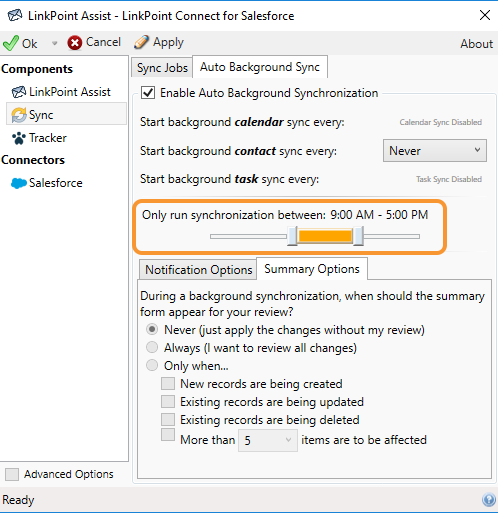
Select the time frame during which the auto sync should run by sliding the selectors to the left or right to adjust the range.

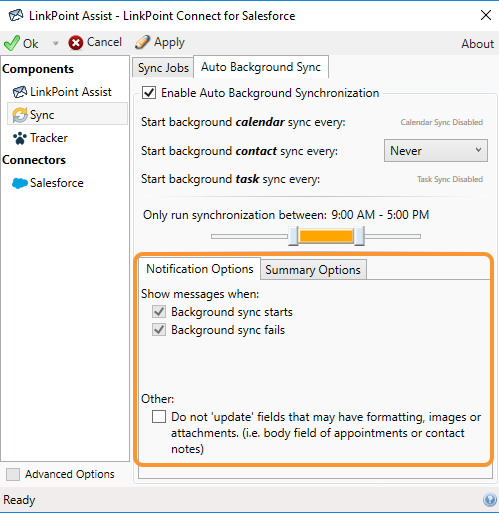
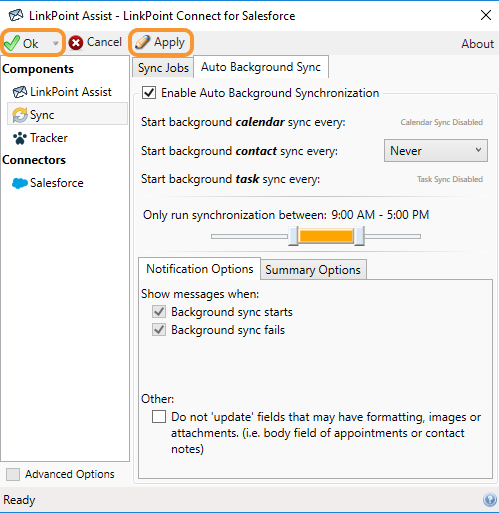
Review the settings in the Notification Options and Summary Options tabs. Select or deselect the checkboxes as needed to adjust how sync notifications and messaging are displayed.

Click the Apply button when finished to finalize the settings. Click Ok to close LinkPoint Assist. LinkPoint Connect will sync the contacts at the scheduled interval based on the sync rules.
![]() Download: Access the complete LinkPoint Connect User Guide in .pdf format. Get the User Guide
Download: Access the complete LinkPoint Connect User Guide in .pdf format. Get the User Guide
