Desktop Plus Admins can invite specific users by using the Invite by Email option. This method is especially useful when adding one-off users after an account has been set up. In this section, you will learn how to add new users using the Invite by Email option.
Admin Only: This article outlines functionality available only to Desktop Plus Admins. Standard Users should advance to the next article in this User Guide.
Warning: We highly recommend that you do not invite any users to the account until your question decks and answers are complete as part of the initial implementation for your account. Once users have access to Meeting Recap, they will be able to configure their own Profiles, download the mobile application, and begin to submit Meeting Recaps. Inviting users prior to finalizing the question decks can cause confusion and result in inaccurate or inconsistent data capture.
Click the images throughout the Knowledge Base to see full size versions of screen captures.
Inviting End Users by Email
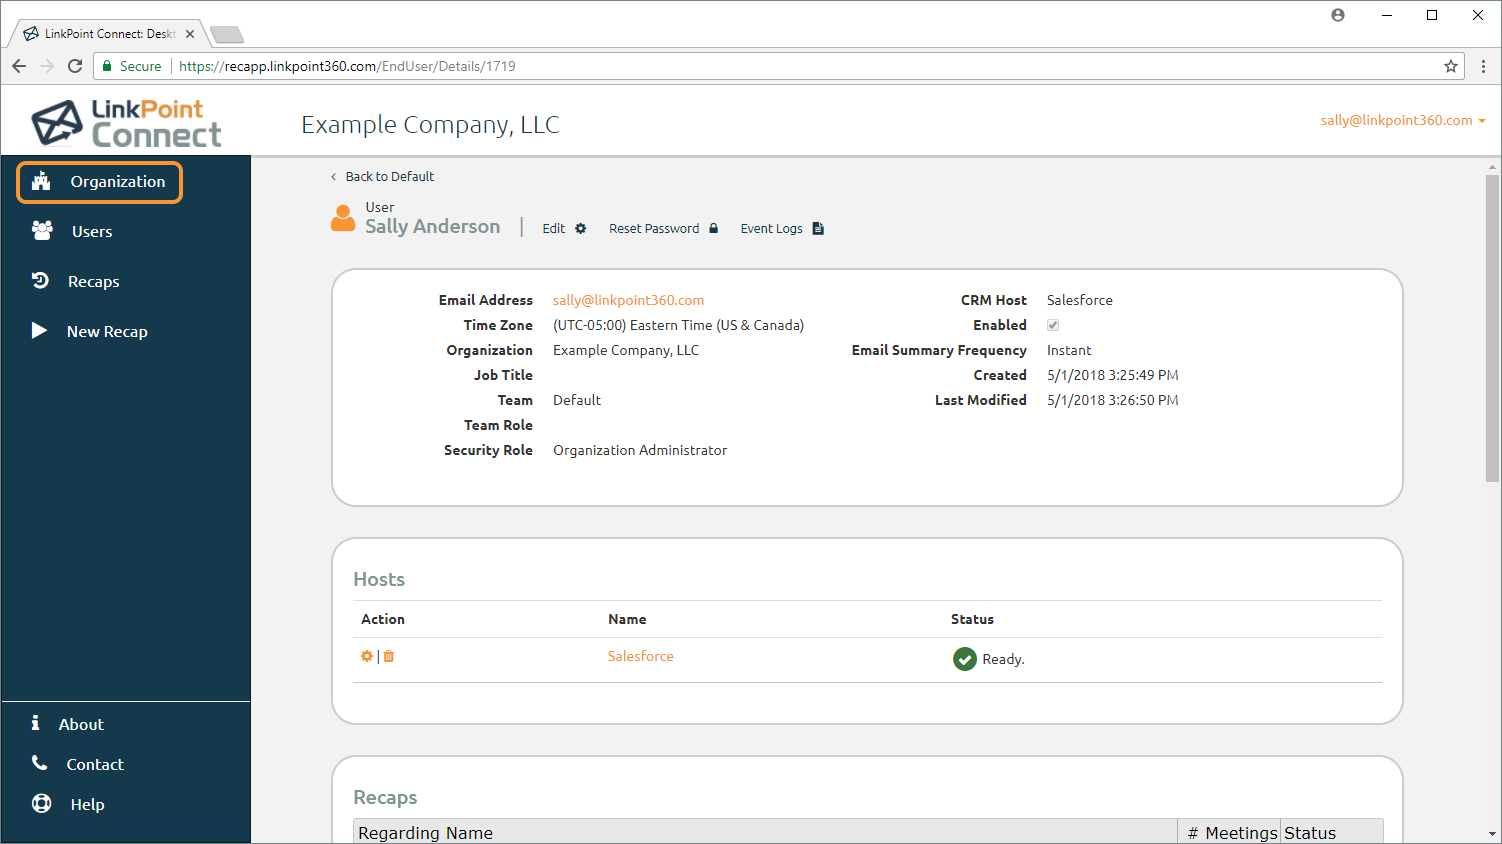
Log in to Desktop Plus and select Organization in the left navigation.
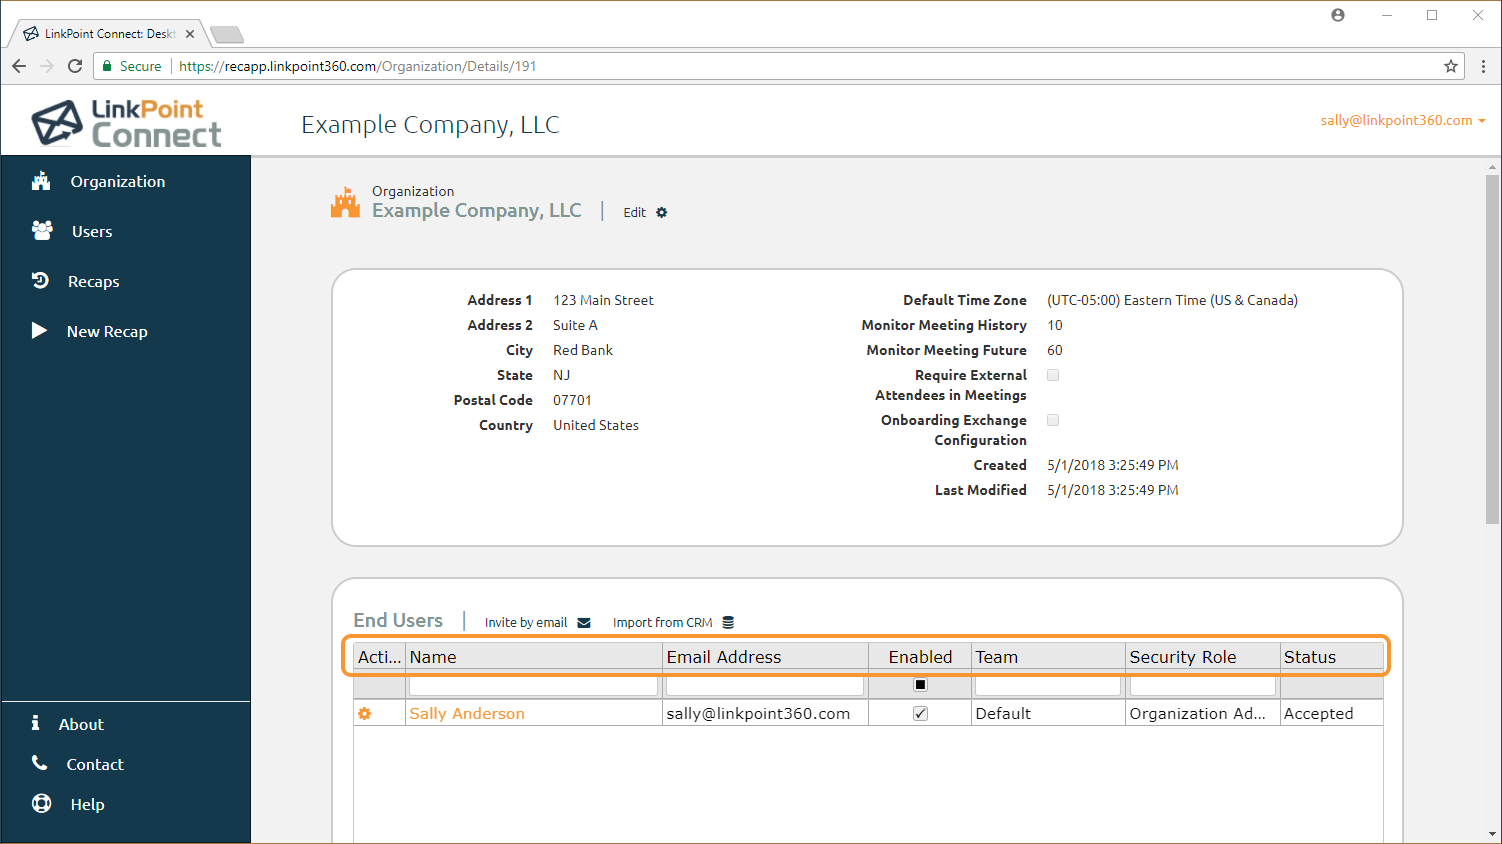
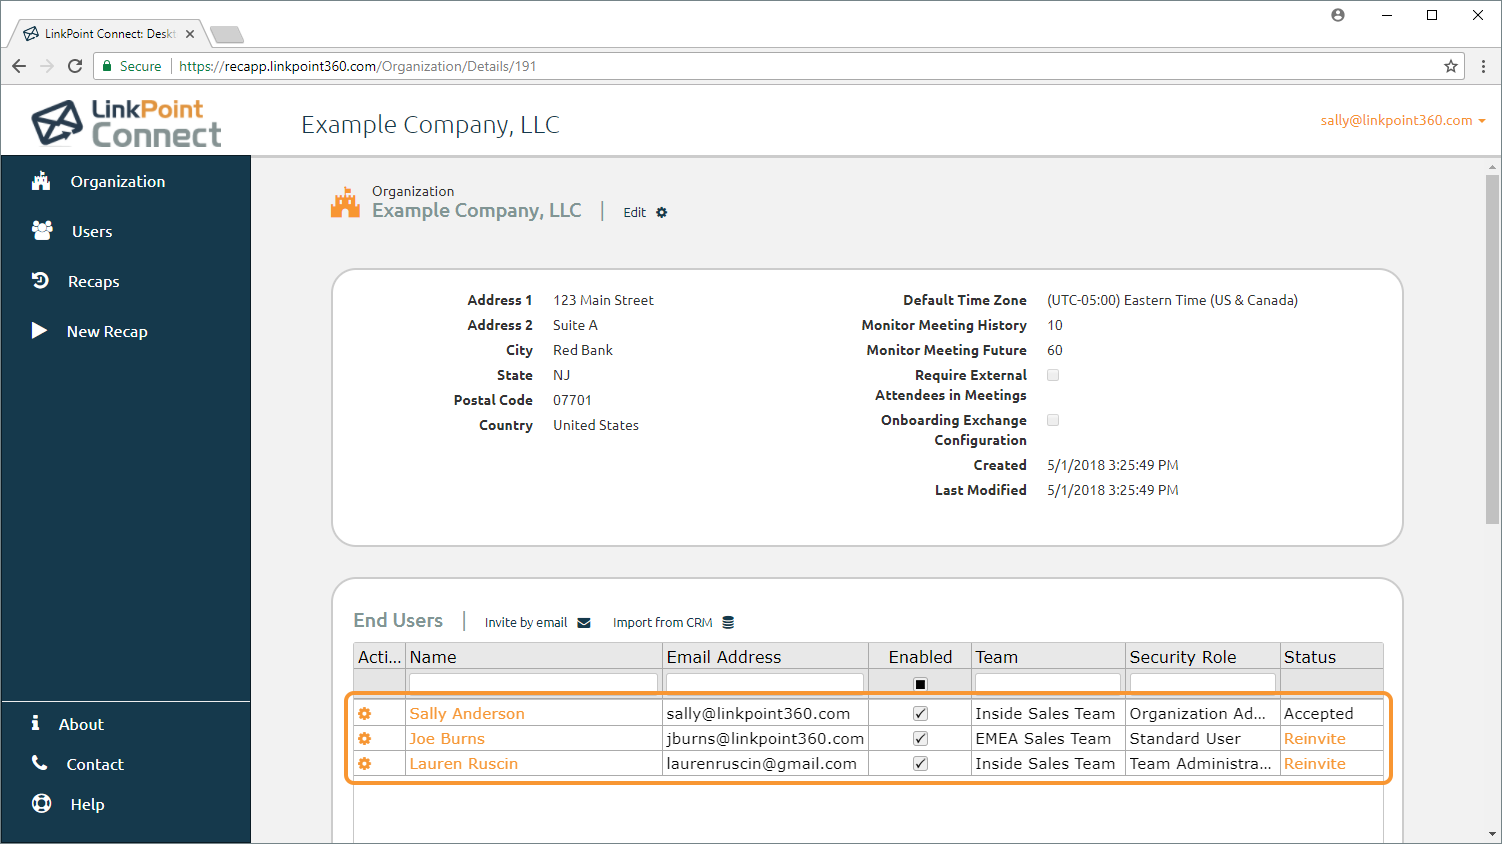
Locate the End Users section and note the available data columns. You can click on the column headers to sort the data by either Name, Email Address, Enabled, Team, Security Role, or Status.
Tip: For first-time access and setup, the only User listed will be the Organization Administrator.
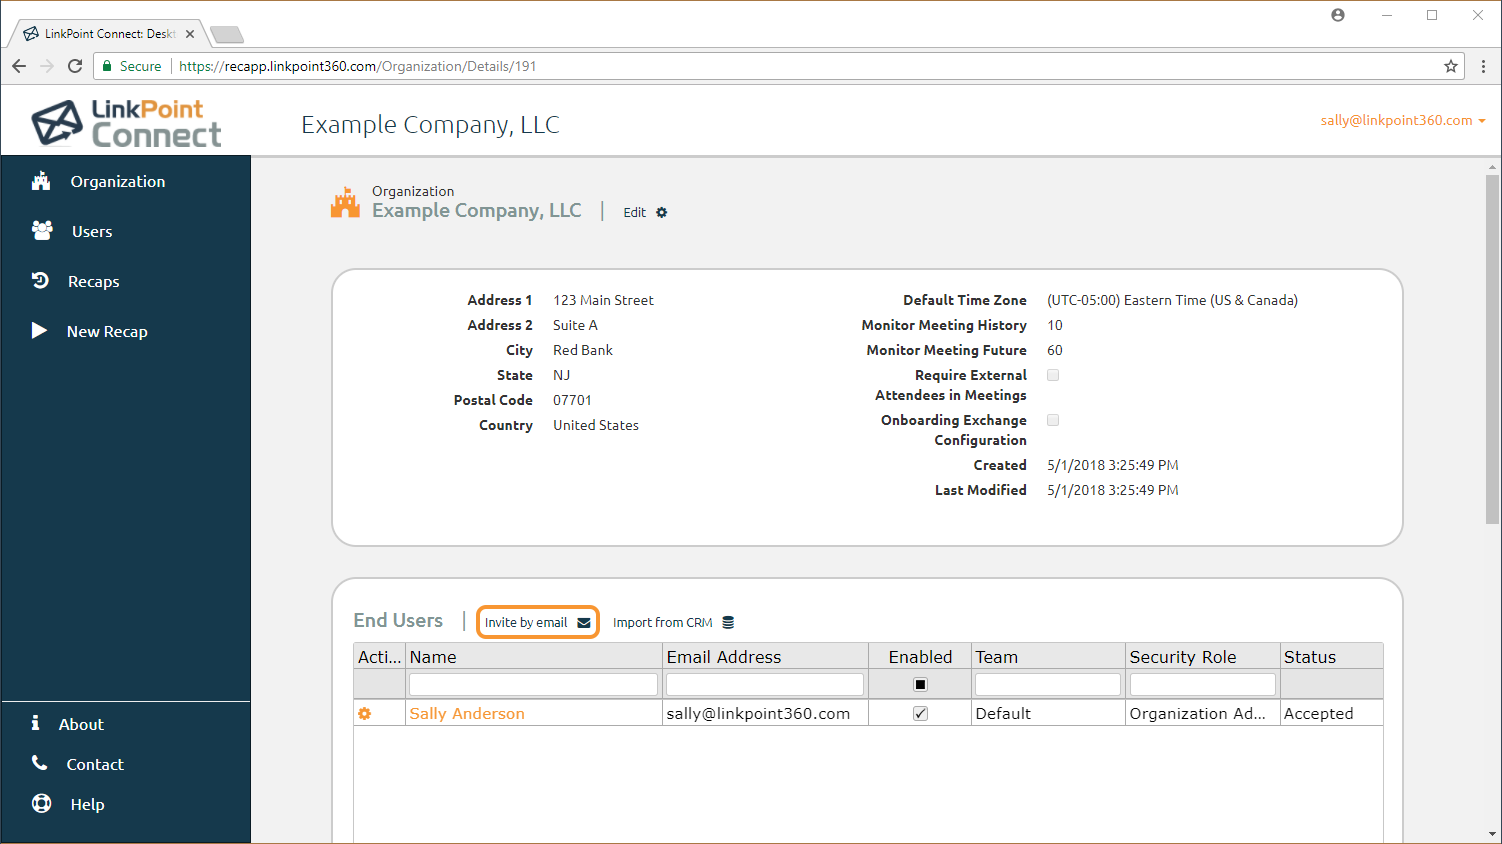
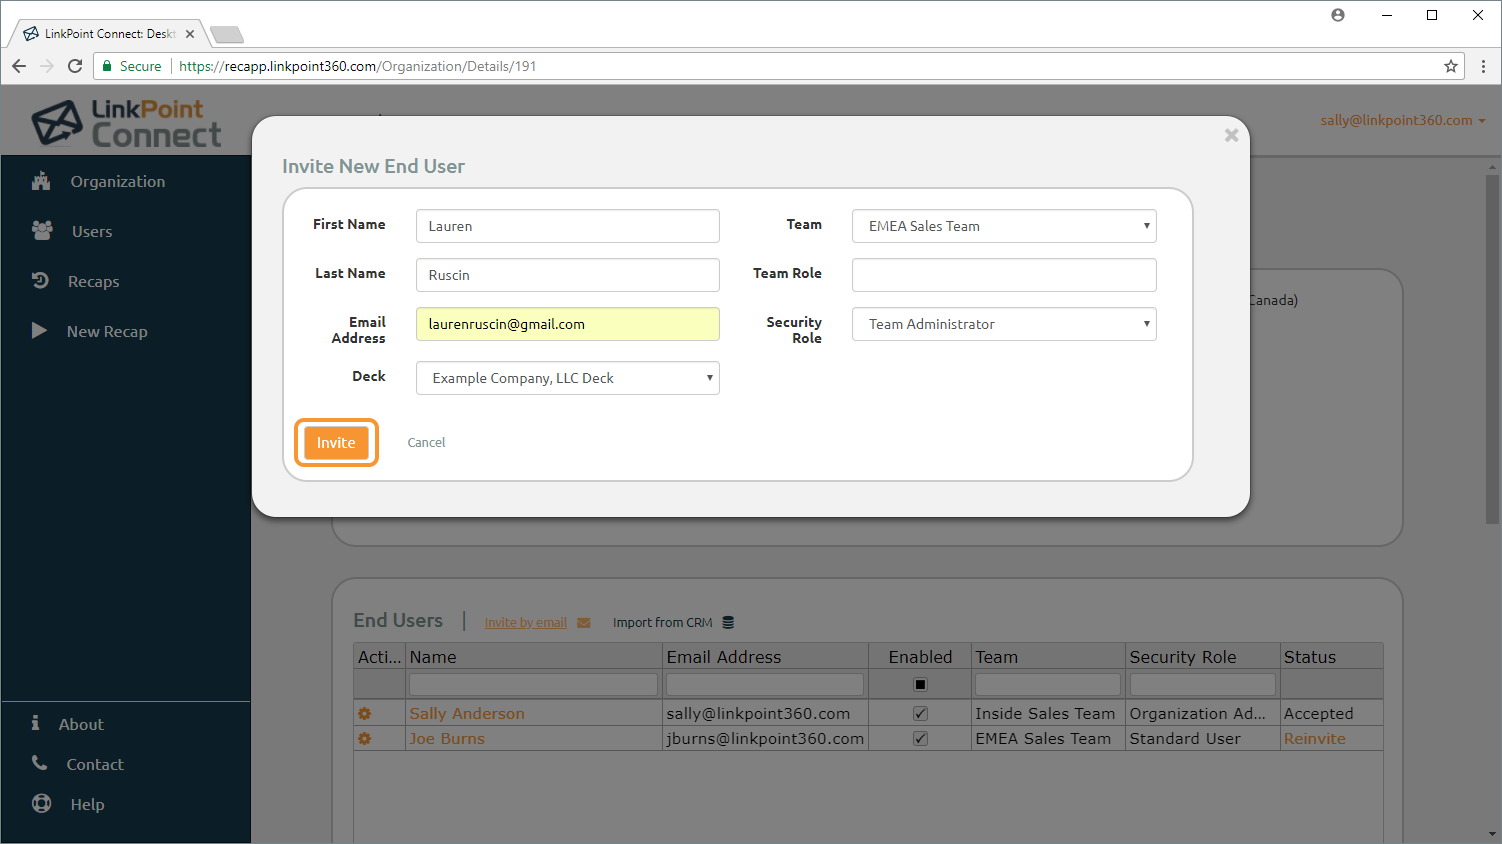
Select the Invite by email option.
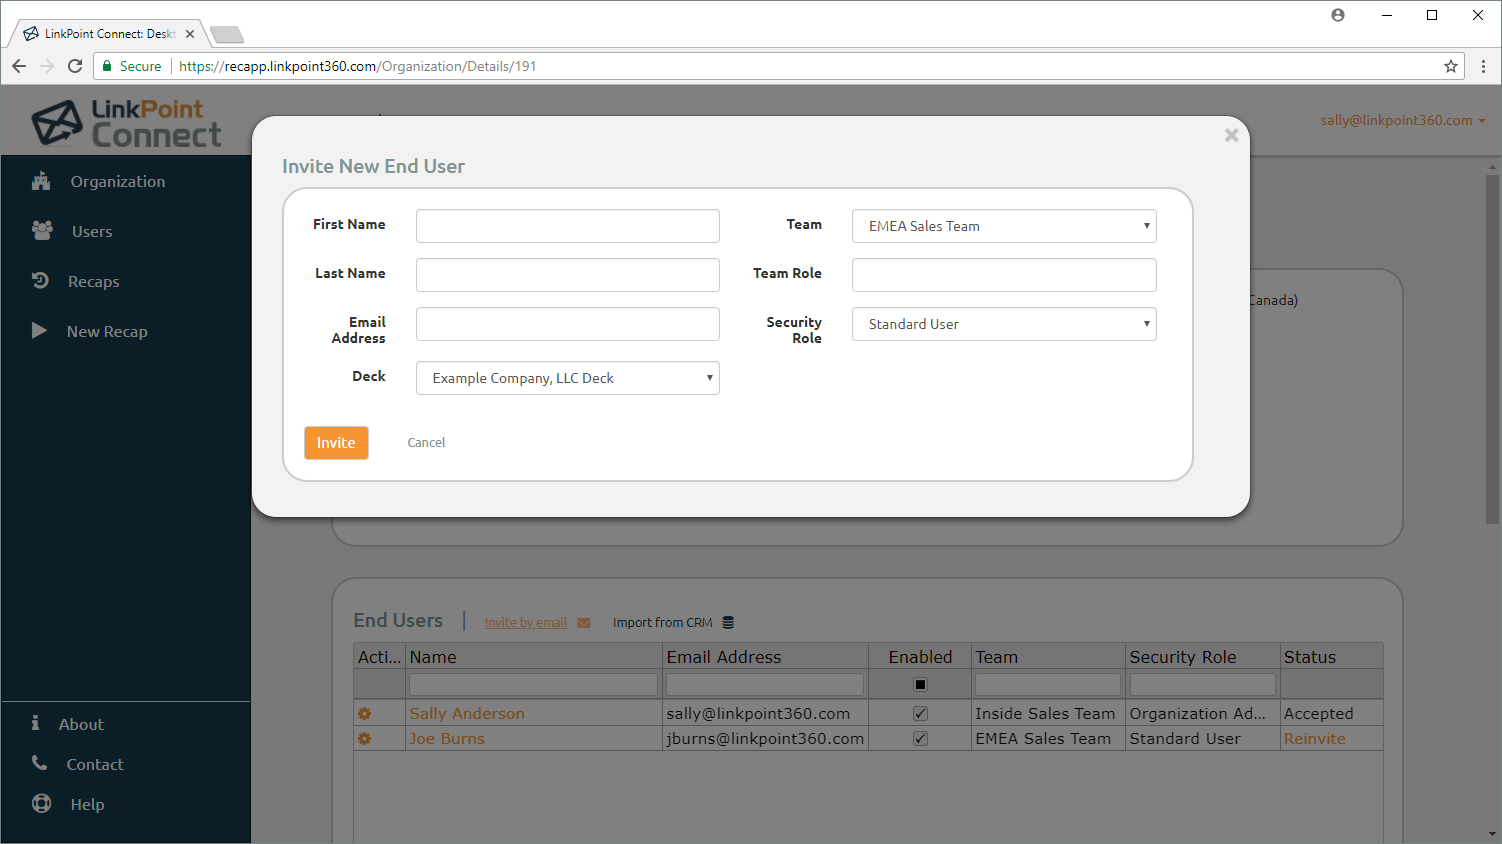
Enter the information into the corresponding fields in the Invite New End User window for First Name, Last Name, Email Address, Deck, Team, Team Role, and Security Role.
Tip: Decks are sets of questions and answers used with Meeting Recap. These are configured during the implementation process. Depending on your configuration, you have may have multiple Deck options.
Tip: The same Team Role may not apply to all of the users on a specific Team. You can leave the Team Role blank for the import process and manually assign each Team Role to the users as applicable. Alternatively, you can import a smaller batch of users so that only users who should be on the same Team and the same Team Role are selected.
Click the Invite button when you are finished. Then click the Close button in the Invite Confirmation window.
Tip: Desktop Plus Edition will send an automated email to each User with Setup Wizard instructions.
Note that the imported Users are listed in the End User table for the Organization.
Tip: The Status column indicates whether the User has clicked the link in their invitation email to configure their Profile via the Setup Wizard. Once the User Profile is configured, the Status will be Accepted. Admins can resend the invitation at any time by selecting the Reinvite link.
Download: Access the complete LinkPoint Connect: Desktop Plus Edition User Guide in .pdf format. Get the User Guide