
Record specific calendar events from Outlook to Salesforce as a one-off action. SnapRecord includes a one-way, single-click method to add an event to a Salesforce calendar. Calendar events added to Salesforce with SnapRecord are automatically updated if the user makes changes to the calendar event in Outlook. However, changes made to the calendar event in Salesforce will not be reflected in Outlook. Users can relate the calendar event to Salesforce records using the Side Panel and complete SnapFields to update additional Salesforce information, if applicable. Events canceled in Outlook after they are SnapRecorded to Salesforce are deleted from Salesforce in real time. This option is enabled by default. SnapRecord is automatically disabled if auto sync is turned on.

Warning: SnapRecord is automatically disabled if auto sync is turned on. Calendar events added to Salesforce with SnapRecord are updated one way, from Salesforce to Outlook. Changes to the calendar events in Salesforce will not be reflected in Outlook.


Click the images throughout the Knowledge Base to see full size versions of screen captures.


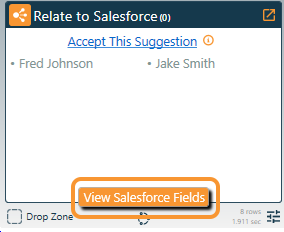
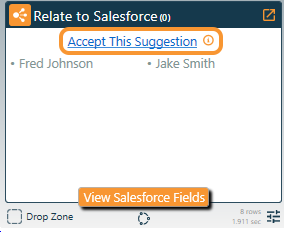
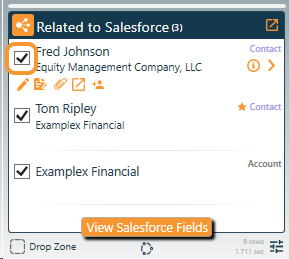
Click the View Salesforce Fields button in the Relate to Salesforce section of the Side Panel.

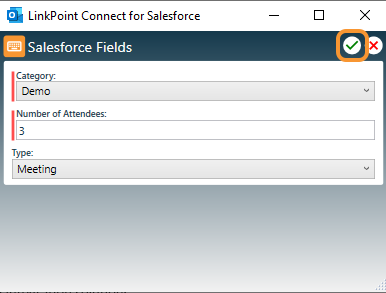
Enter the values as applicable in the Salesforce Fields window, noting that required fields are marked in red. Click the green checkmark when finished. The fields will be updated in Salesforce when the event is recorded.

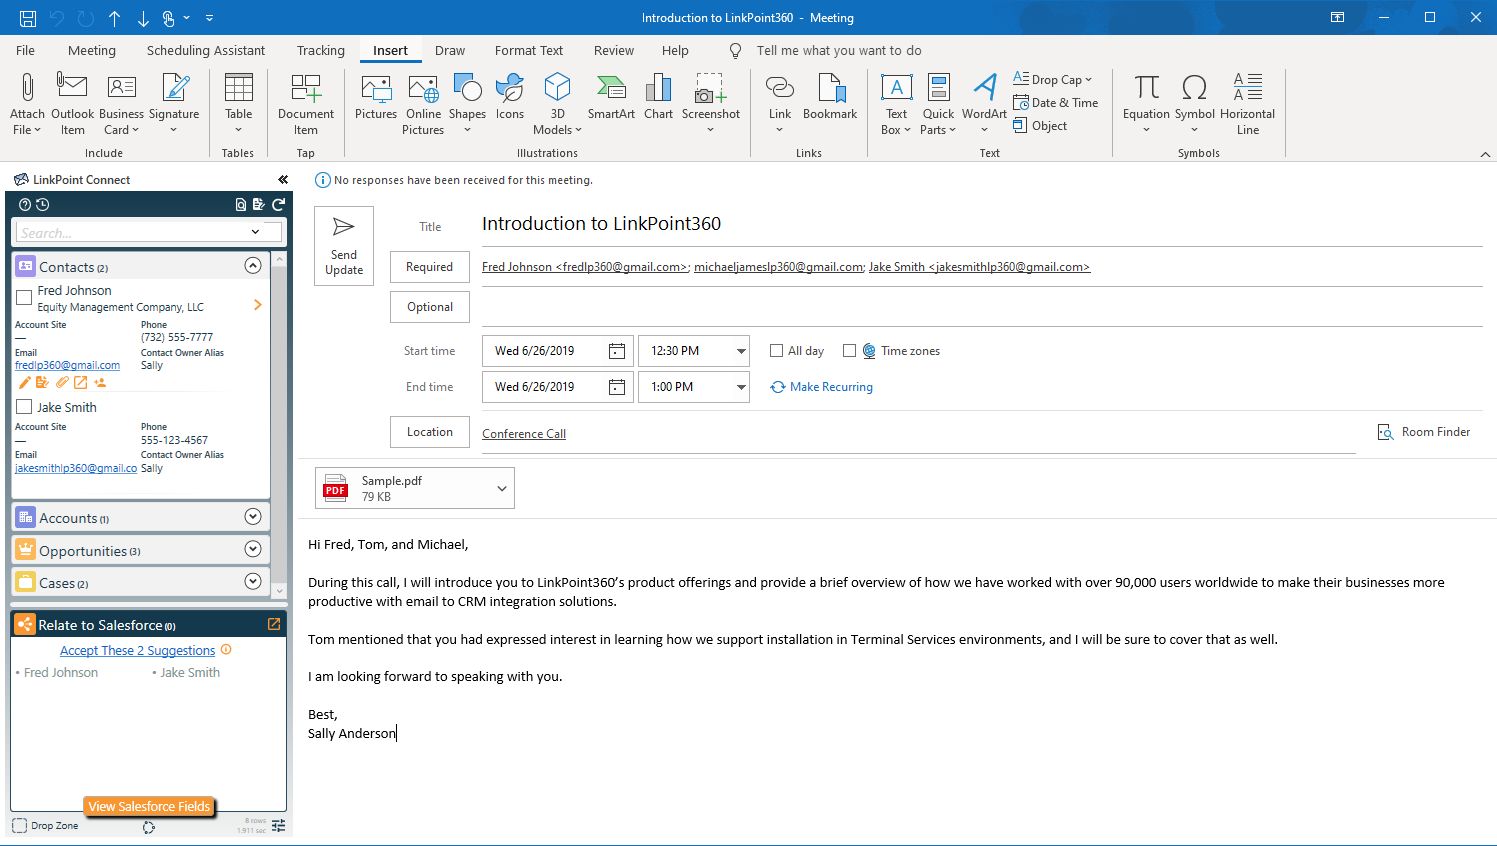
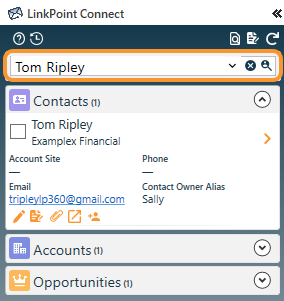
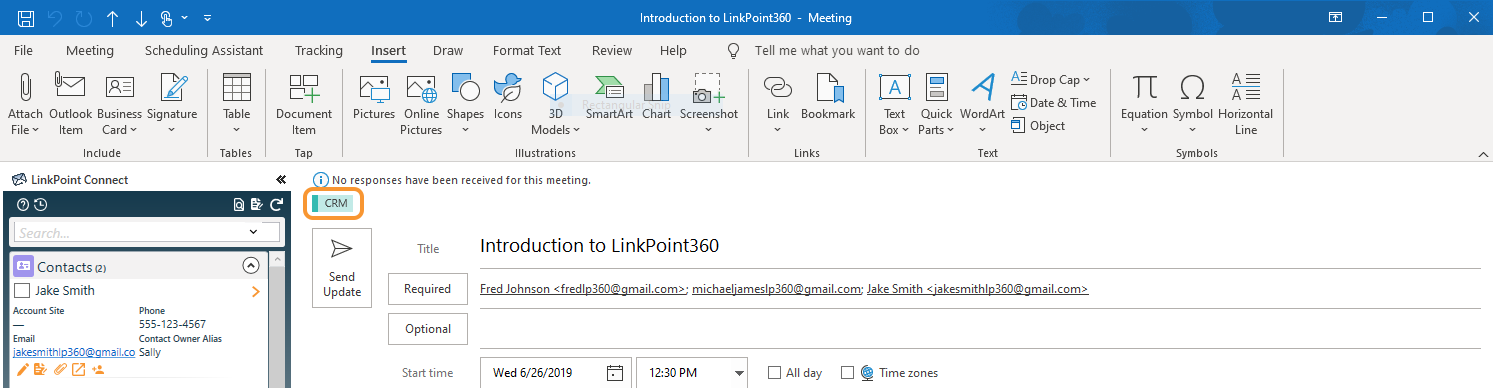
Tip: LinkPoint Connect automatically suggests contacts and leads that exist in Salesforce if they are included in the Required or Optional fields of the meeting. If there are no matching contacts or leads in Salesforce, the Relate to Salesforce section will not display any suggestions.


Warning: Salesforce does not allow users to take action on contacts and leads at the same time. Try selecting only contacts or only leads and record the calendar event.

Enter text in the Search field, and press Enter or click the Search icon to find for additional records.

Deselect the Relate to Salesforce checkbox to disassociate the calendar event from a selected record. Uncheck all of the selections to remove the calendar event from Salesforce.

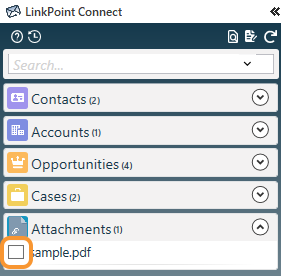
Click the Relate to Salesforce checkbox for event file(s) listed in the Attachments group to record the file to Salesforce along with the event contents.

Send or save a new calendar event to record it to the selected Salesforce records. Existing calendar events will be recorded in real time when Relate to Salesforce selections are made.
![]() Download: Access the complete LinkPoint Connect User Guide in .pdf format. Get the User Guide
Download: Access the complete LinkPoint Connect User Guide in .pdf format. Get the User Guide
