
Enabling auto sync for calendar events will automatically move calendar events between Outlook and Salesforce based on the established sync settings. Users do not need to relate calendar events to Salesforce records for the auto sync to run. However, relating calendar events to Salesforce records provides additional insight regarding a user’s schedule and enhances Salesforce reporting. Users can relate calendar events to Salesforce records using the Side Panel and complete SnapFields to update additional Salesforce information, if applicable.

Relate Calendar Events to Salesforce with Auto Sync

Create or open a Meeting or Appointment in Outlook, and enter information for the item including the invitees, subject, location, date, time, and content as needed.
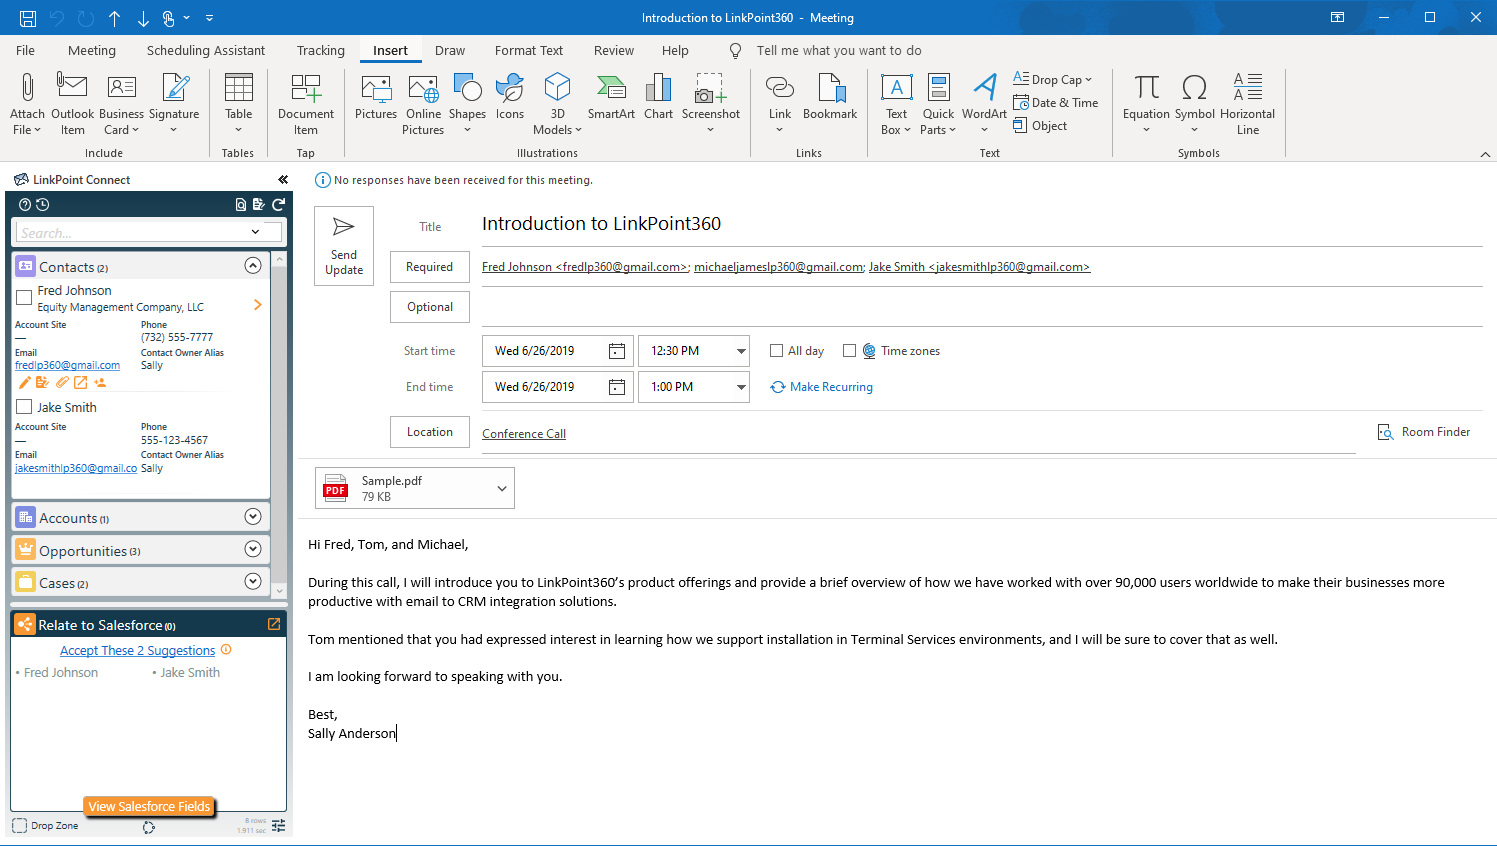


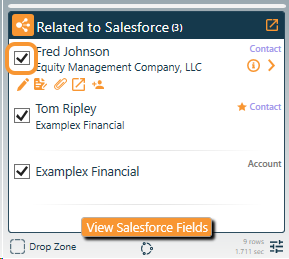
Click the View Salesforce Fields button in the Relate to Salesforce section of the Side Panel.
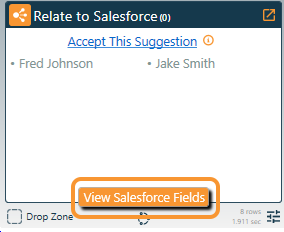
Tip: SnapFields are presented in the View Salesforce Fields window if the Salesforce event page layout includes either the type field and/or any custom required fields. Users cannot SnapRecord the event until required fields are completed. Some users may not have any SnapFields available.

Enter the values as applicable in the Salesforce Fields window, nothing that required fields are marked in red. Click the green checkmark when finished. The fields will be updated in Salesforce when the event is recorded.
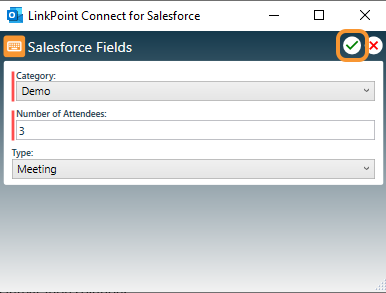

Select the option to Accept This/These Suggestions in the Relate to Salesforce section to record the calendar event to all of the suggested records.

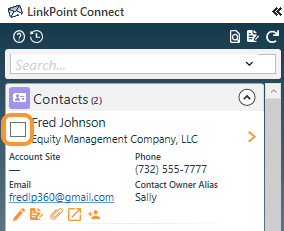
Select the Relate to Salesforce checkbox next to records in the Search Results to record the calendar event to the selected record.


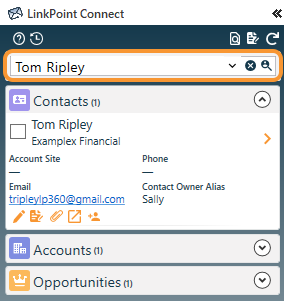
Enter text in the Search field, and press Enter or click the Search icon to find for additional records.

Deselect the Relate to Salesforce checkbox to disassociate the calendar event from a selected record. Uncheck all of the selections to remove the calendar event from Salesforce.

![]() Download: Access the complete LinkPoint Connect User Guide in .pdf format. Get the User Guide
Download: Access the complete LinkPoint Connect User Guide in .pdf format. Get the User Guide
