
LinkPoint TimeScout integrates directly with Office 365 calendars to provide easy authentication and meeting management. First time users will need to set up the TimeScout feature via the LinkPoint Connect Side Panel and web configuration. The set up wizard guides users through adding the account, selecting a calendar, and setting availability.

Warning: LinkPoint TimeScout only supports integration with Office 365 accounts. LinkPoint Connect is backward compatible with Outlook 2010 and on.

Tip: You will only need to enable TimeScout via the Side Panel once to get started.

Click the images throughout the Knowledge Base to see full size versions of screen captures.

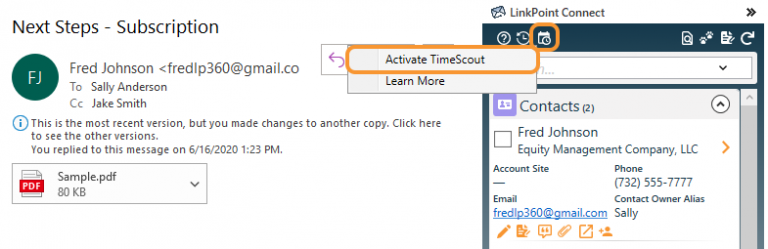
Click the TimeScout icon in the top left section of the Side Panel, and click the Activate TimeScout menu option. This will launch your default web browser.

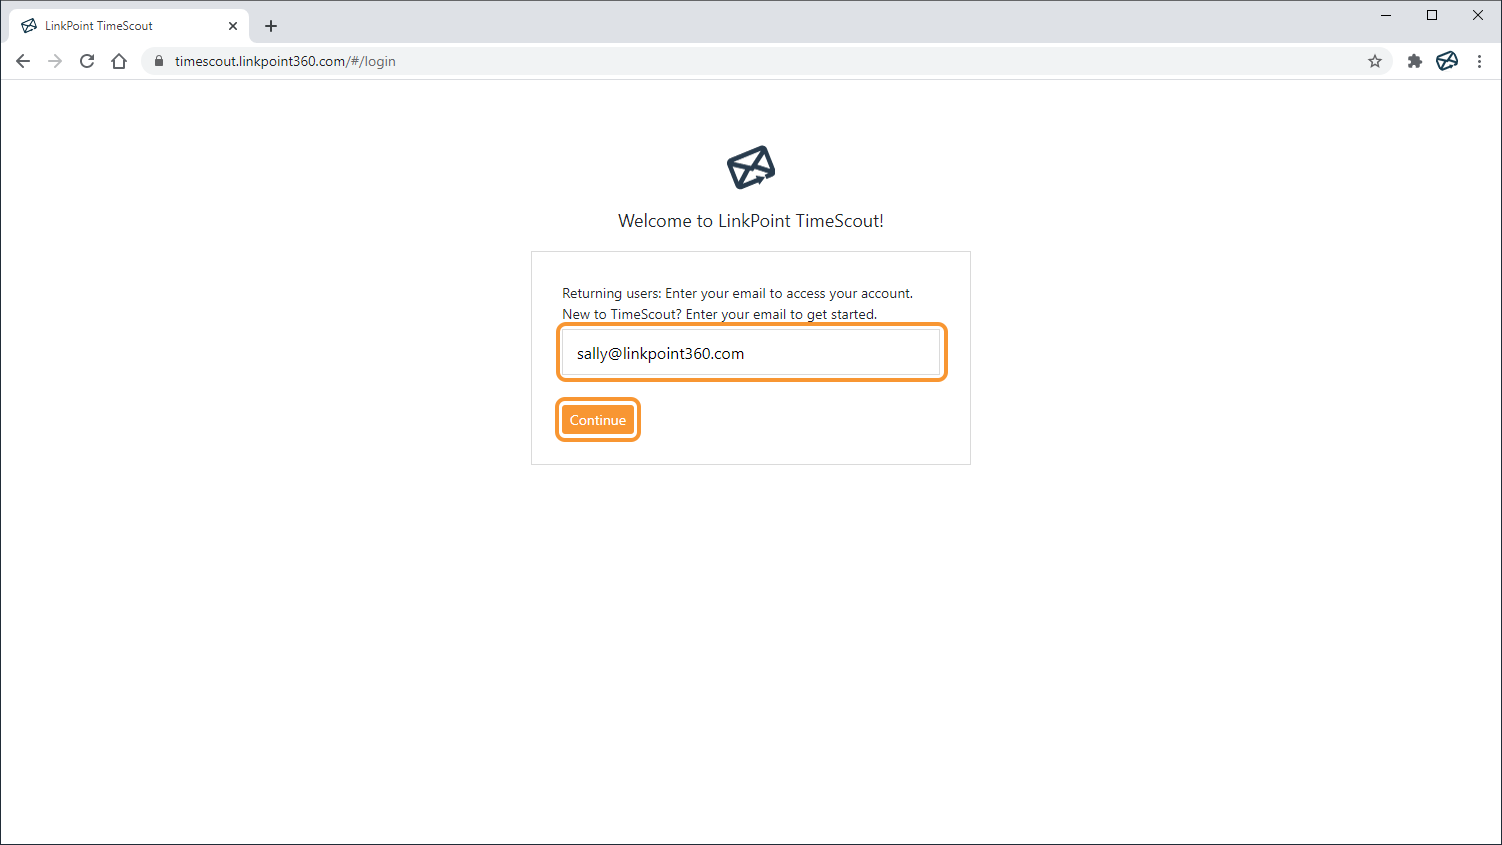
Enter the Email Address for the Office 365 account that TimeScout should connect to for calendar management, and click Continue.

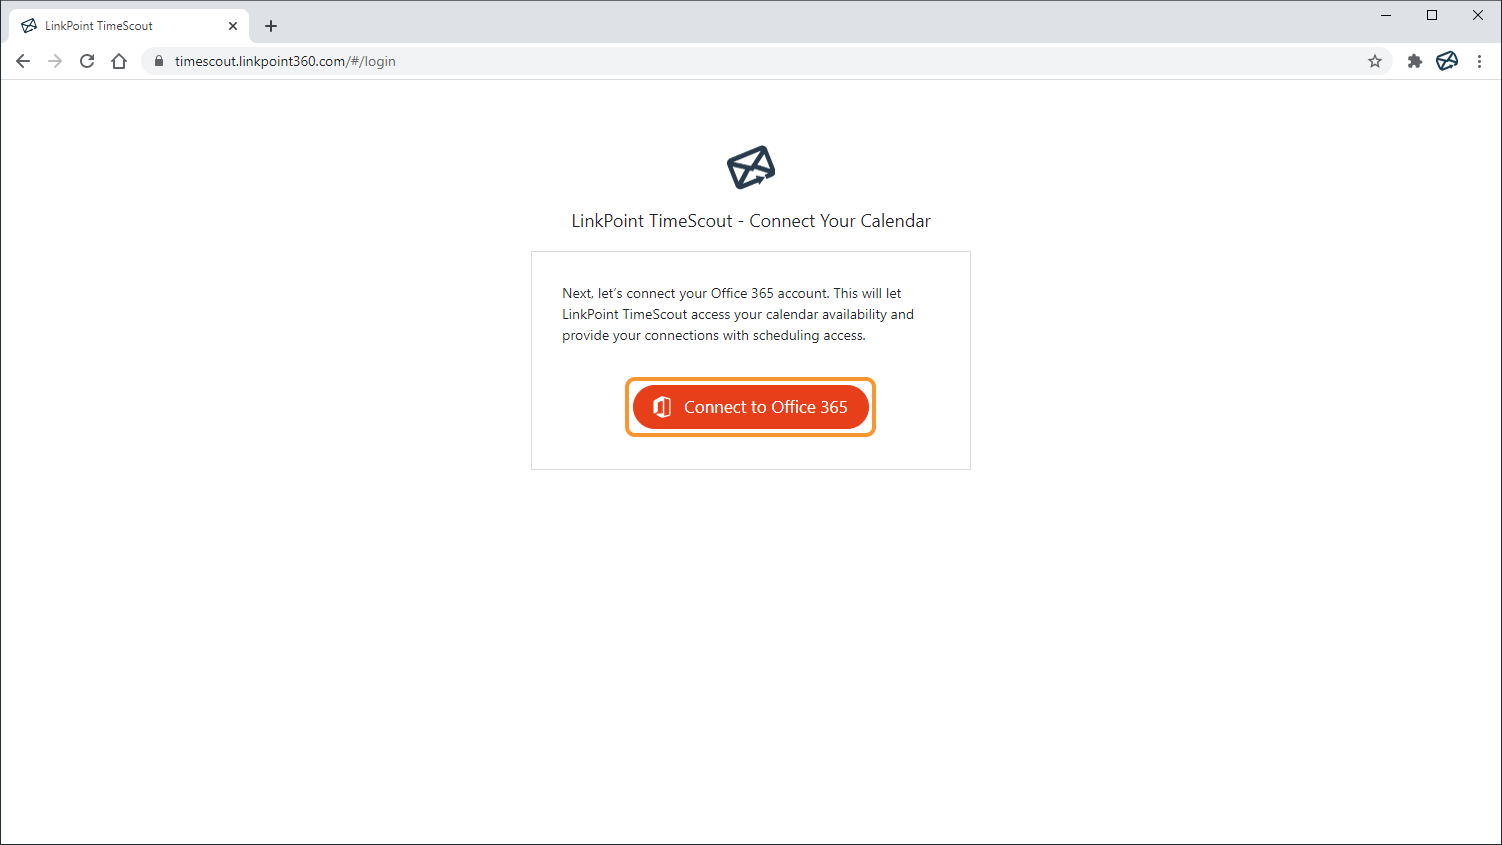
Click the Connect to Office 365 button to launch the authentication process. This will let LinkPoint TimeScout access your calendar availability and provide your connections with scheduling access.

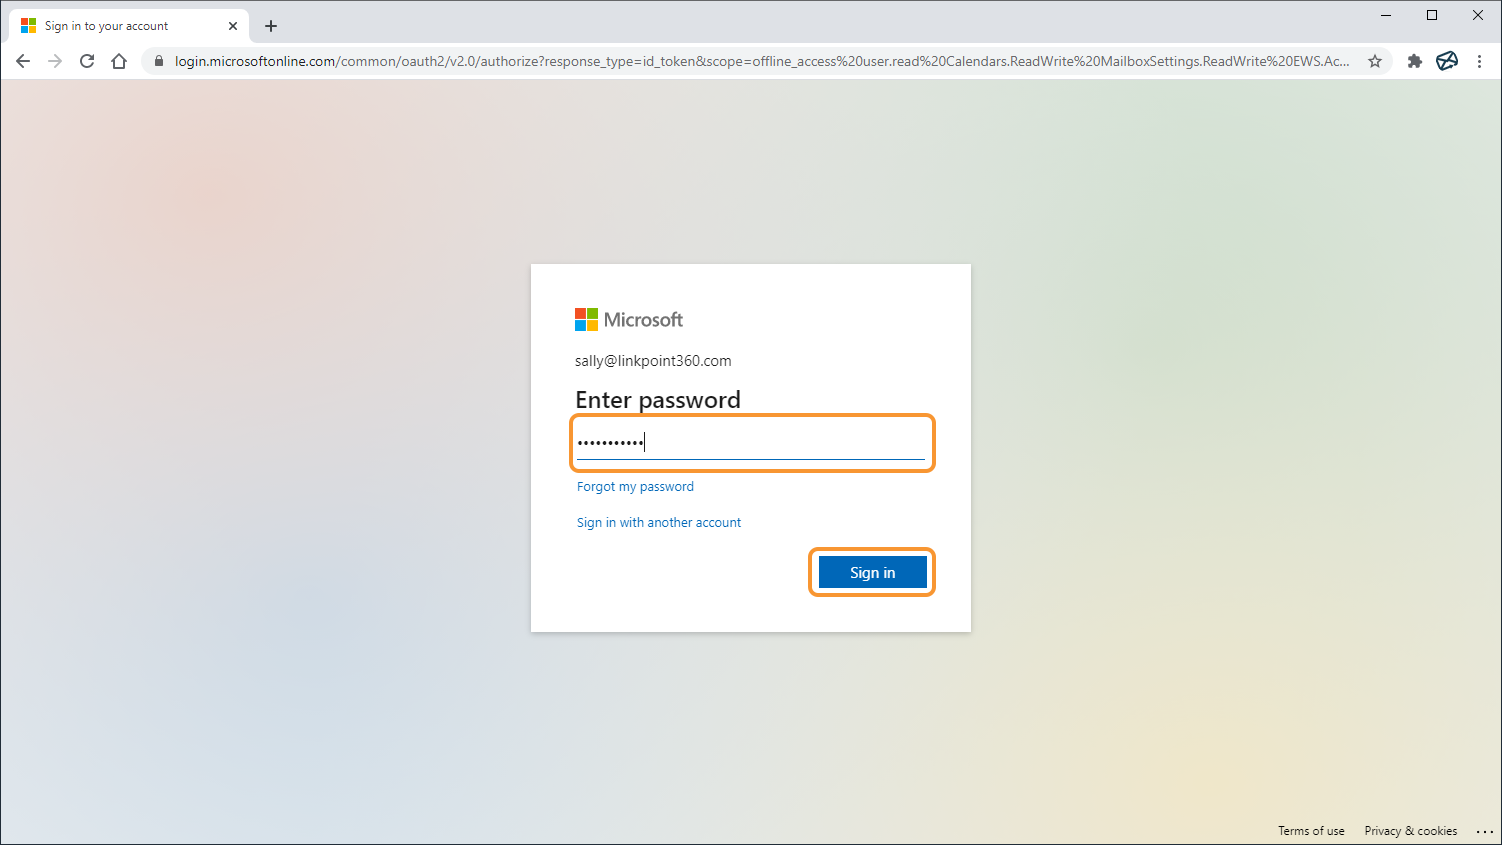
Enter the Office 365 password for the account, and click Sign in.

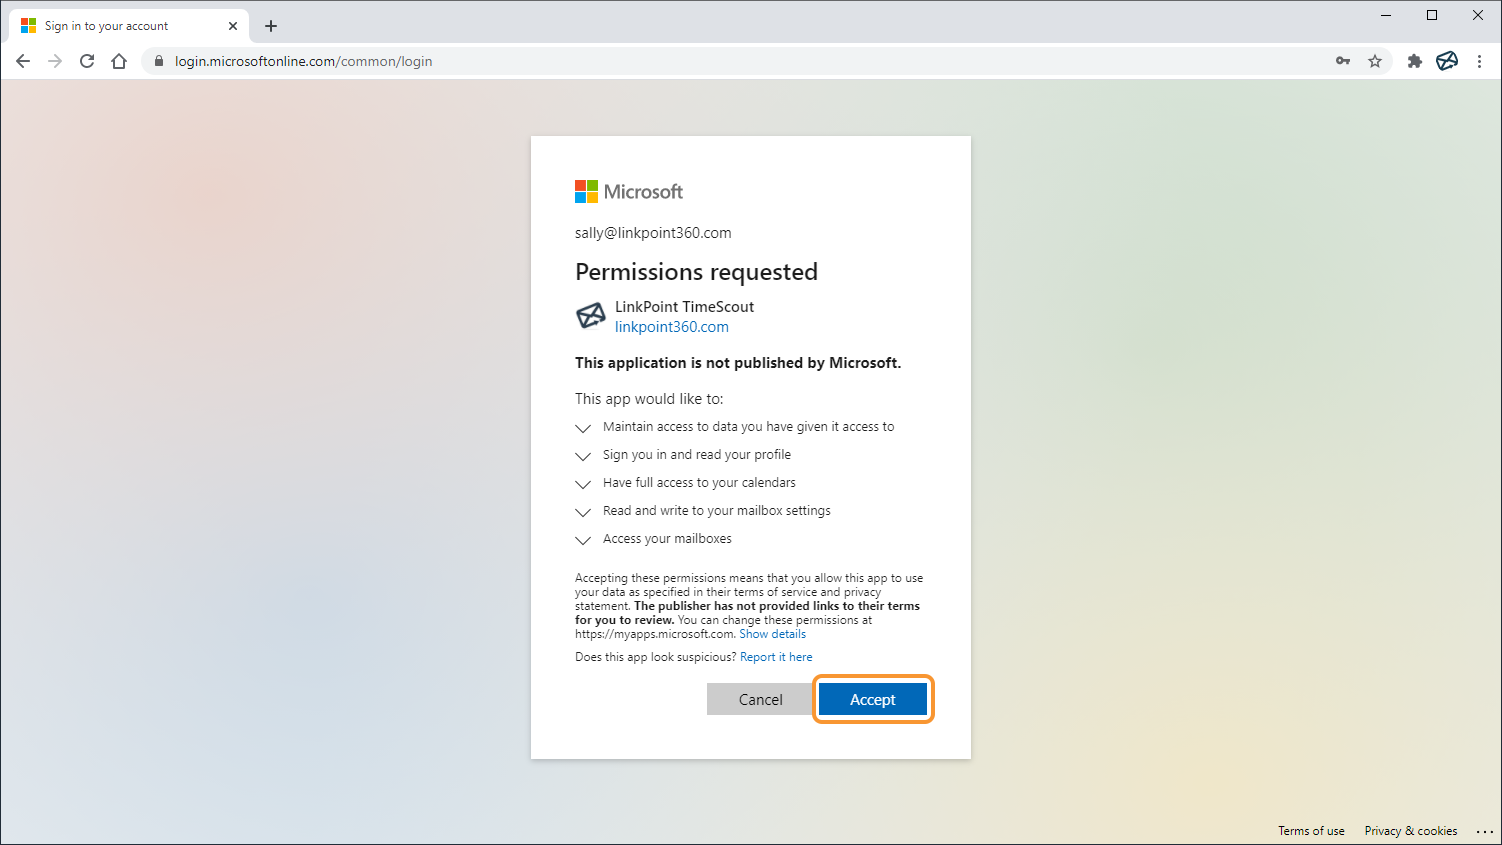
Click Accept in the Permissions requested screen to allow LinkPoint TimeScout to access your Office 365 calendar settings and book meetings on your behalf.

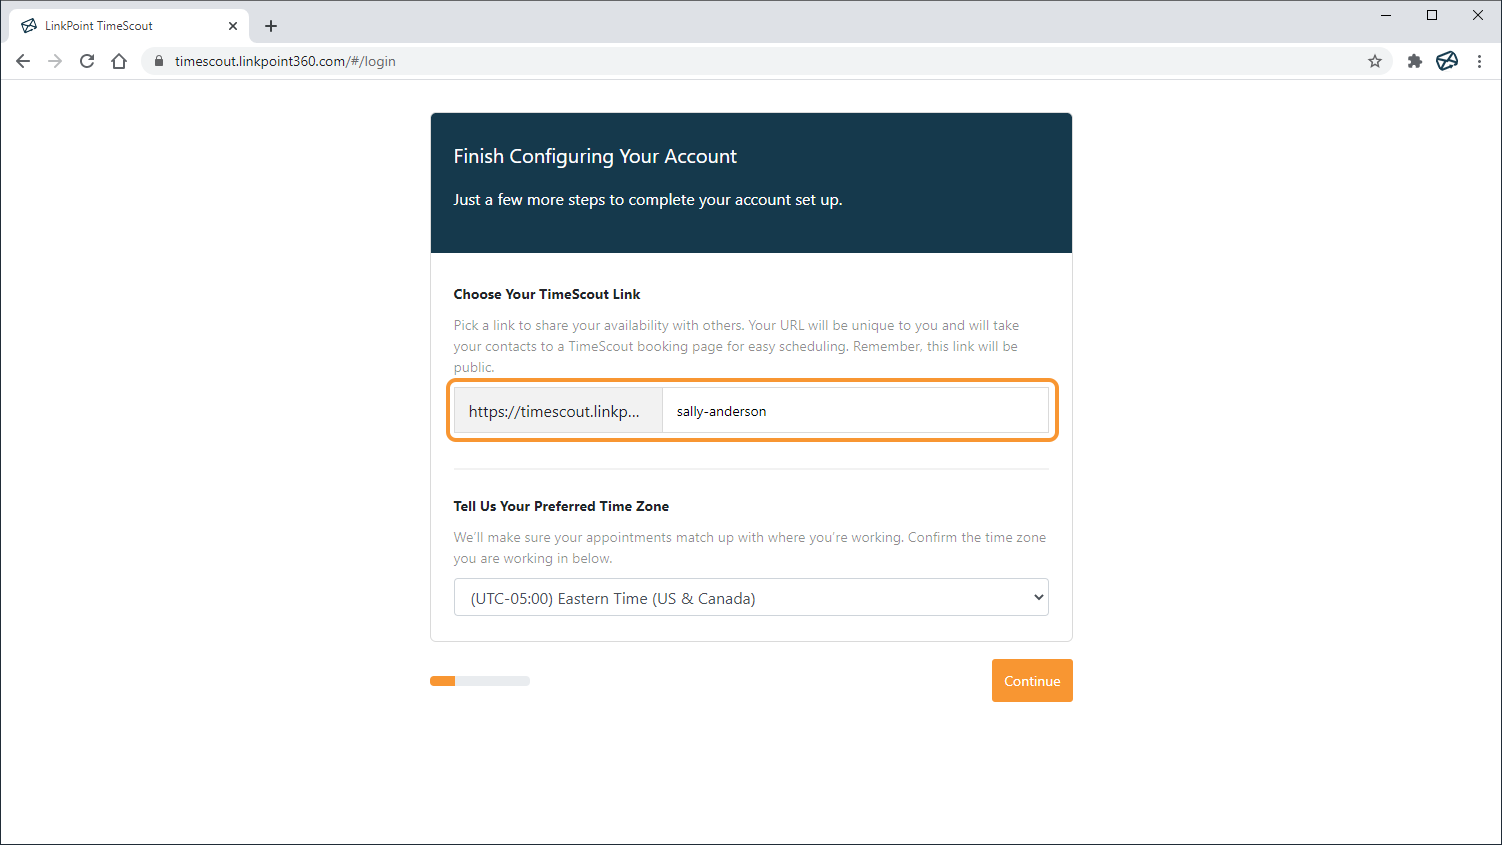
Enter a custom TimeScout Link for your booking page URL. Your link will be unique to you and enable your contacts to book meetings based on your calendar. Remember, this link will be public.

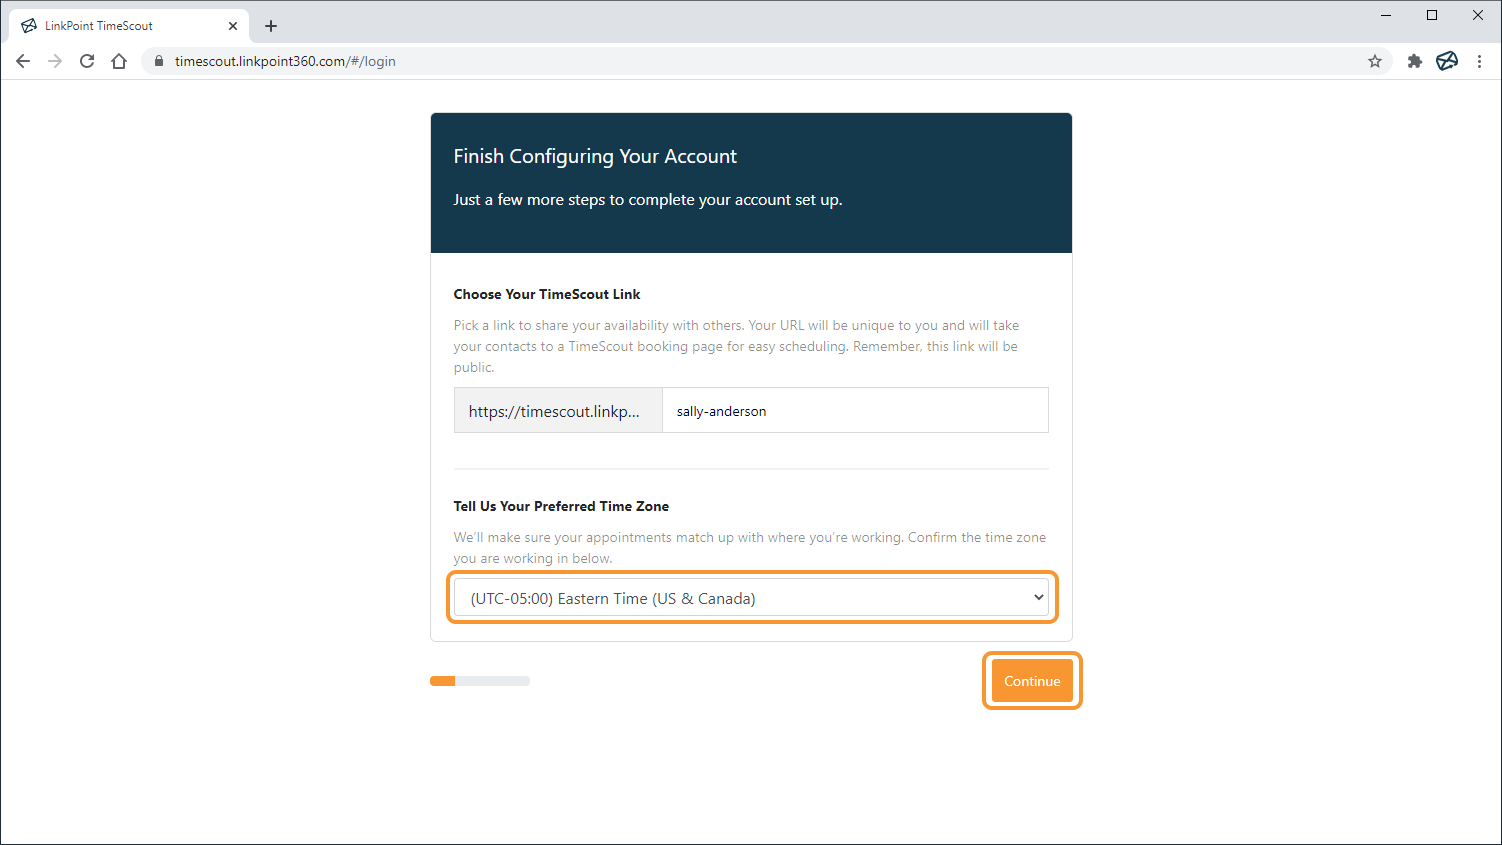
Select your Time Zone from the drop-down list. Click Continue to proceed.

Choose the Office 365 Calendar for TimeScout to manage, and click Continue.
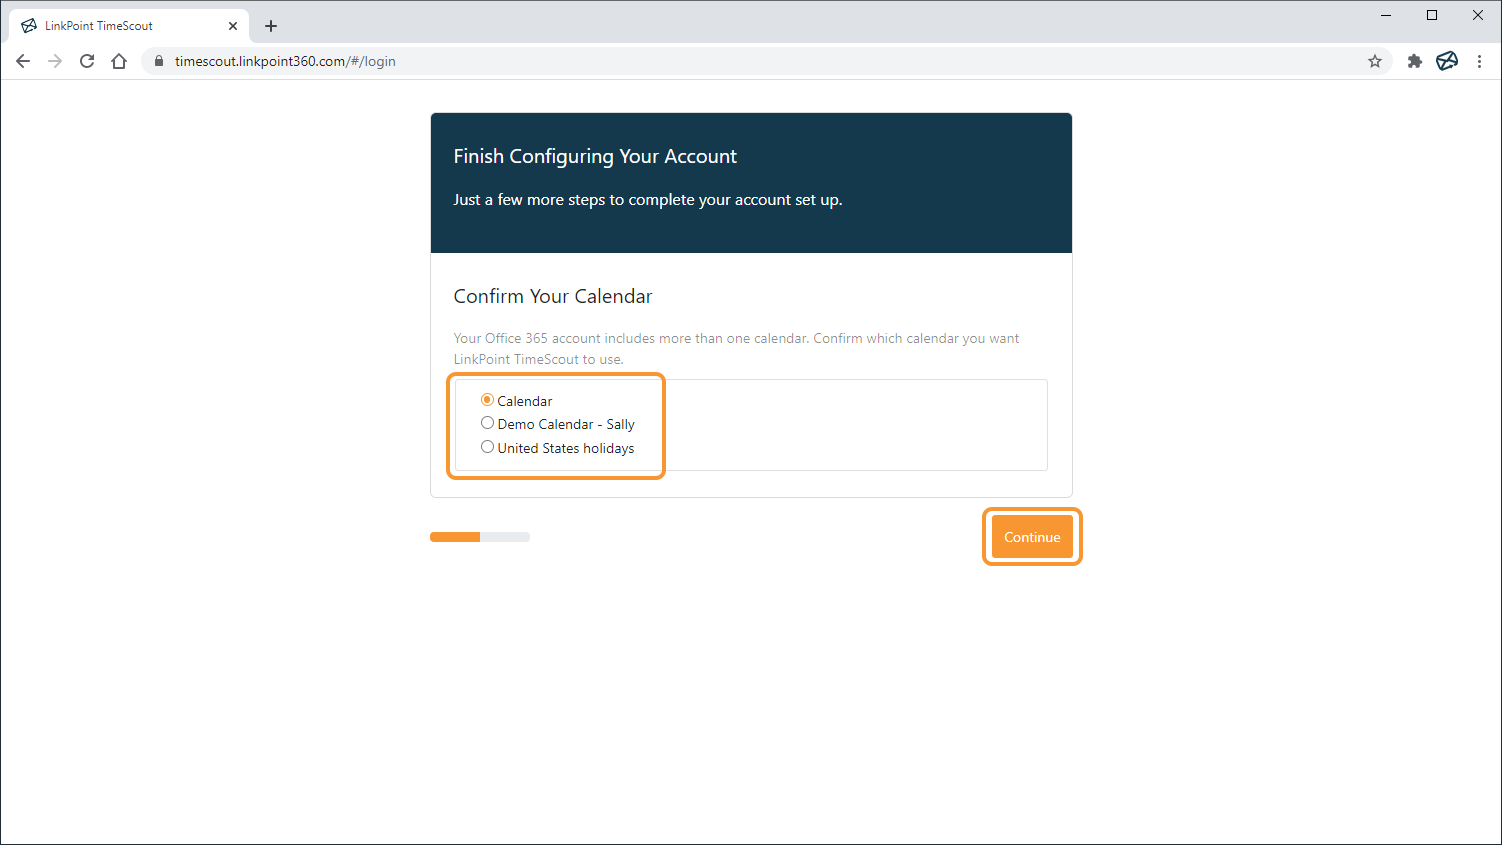

Tip: You will automatically skip this step if you only have one calendar.

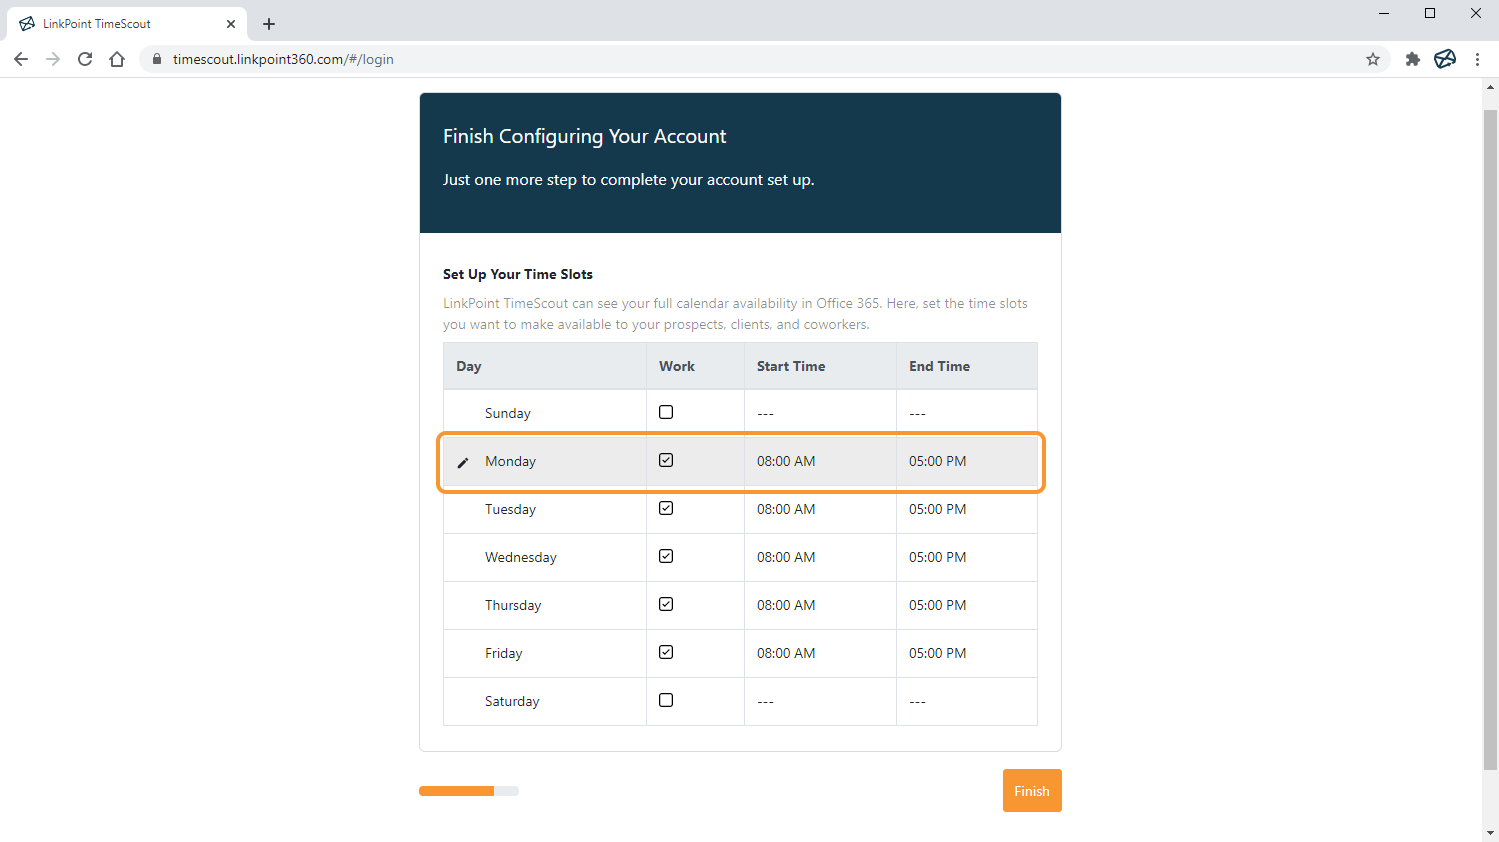
Click a Day, Start Time, or End Time to edit the available time slots.

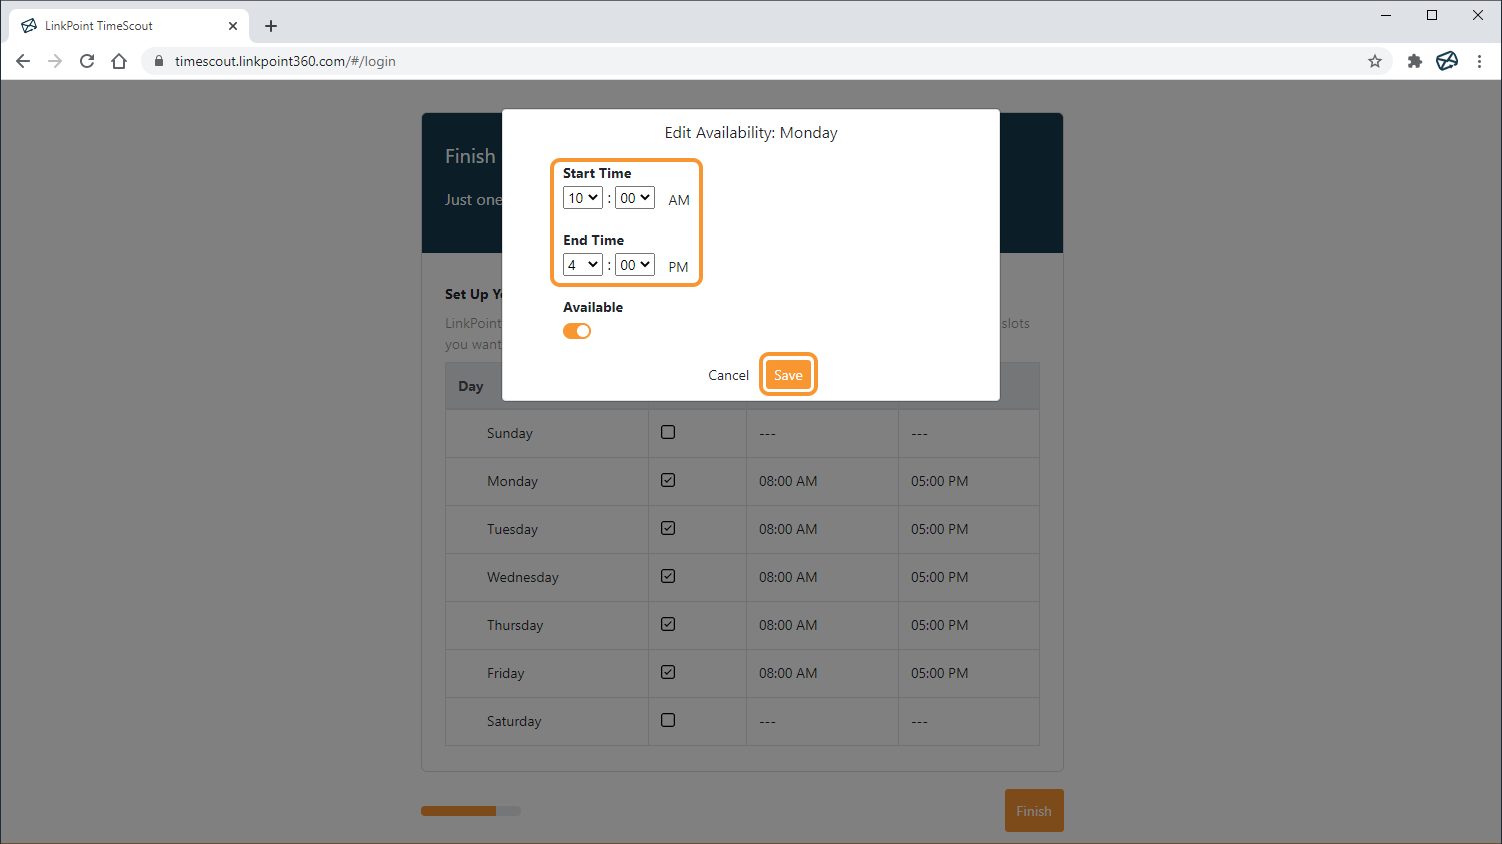
Set the Start Time and/or End Time for the Day. Indicate whether the Day should be Available for users to book meetings. Each Day can be set as or excluded from available options and can be configured with a different Start Time and End Time. Click Save to keep the changes.
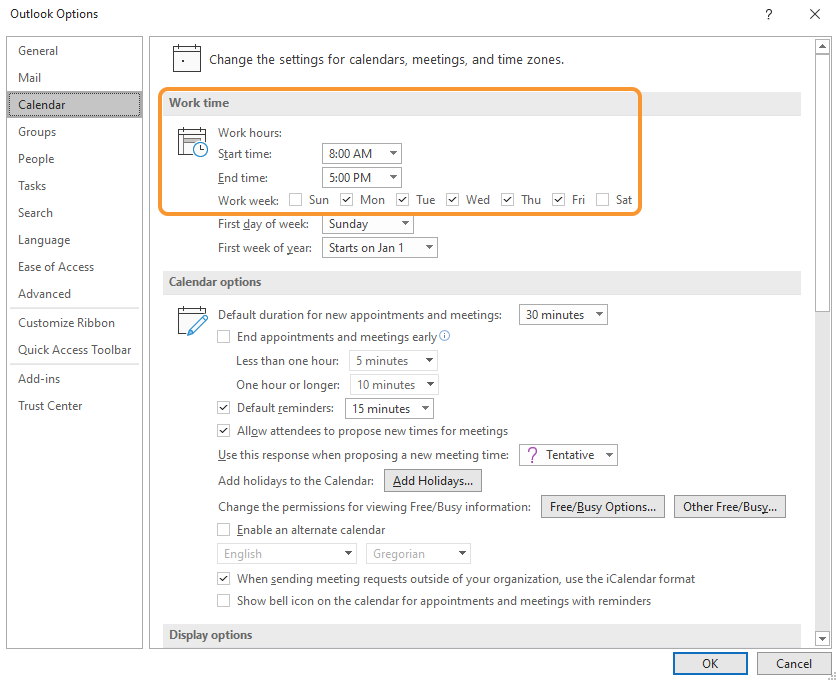
Tip: TimeScout will present the Work Hours and Work Week as they are set in the selected Office 365 Calendar. You can change them in TimeScout to refine the availability you present to prospects and clients.

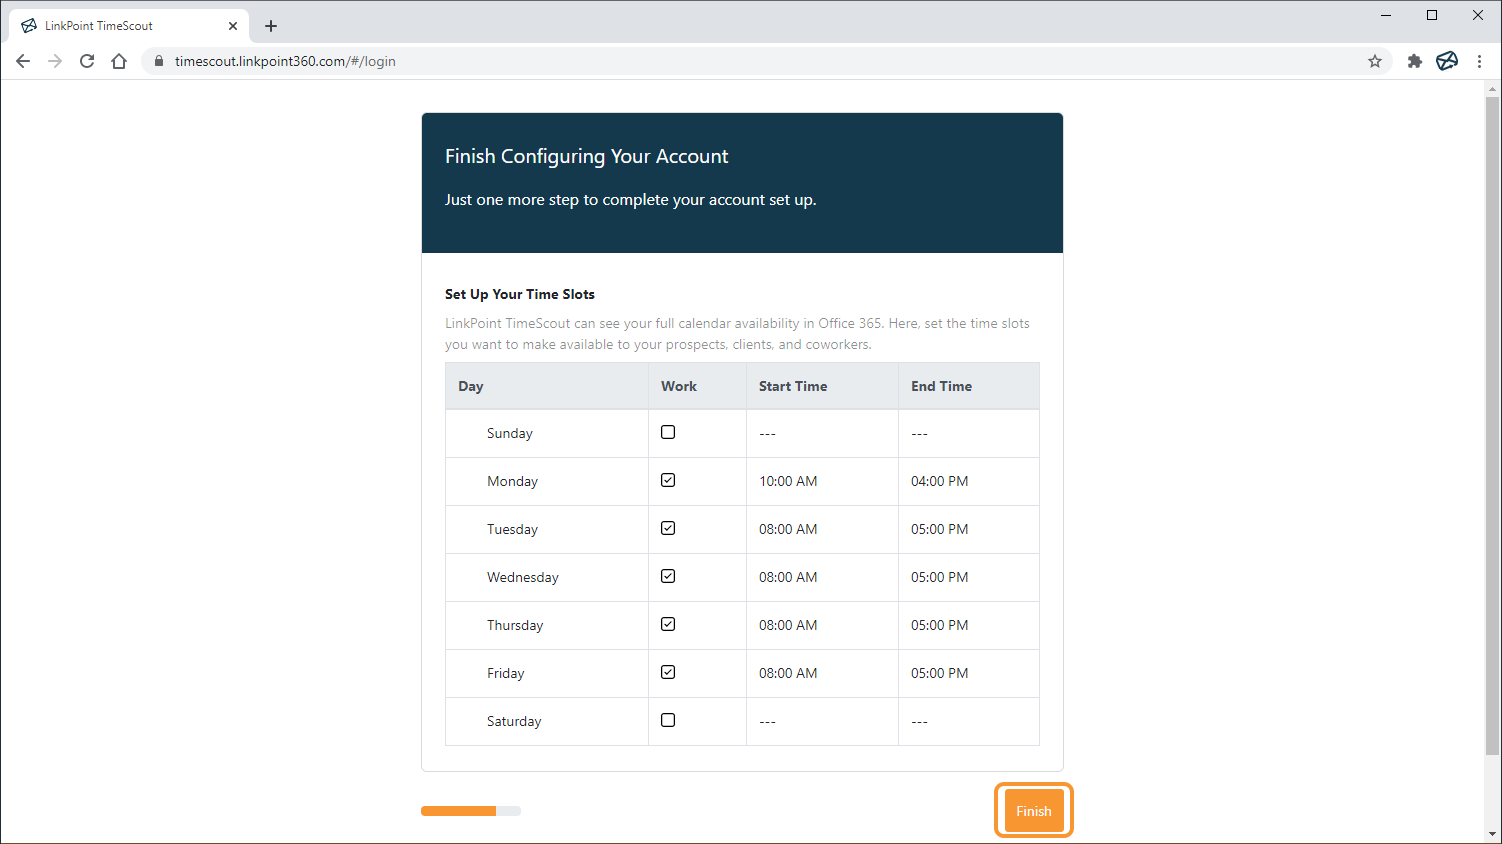
Click Finish to complete the set up wizard.
Tip: You can change your selections at any time in the TimeScout Account Settings.

Download: Access the complete LinkPoint Connect User Guide in .pdf format. Get the User Guide

Still need help? Contact our Support Team