
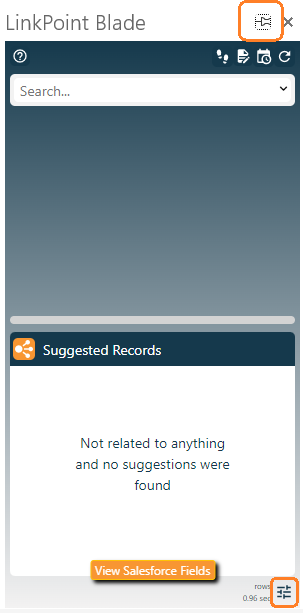
Click the Preferences icon in the bottom-right corner of the Side Panel to launch the Preferences Pane.

Click the Preferences icon in the bottom-right corner of the Side Panel to launch the Preferences Pane.

Expand the General Preferences section for the Side Panel and review the available settings. Note that some options are enabled by default. Select or deselect the checkboxes as needed to make changes.
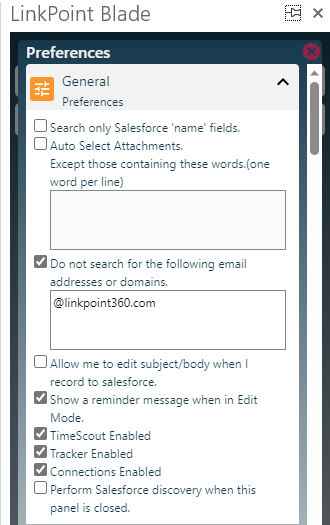

Tip: When working with attachments, users can list file extensions such as .png or .jpg to filter out images commonly found in email signatures. Users can filter out files with words such as brochure or pricing to exclude items commonly sent to people that do not need to be saved repeatedly in Salesforce.
Tip: The option to exclude based on email address(es) and domain(s) is especially useful for excluding the user or others in the organization from the Search Results.

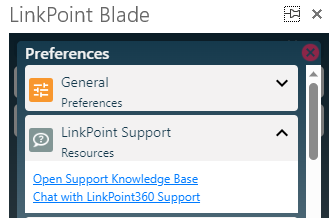
Click the Expand icon to view the list of LinkPoint Support Resources.

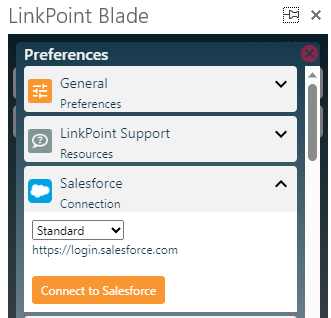
Expand the Salesforce Connection section to connect to Salesforce.

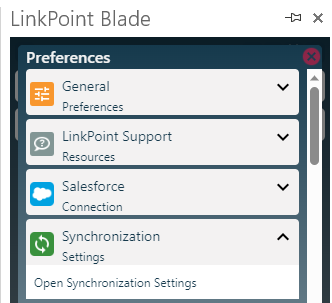
Expand the Synchonization Settings section to configure email and calendar sync.

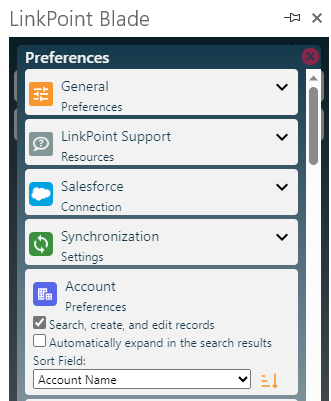
Click the Expand icon for the listed object group in the Preferences Pane. Note that the list of available objects will vary by user.

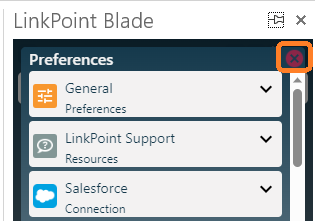
Click the red x icon in the top-right corner to close the Preferences Pane.

Download: Access the complete LinkPoint Blade User Guide in .pdf format. Get the User Guide

Still need help? Contact our Support Team