Control when and how calendar events, contacts, and tasks sync between Outlook and Salesforce with manual sync. Users leverage sync settings in LinkPoint Assist but must take action to run each sync. Users are prompted to review all items that will be considered for the sync and are given the option to include or exclude items before the sync runs. Manual sync is disabled by default and can be configured one-way or bidirectionally between systems for each sync type.
Example: In this example, we will demonstrate how to run a manual sync for calendar events. The settings and process are similar for contacts and tasks.
Click the images throughout the Knowledge Base to see full size versions of screen captures.
Configure and Run a Manual Sync
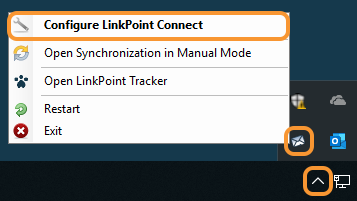
Right click the LinkPoint Assist icon in the system tray, and select Configure LinkPoint Connect.
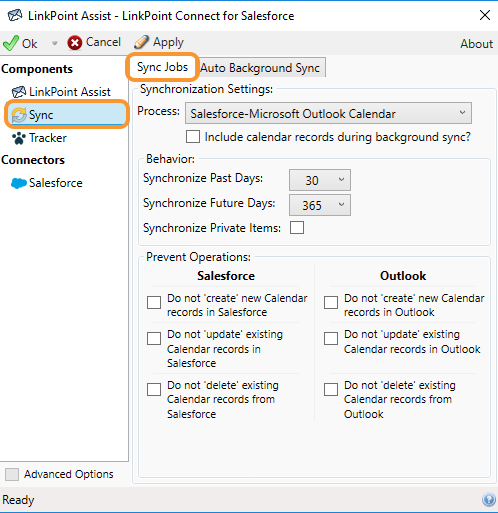
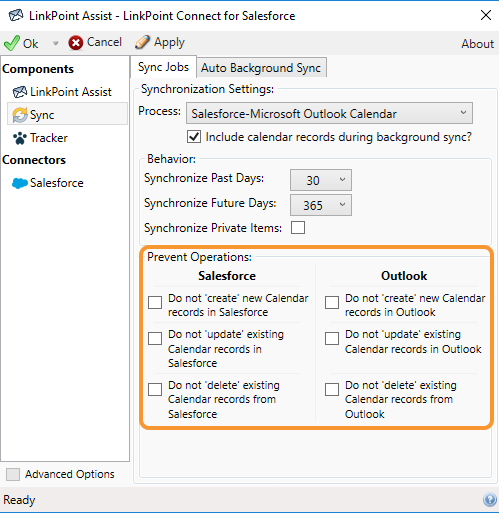
Select Sync from the Components list in the LinkPoint Assist window, and select the Sync Jobs tab.
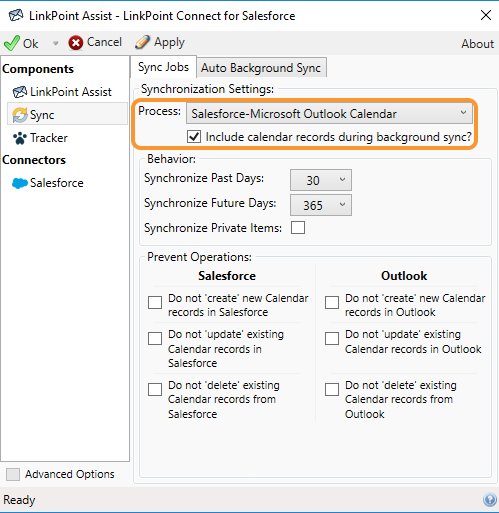
Select Salesforce-Microsoft Outlook Calendar from the Process drop-down list. Then click the checkbox for Include calendar records during background sync?
Tip: Sync settings for calendars, contacts, and tasks are managed separately to give users control over how data moves between Outlook and Salesforce. Users will need to choose sync settings individually for each Process by returning to the drop-down list and selecting the next item.
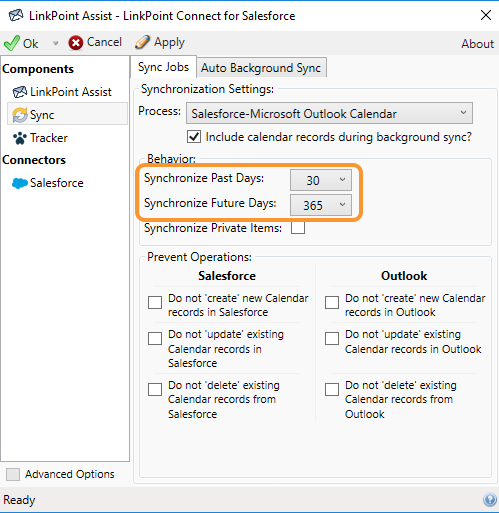
Select the number of days from the Synchronize Past Days and Synchronize Future Days drop-down lists. This will determine how many past and future calendar days to include in the sync.
Tip: The default values are 30 past days and 365 future days. Note that items that fall outside of the specified sync range will no longer sync.
Tip: By default, private items will not sync. Users should mark calendar events as private in Outlook and/or Salesforce prior to enabling the sync.
Select the options in the Prevent Operations section based on workflow need.
Tip: Users can prevent LinkPoint Connect from creating, updating, or deleting items regardless of any other system settings. Users can set this individually for Outlook and Salesforce, effectively creating bidirectional or one-way sync rules.
Tip: For contact sync, the Do not ‘delete’ existing Contact records from Salesforce option is selected by default in LinkPoint Connect as a precaution for users who do not want items removed from Salesforce. Users can deselect the checkbox to override this setting.
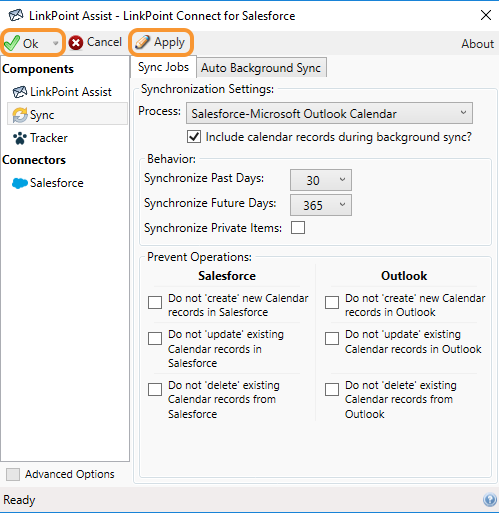
Click the Apply button when finished to finalize the settings. Click Ok to close LinkPoint Assist.
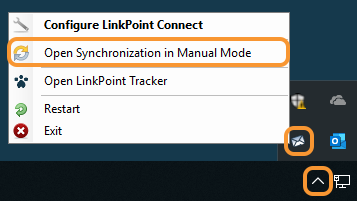
Right click the LinkPoint Assist icon in the system tray, and select Open Synchronization in Manual Mode.
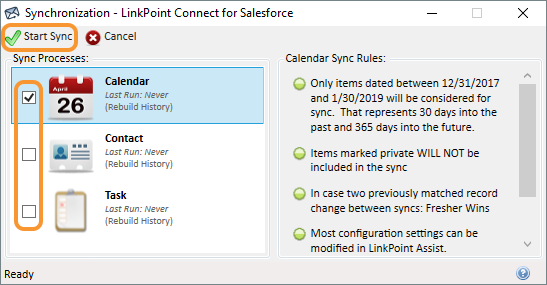
Select the Calendar checkbox. Deselect any other Sync Processes that should not sync at this time. Then click the Start Sync button to proceed.
Tip: LinkPoint Connect will only sync one-to-one between a single Outlook calendar and Salesforce. This means that while users may have access to more than one Outlook calendar (i.e. personal calendar, a team or group calendar), users can only choose one calendar to sync with Salesforce. Note that if a user chooses to sync with a shared Outlook calendar, all items not marked as private will sync to the specific Salesforce calendar.
Tip: Users will have a chance to review and confirm the items to be synchronized before the tool runs the synchronization process.
Click Yes in the Start Sync dialogue box.
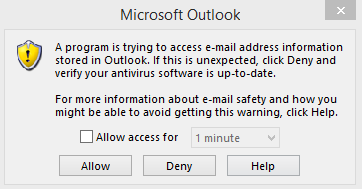
Tip: Users may need to allow LinkPoint Connect to access Outlook depending on system settings. This message often appears when users do not have antivirus activated or updated.
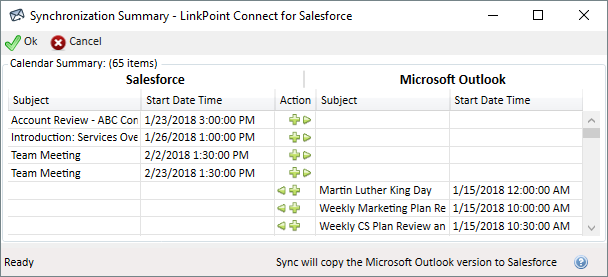
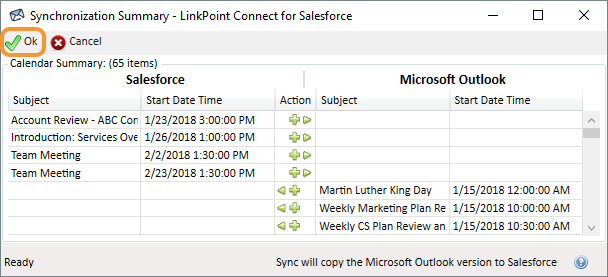
Review the Synchronization Summary window to see a list of all new or updated calendar events that match the established sync criteria. Calendar events that exist in Salesforce appear on the left. Calendar events that exist in Outlook appear on the right.
Tip: Attachments included with calendar events do not sync to Salesforce as part of the sync process. Users will see the file names of the attachments that were included in Salesforce but not the actual file(s).
Review the icons in the Action column to determine how LinkPoint Connect will sync. These actions relate to new, updated, or deleted items either in Salesforce or Outlook.
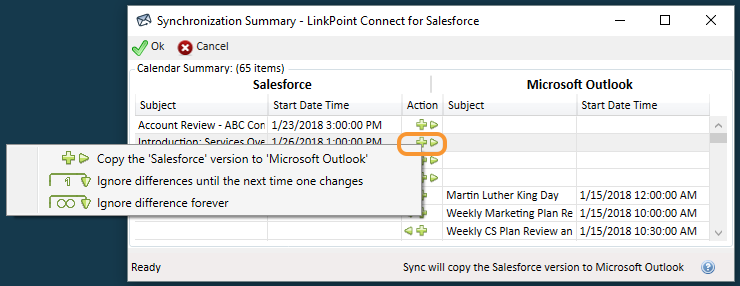
Right click an Action icon to launch a list of additional options. Users can choose to Ignore differences until the next time one changes or Ignore difference forever.
Tip: This is useful for excluding specific calendar events from the sync for a single time or to exclude a calendar event from the sync moving forward. Some users may have appointments that, while not marked as private, do not need to be or should not be added to Salesforce or Outlook.
Tip: Users can select multiple calendar events to apply changes by clicking the items with the mouse while holding the Shift key on the keyboard. Once the items are selected, right click to review the Action options.
Click the Ok button to confirm the items to sync and to run the actual sync process.
Download: Access the complete LinkPoint Connect User Guide in .pdf format. Get the User Guide