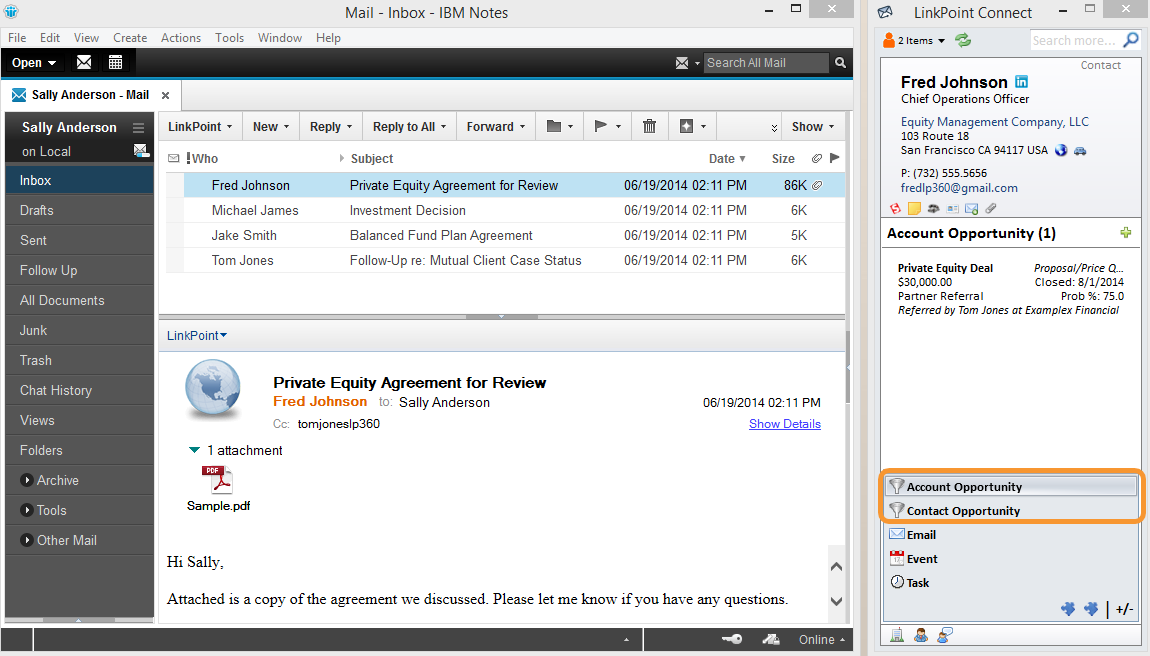
LinkPoint Connect promotes CRM adoption by offering a variety of shortcuts to encourage users to add new contacts, opportunities, and accounts to Salesforce. This can be done easily from IBM Notes.


Click the images throughout the Knowledge Base to see full size versions of screen captures.
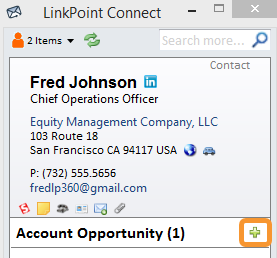
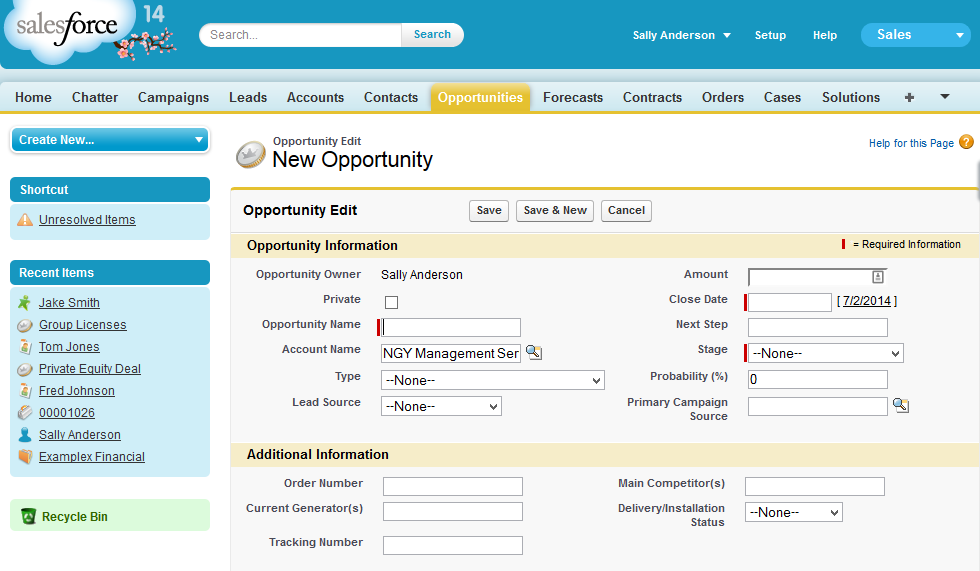
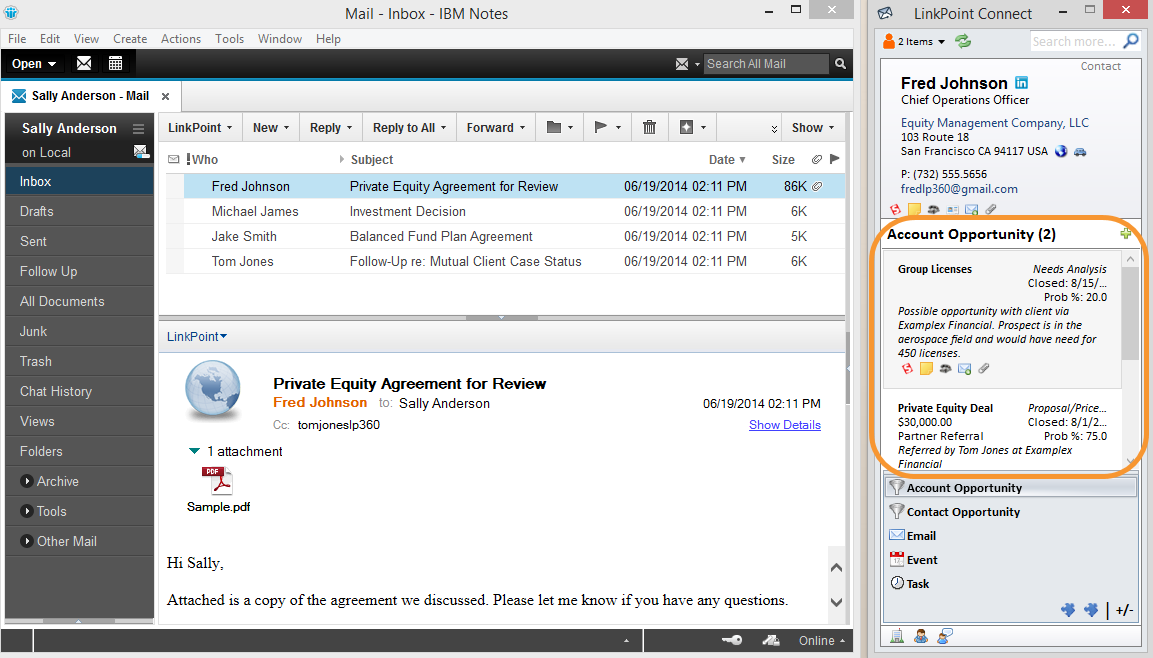
Creating a New Salesforce Opportunity from IBM Notes


![]() Download: Access the complete LinkPoint Connect: IBM Notes + Salesforce User Guide in .pdf format. Get the User Guide
Download: Access the complete LinkPoint Connect: IBM Notes + Salesforce User Guide in .pdf format. Get the User Guide
