In this section, you will learn how to install the LinkPoint Connect software. Users can access the LinkPoint Connect Installer in several ways including the LinkPoint360 Evaluation Form or a direct link provided by a LinkPoint360 Account Executive. All methods provide access to the same Installer for users of both the free trial and licensed product.


Click the images throughout the Knowledge Base to see full size versions of screen captures.
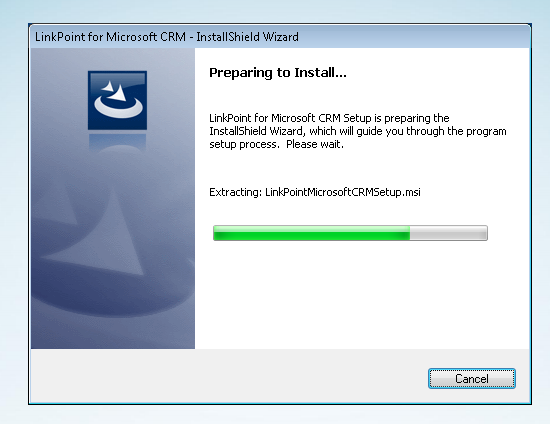
Installing LinkPoint Connect


The LinkPoint Connect Installation Wizard will guide you through the installation.

Click the Next button to begin the installation.


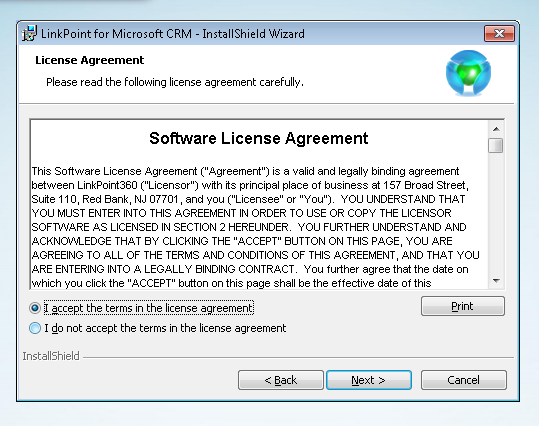
Click the checkbox labeled I accept the terms in the license agreement and then click Next.

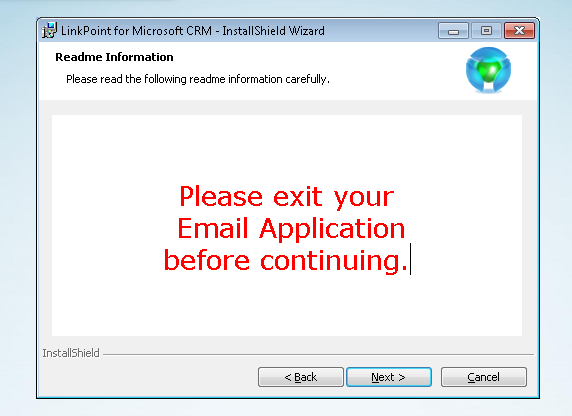
Make sure to exit Microsoft Outlook, and then click Next.

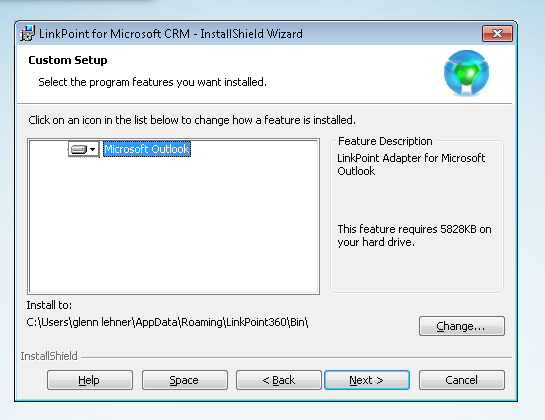
Click Next to accept the Microsoft Outlook installation.

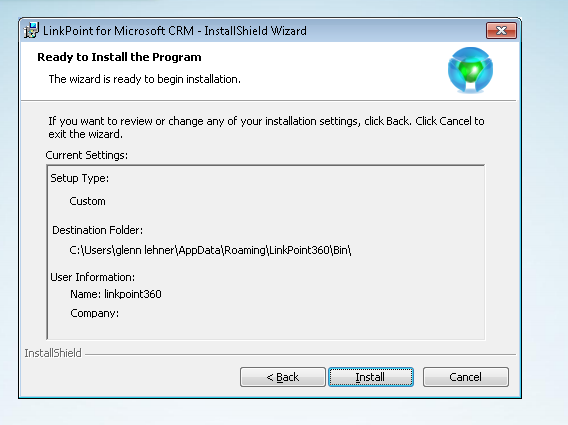
Click Install to begin the installation.