Relating an Outlook Contact to a Salesforce Account
LinkPoint Connect enables users to associate existing Outlook Contacts with Salesforce Accounts, allowing items to be created once and then sync as needed between systems. In this section, you will learn how to relate Outlook Contacts to Salesforce Accounts and include them in the LinkPoint Connect Contact Sync.
Click the images throughout the Knowledge Base to see full size versions of screen captures.
Relating an Outlook Contact to a Salesforce Account
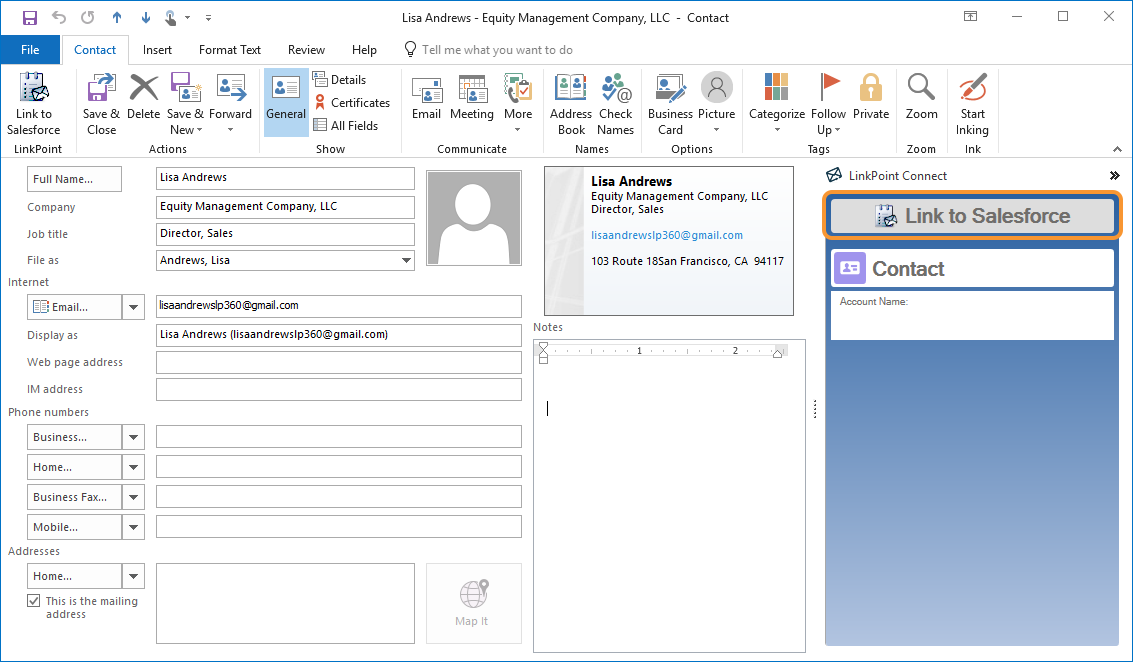
Open a Contact record in Outlook and click the Link to Salesforce button.
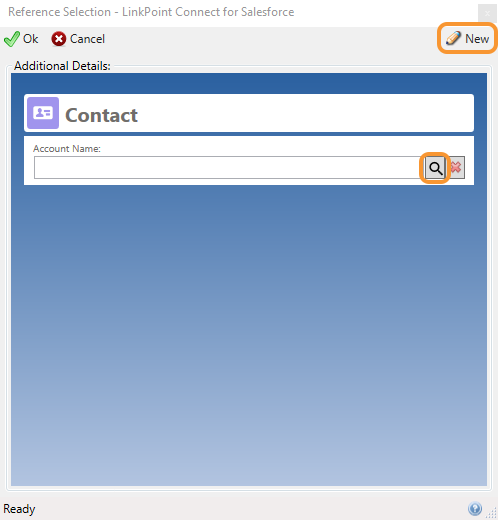
Select the option to look up an existing Salesforce Account in the Account Name field by clicking the magnifying glass icon or click the New button to create a new Account using Smart Forms.
Example: In this example, we will demonstrate how to look up an existing Salesforce Account.
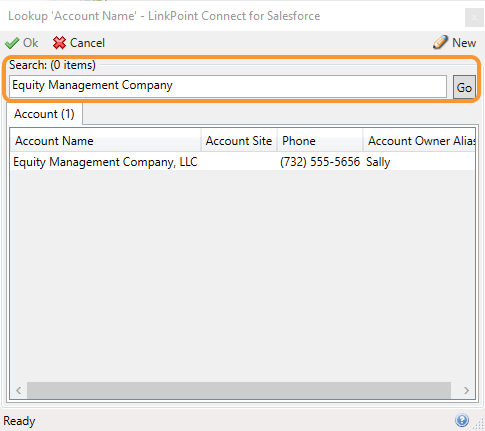
Click the magnifying glass icon, enter an Account Name in the Search field, and click Go. The Account list will populate with all matching Salesforce records.
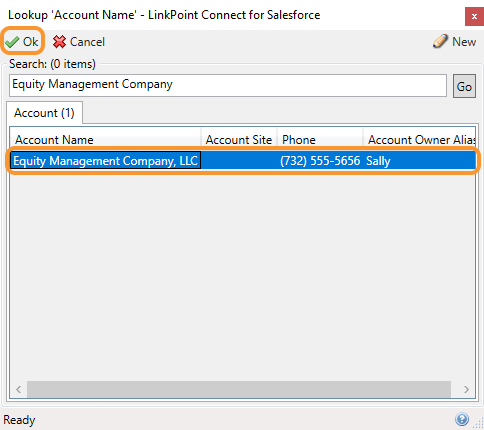
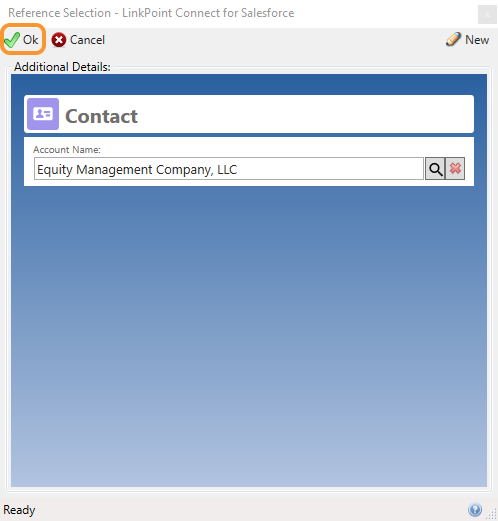
Select an Account from the list and click Ok.
Click Ok in the Reference Selection window to confirm the Account.
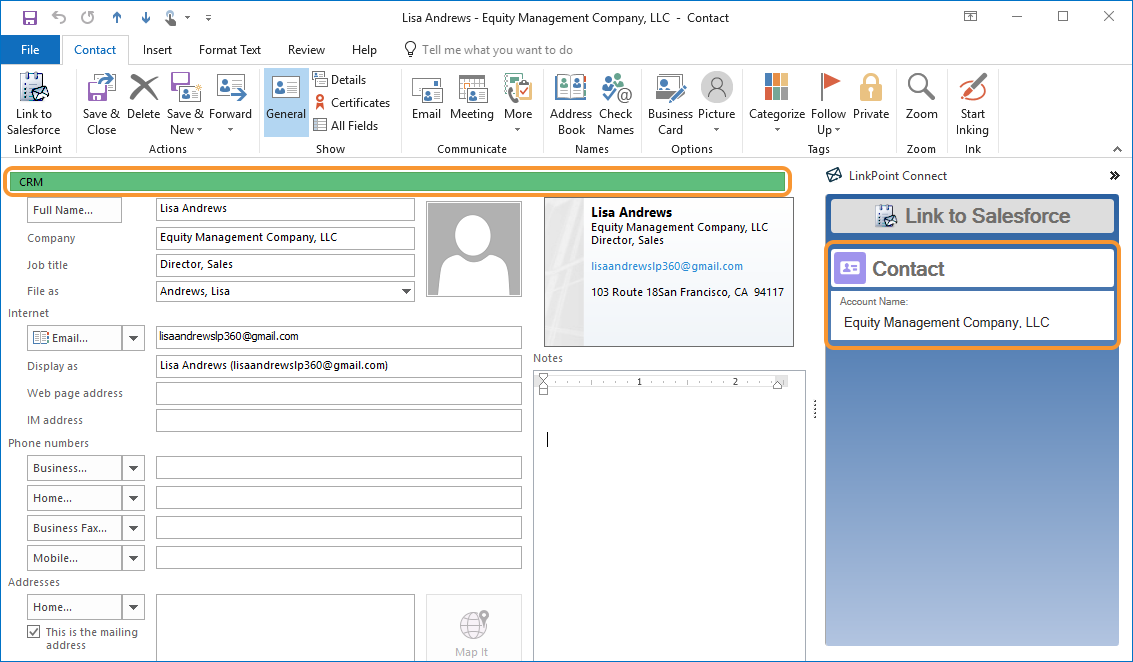
Note that the Contact is now marked with a CRM category to ensure that it is included in the next Contact Sync. The Side Panel displays the Account that the Contact will be related to in Salesforce once the sync runs.
Click the Save & Close button to save the Contact in Outlook. LinkPoint Connect will sync the Contact to Salesforce during the next scheduled or manual sync depending on your settings.
Download: Access the complete LinkPoint Connect: Outlook + Salesforce User Guide in .pdf format. Get the User Guide