Adding Salesforce Contacts as Email Recipients in IBM Notes
LinkPoint Connect provides unique functionality that gives users access to use their Salesforce data without leaving IBM Notes. When creating a new email, sending a reply, or forwarding communication, users can easily access their existing Salesforce contacts directly within IBM Notes to include additional recipients. In this section, you will learn how to access and use your Salesforce contacts when working with outbound emails.
Click the images throughout the Knowledge Base to see full size versions of screen captures.
Adding Salesforce Contacts as Email Recipients in IBM Notes
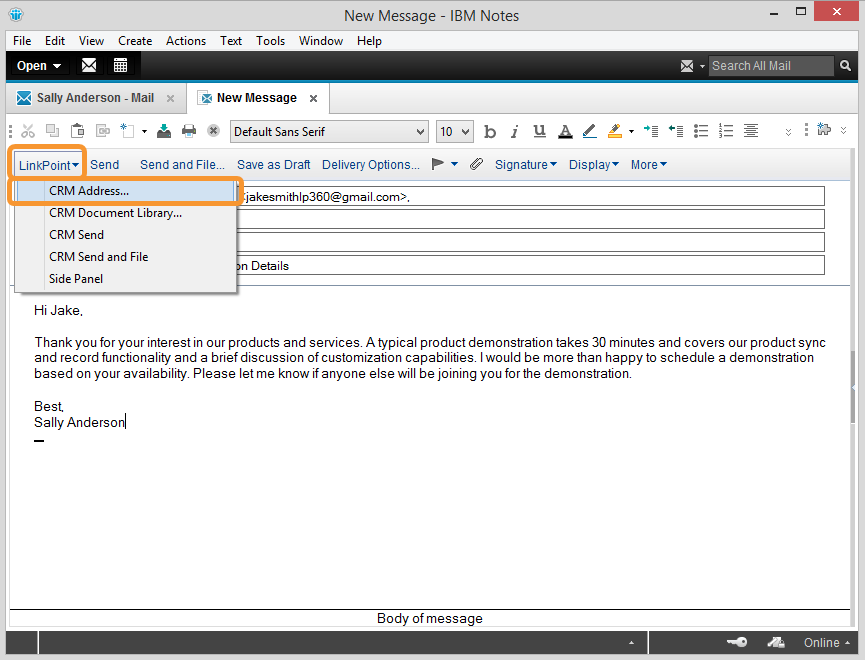
Open an outgoing email (either a new or existing email). Select LinkPoint from the toolbar, and then select CRM Address…from the drop-down menu.
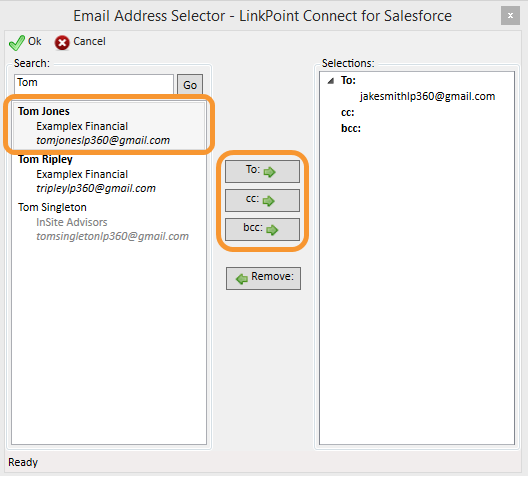
Search for Salesforce contacts by entering a full or partial contact name, account name, or email address in the Search field and click the Go button.
Tip: Any contacts already included in the To, Cc, or Bcc fields of the email will automatically appear within the Selections pane of the Email Address Selector window.
Additional Resources: By default, LinkPoint Connect searches for Salesforce Address Book contacts based on Account Name, First Name, Last Name, or Email Address. LinkPoint360 can customize the Search Bar to include results from custom fields including secondary email addresses. Please contact the LinkPoint360 Support Team for more information.
Select the relevant contact and click the To:, cc:, or bcc: buttons to add the contact as a recipient.
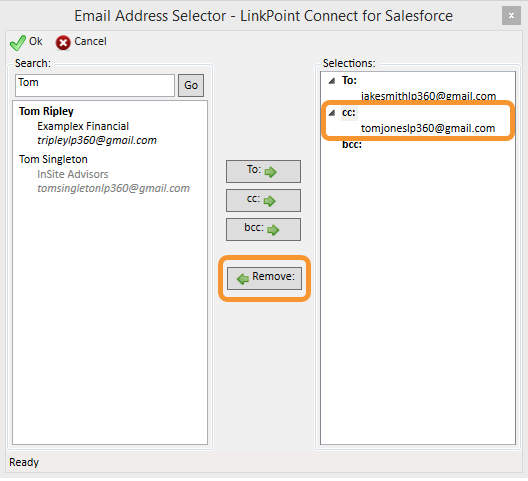
Select a contact in the Selections pane and click the Remove button to remove them from the recipient list.
Tip: Double click a contact in either the Search or Selection pane to quickly move it from one side to the other. Double clicking a search item will add it as a To: contact in the Selection pane.
Add any additional contacts based on your search criteria. Note that all Salesforce contacts and leads that match your search hint and have an email address will be displayed.
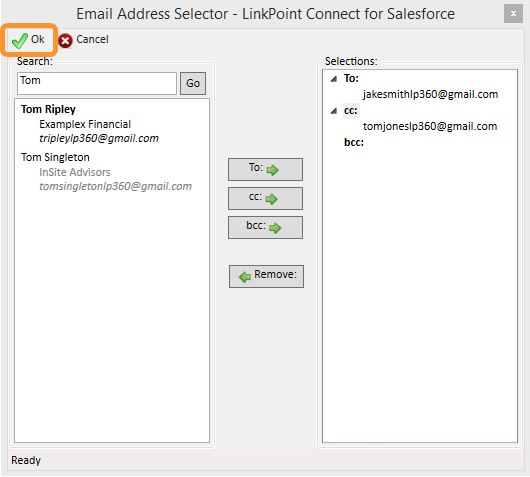
Click the Ok button to confirm the Selections.
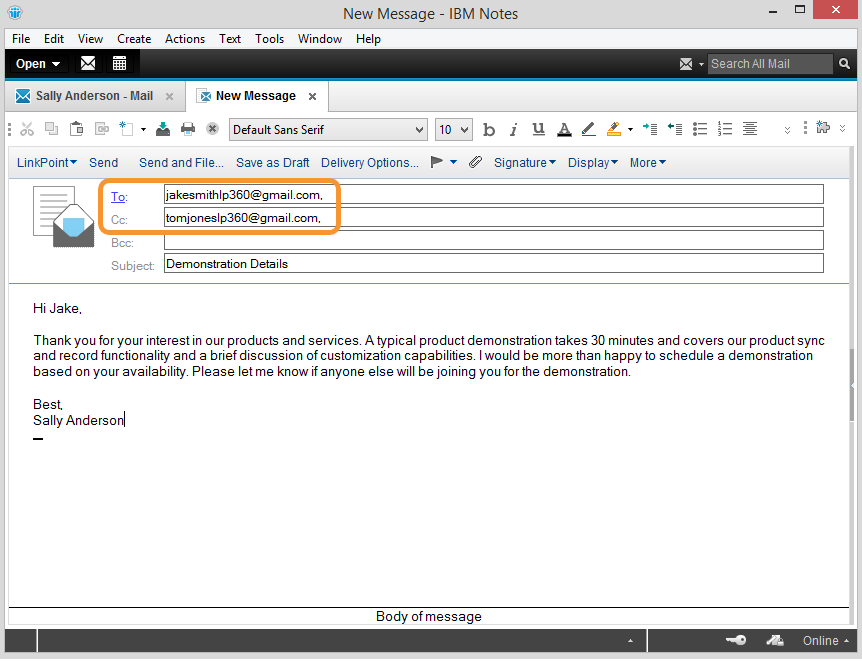
Note that the selections have been added to the corresponding fields within the outbound email. Finalize and send the email as you normally would.
Download: Access the complete LinkPoint Connect: IBM Notes + Salesforce User Guide in .pdf format. Get the User Guide