
Smart Address offers users the ability to tag emails and calendar items and associate them with a Salesforce “What” record as part of the sync process. To do this, Smart Address Sync creates a separate Contact folder within Exchange and generates a unique email address for each object record that is enabled. As users send emails or create meetings, they can add Smart Addresses from their Address Book or Contacts folder wherever they have access to their Exchange account (desktop, web mail, mobile device, etc.). Cloud Edition detects Smart Addresses and uses them to relate the emails and calendar items to additional Salesforce records. In this section, you will learn how to enable Smart Address.

Click the images throughout the Knowledge Base to see full size versions of screen captures.

Configuring Smart Address

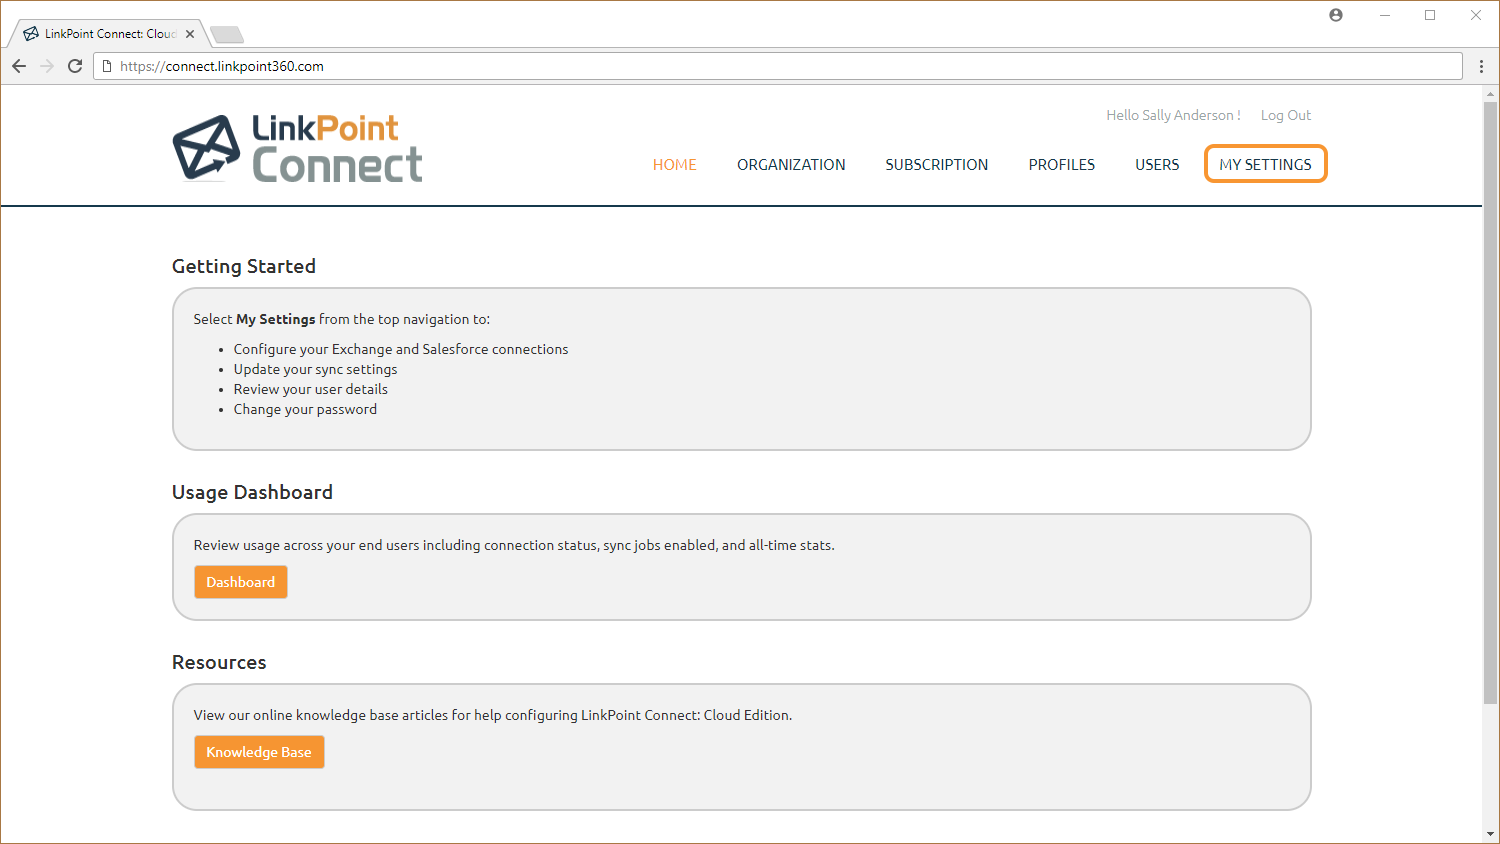
Log in to Cloud Edition, and select My Settings in the top right corner of the screen.

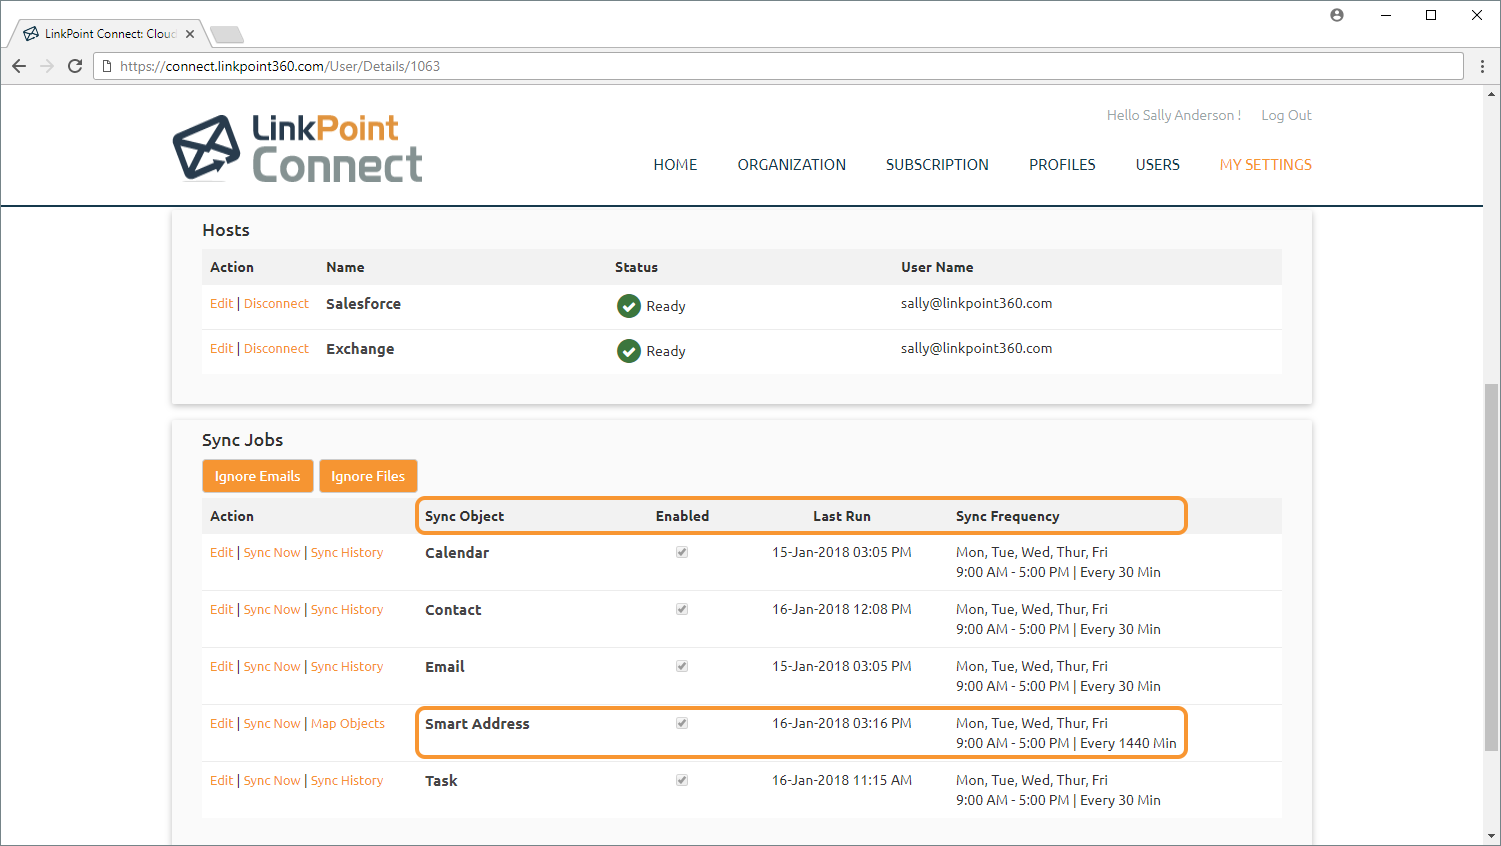
Locate the Sync Jobs section and note the information displayed for the Smart Address Sync Object. At a glance, users can see whether the Smart Address Sync is Enabled, when the sync was Last Run, and the configured Sync Frequency.
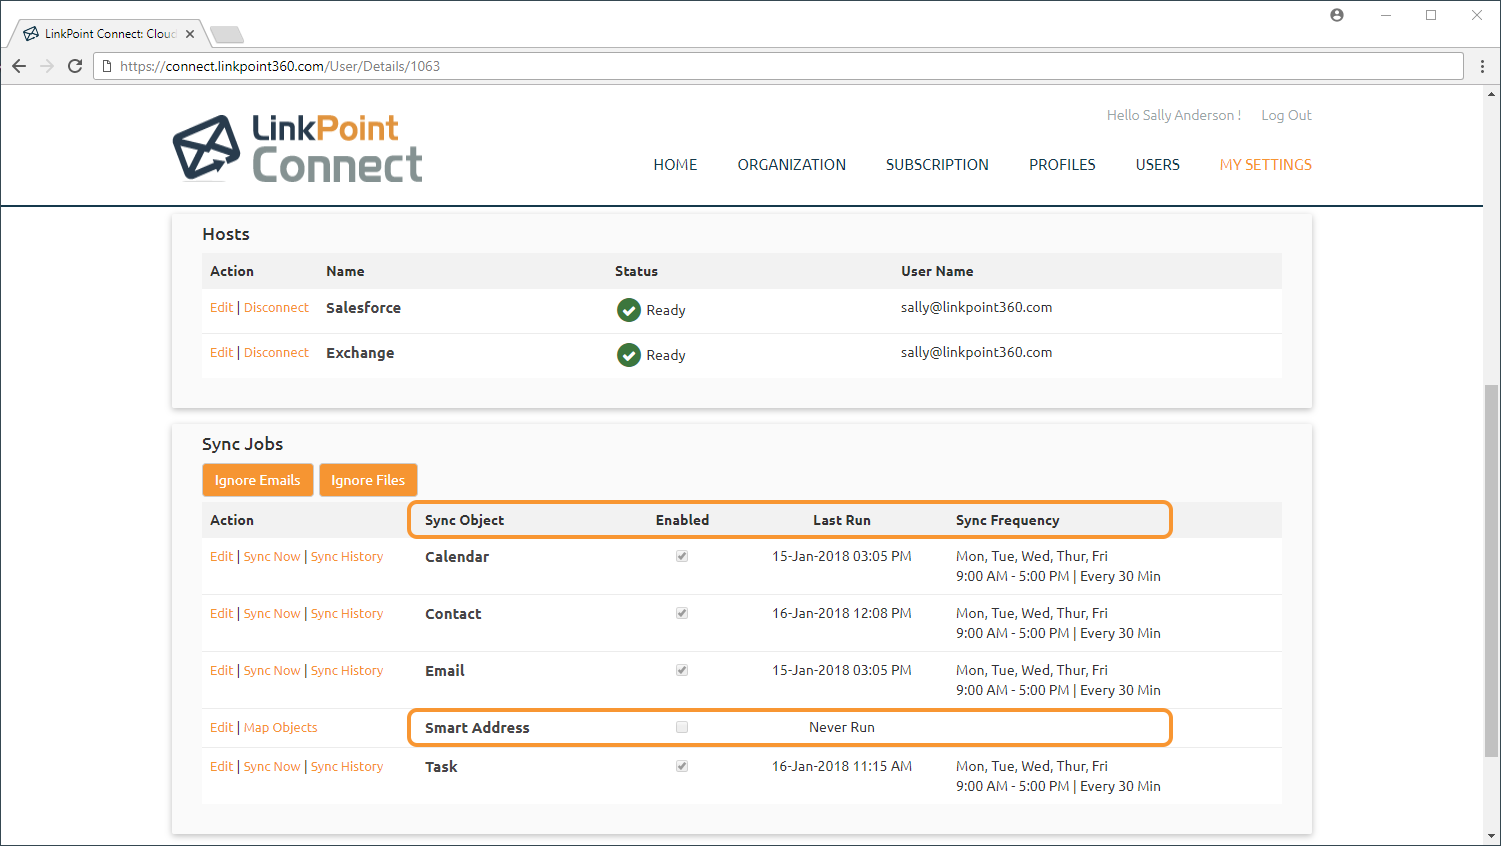


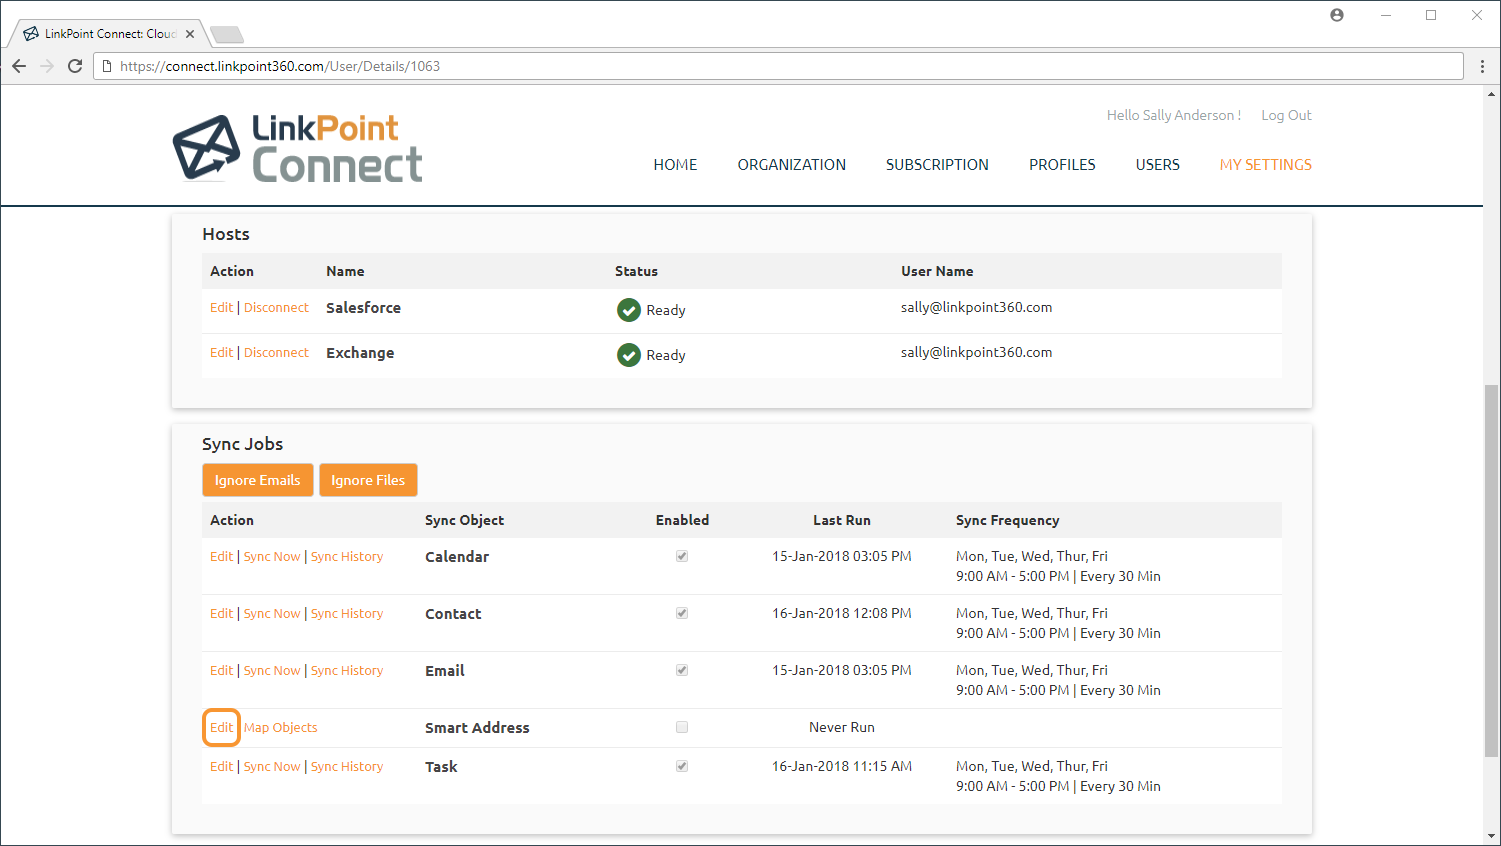
Select the Edit link for the Smart Address Sync Object to view the available sync options.

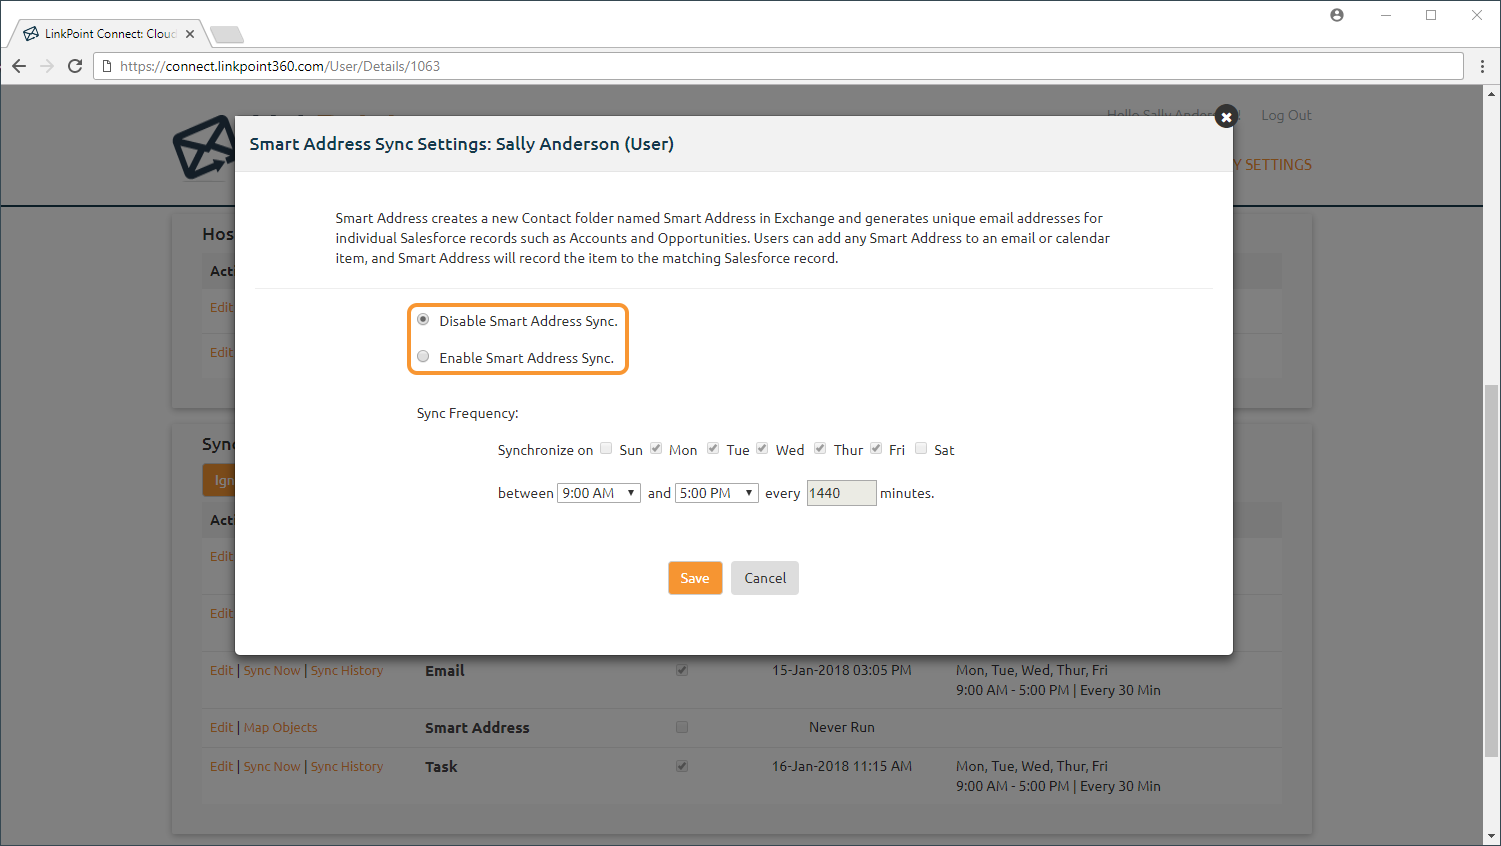
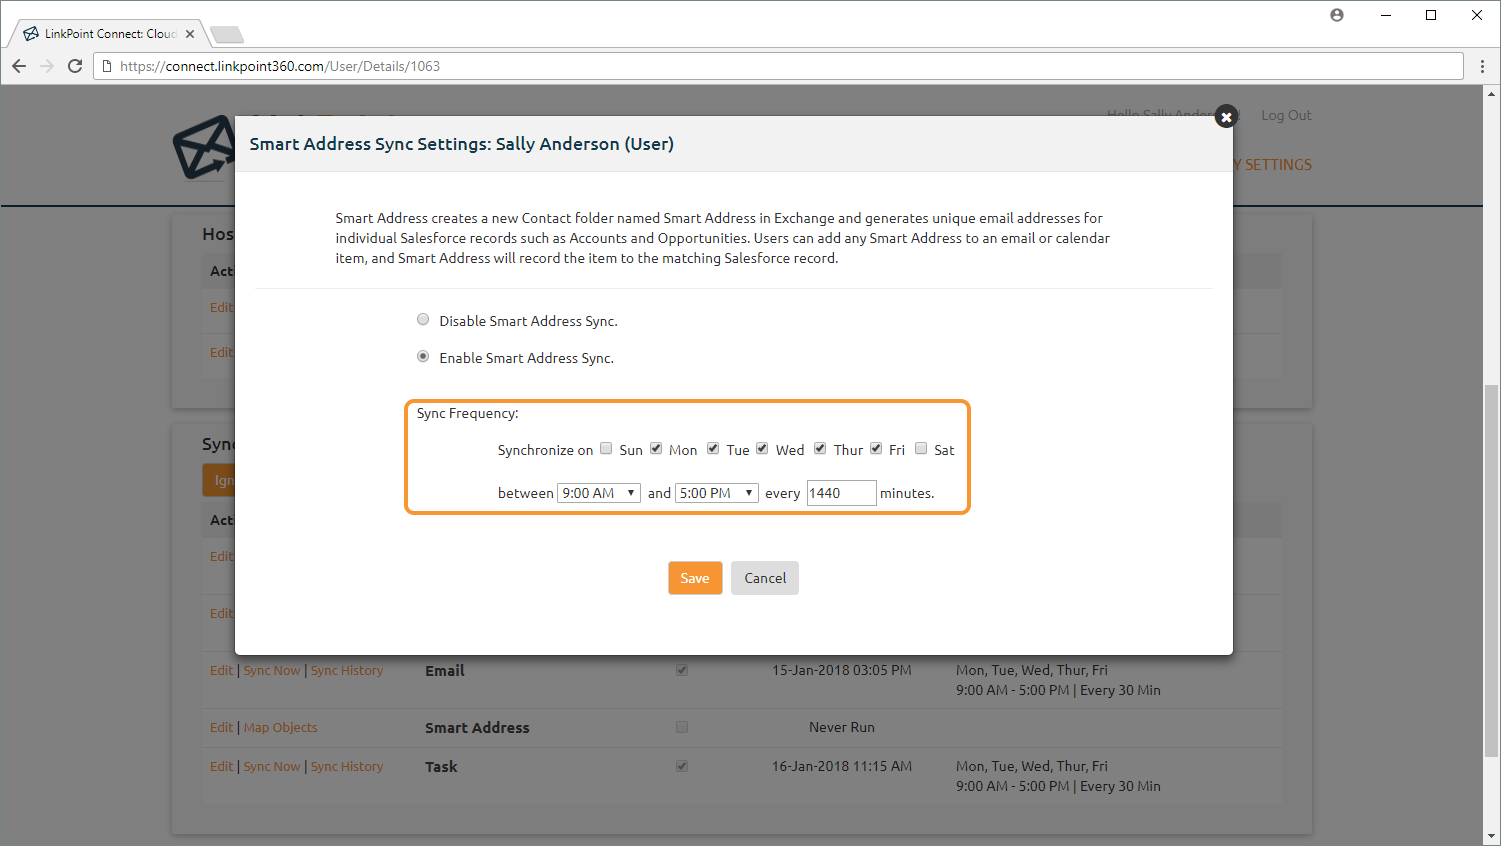
Select a sync option to enable Smart Address Sync.
- Disable Smart Address Sync:
Disables Smart Address. Smart Address is off by default for all new accounts and new users.
- Enable Smart Address Sync:
Enables Cloud Edition to create a separate Contact folder within Exchange and generate default Smart Addresses.
Tip: Smart Addresses are created on a per object basis for all records a user owns in Salesforce. (i.e. a user will have a Smart Address for every Account they own). Smart Addresses are also created for all records that appear on the user’s Most Recently Viewed list in Salesforce for the object, regardless of whether they own the account (i.e. a user viewed a colleague’s Opportunity but does not own it). LinkPoint360 Professional Services can add filtering to exclude Smart Addresses based on certain criteria, such as excluding items that have a Status of Closed. Contact your Account Executive with any questions regarding Cloud Edition customization.
Tip: Smart Addresses are generated by default for the Account and Opportunity objects in Salesforce. The number of Smart Addresses generated for an end user are set to a maximum count of 3,000 per record type. In the event that the maximum number would be exceeded, priority to create Smart Addresses is given to items included in the Salesforce Recently Viewed table. The remainder are populated based on the records owned by the user, sorted by Last Viewed Date and Created Date, to give priority to more recent items.

Enter the preferred Sync Frequency in the provided fields. Select the day and time range during which you want the sync to run. Note that these times will be based on the time zone you set for your user account.

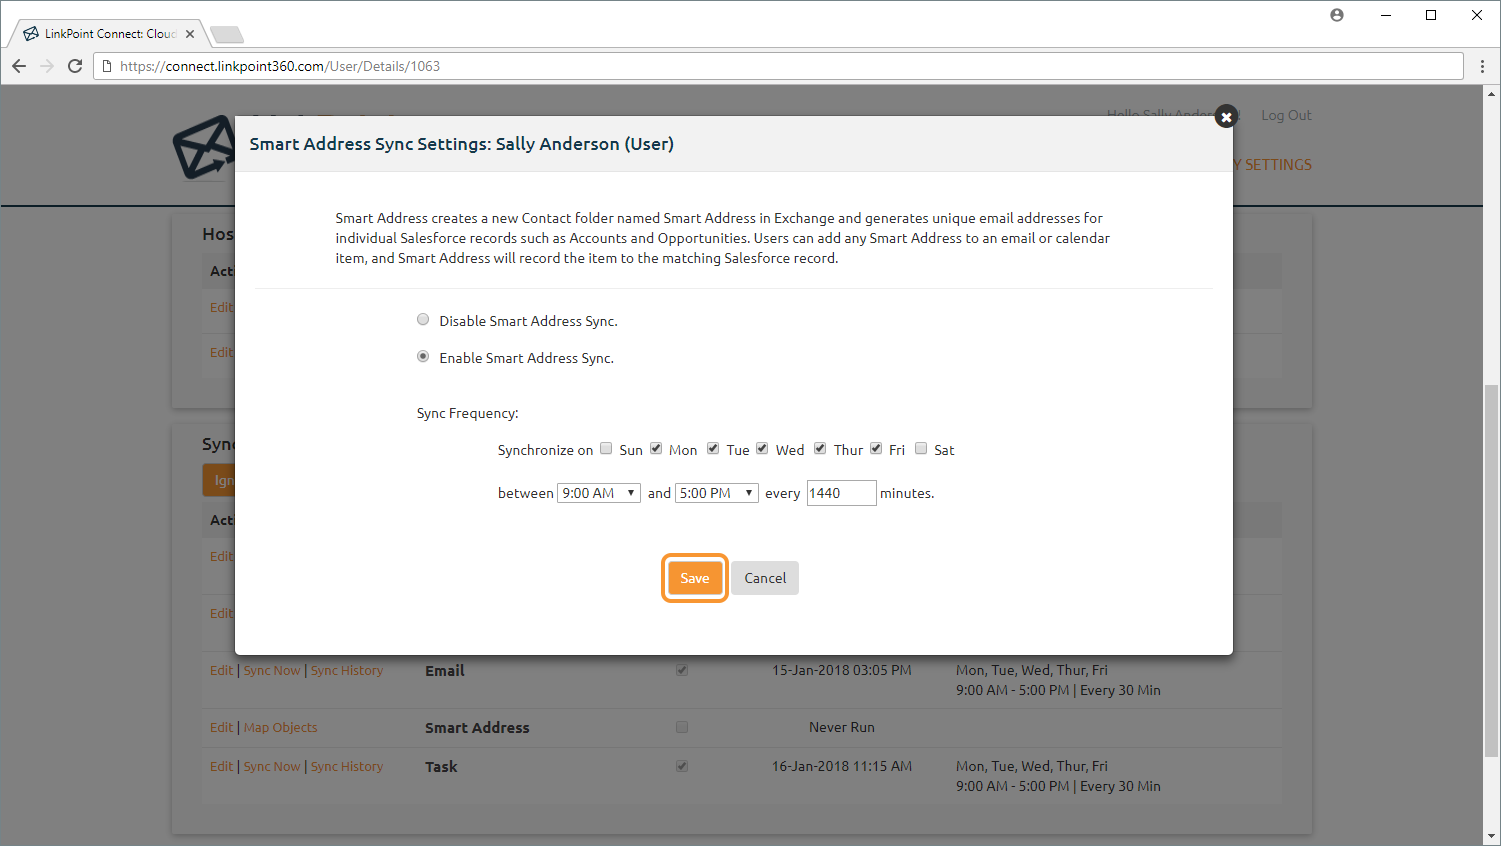
Click the Save button when finished. Then close the Smart Address Sync Settings window.

The Smart Address Sync will run immediately after it is enabled. The Sync Jobs will show the last run date and time and will reflect the Sync Frequency that was selected when editing the sync.

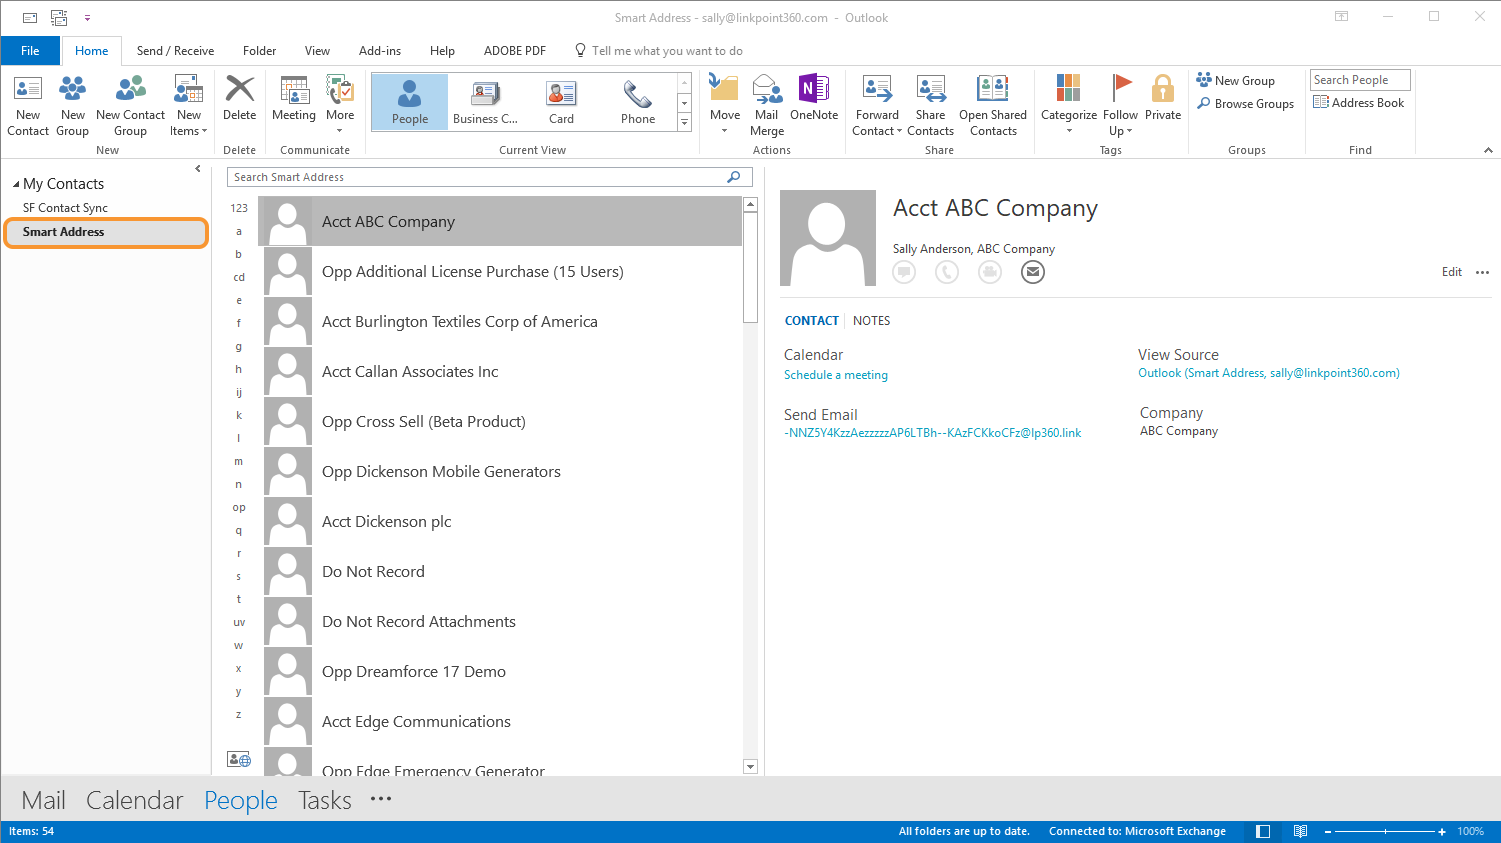
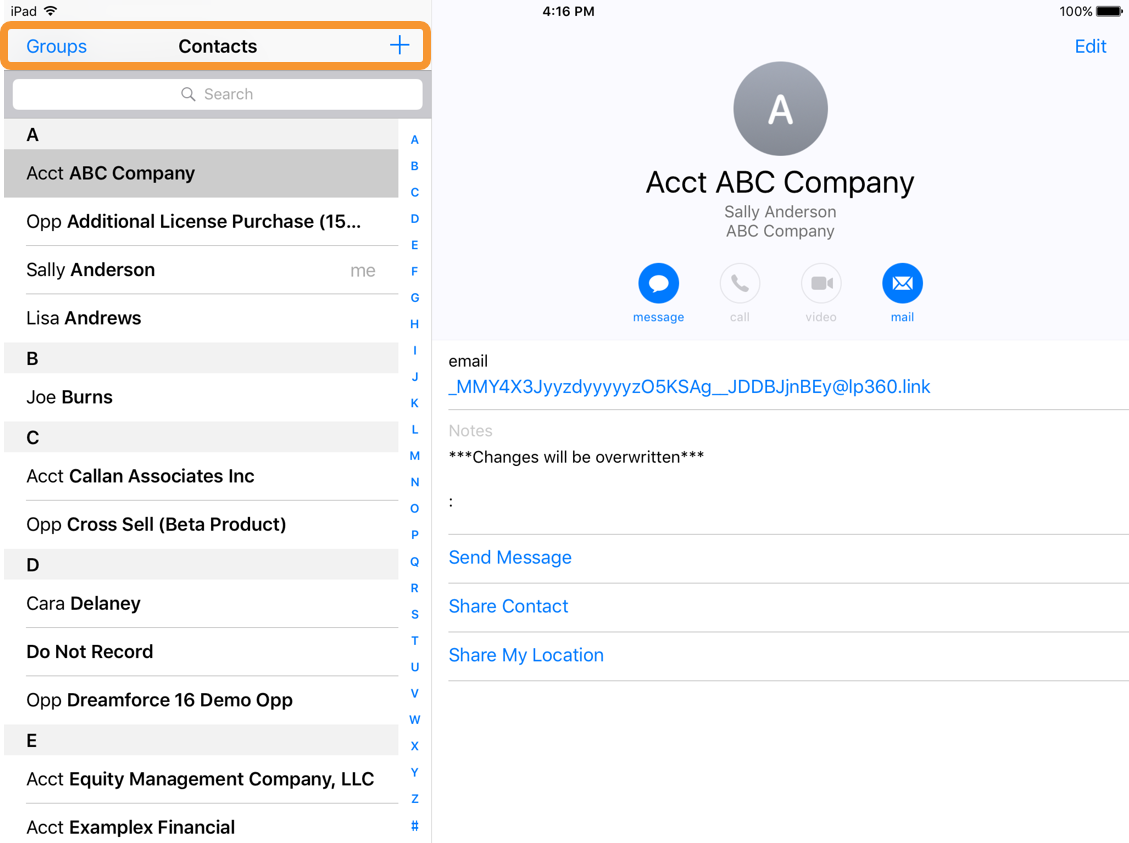
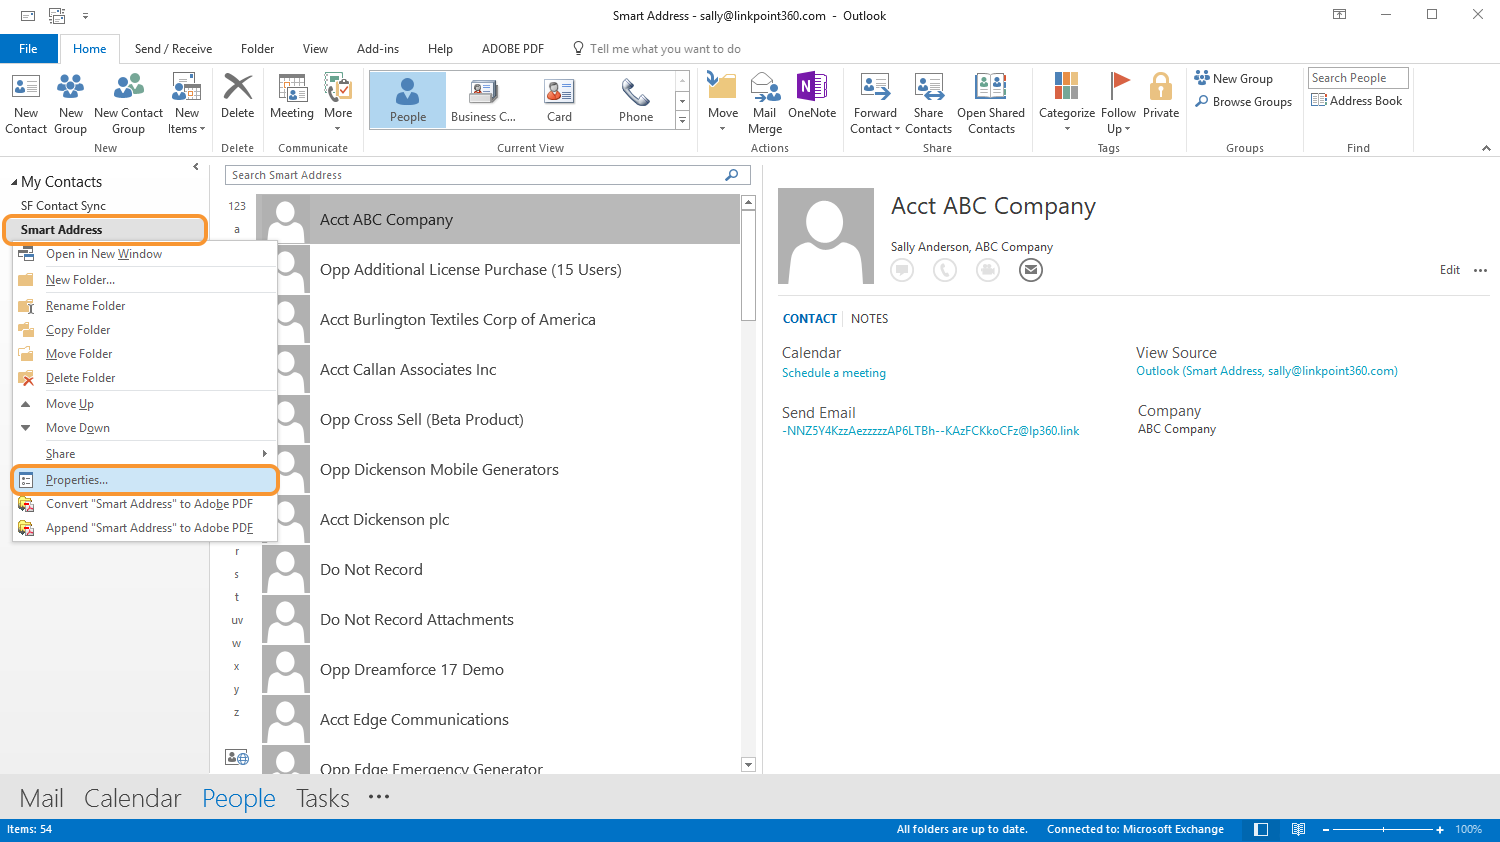
Navigate to the Contacts or People view within Microsoft Outlook and locate the Smart Address folder to view the list of Smart Addresses.
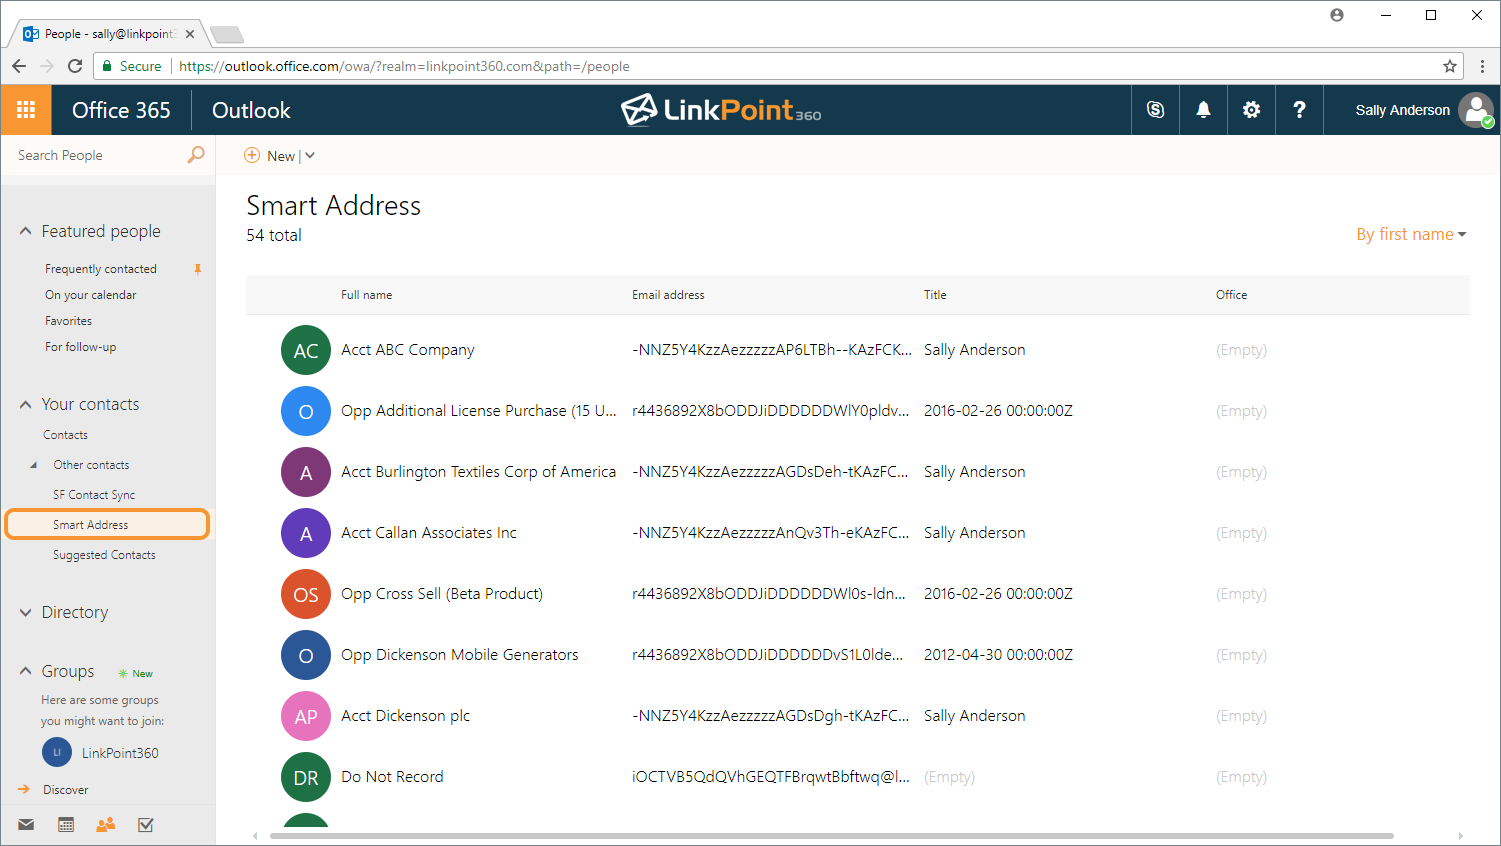
Mobile users can launch their preferred email application and tap to view their Contacts.
Warning: Cloud Edition users who have enabled Contact Sync will see two folders with similar names. For Smart Address, be sure you are using the Smart Address folder. The SF Contact Sync folder is used for syncing Exchange Contacts to Salesforce. The two should not be combined.

Note that there are four standard Smart Tags not related to specific Salesforce records. These can be added to any email or calendar item to help designate or opt out the item from syncing.
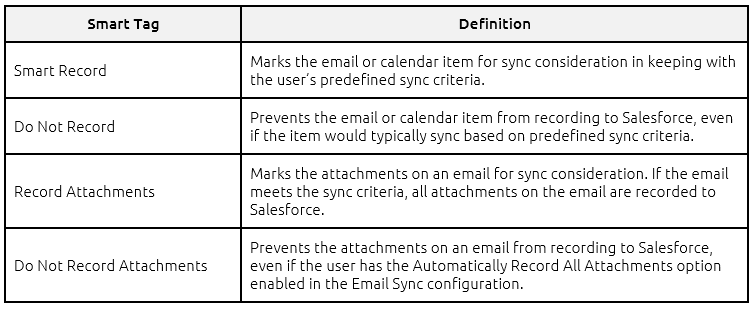
Tip: Note that all Email Sync modes and the Calendar Sync mode Attempt to Sync Calendar Items Only Where Matching Salesforce Records Are Found require a matching Salesforce record to sync. Adding the Smart Record tag will not force an email or calendar item to sync to Salesforce if there are no matching Salesforce records.
Warning: The ability to sync attachments applies to Email Sync only. This feature is currently not available for Calendar or Task Sync. The Record Attachments and Do Not Record Attachments Smart Tags only work with Email Sync.
- Right click the Smart Address folder and select Properties.
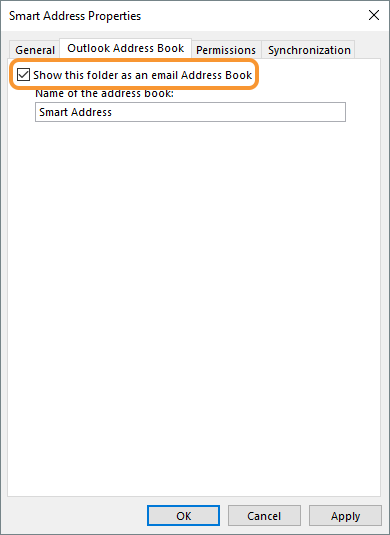
2. Select the Outlook Address Book tab and check the box for Show this folder as an e-mail Address Book. Then, click Apply and OK to exit. This will allow you to access Smart Addresses when sending an email or calendar invite.
Tip: If you disable Smart Address, you will be asked if you want to remove the Smart Addresses from Exchange. Selecting Delete All will remove them from Exchange but will not impact any Salesforce records. If you enable Smart Address once again, Cloud Edition will rebuild the Smart Addresses using the same Smart Address folder in Exchange.
Warning: If you disconnect from an Exchange or Salesforce Host and reconnect to either host using a different account, the Smart Address folder will be rebuilt during the next sync. This ensures users are working with the most accurate references to Salesforce records.
![]() Download: Access the complete LinkPoint Connect: Cloud Edition (Exchange + Salesforce) User Guide in .pdf format. Get the User Guide
Download: Access the complete LinkPoint Connect: Cloud Edition (Exchange + Salesforce) User Guide in .pdf format. Get the User Guide
