

Identifying Recorded Emails in Salesforce (Outlook)

Compose an outbound email and send the email.

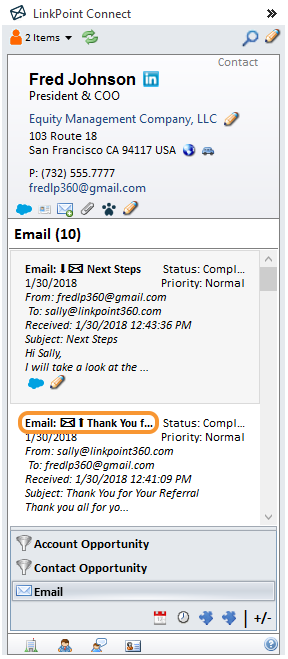
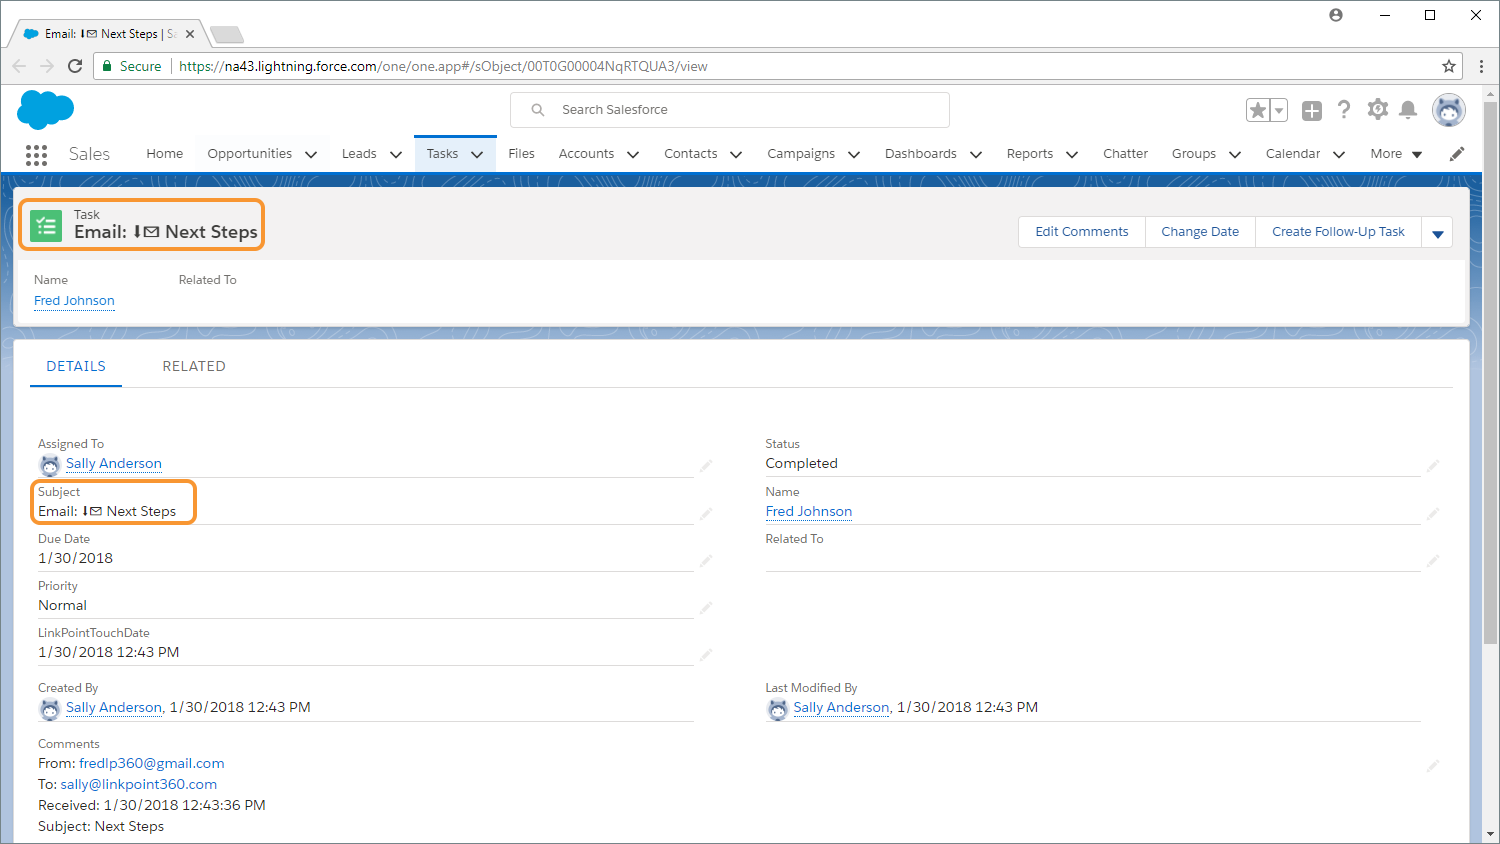
View the related Lead or Contact in the Side Panel. Select the Email object to see the list of recorded emails. Note that the latest recorded email has an ✉⬆ indicator in the subject line noting that the email was outbound.

Identify an email in your inbox. Record the email as you typically would, either with Record to Salesforce, Smart Record to Salesforce, or Quick Record.

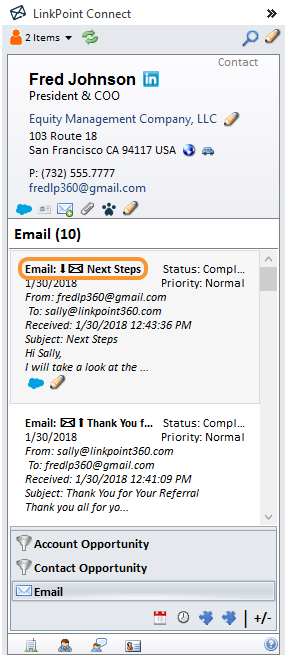
View the related Lead or Contact in the Side Panel. Select the Email object to see the list of recorded emails. Note that the latest recorded email has an ⬇✉ indicator in the subject line noting that the email was inbound.

![]() Download: Access the complete LinkPoint Connect: Microsoft Outlook + Salesforce User Guide in .pdf format. Get the User Guide
Download: Access the complete LinkPoint Connect: Microsoft Outlook + Salesforce User Guide in .pdf format. Get the User Guide
