
Click the images throughout the Knowledge Base to see full size versions of screen captures.

Tip: Inbound emails will be recorded in real time when Relate to Salesforce selections are made. Outbound emails may take up to 15 minutes to be recorded in Salesforce. If needed, you can also run the instant sync which will start the email synchronization. Refer to the Initiate Background Email Sync section for more information.

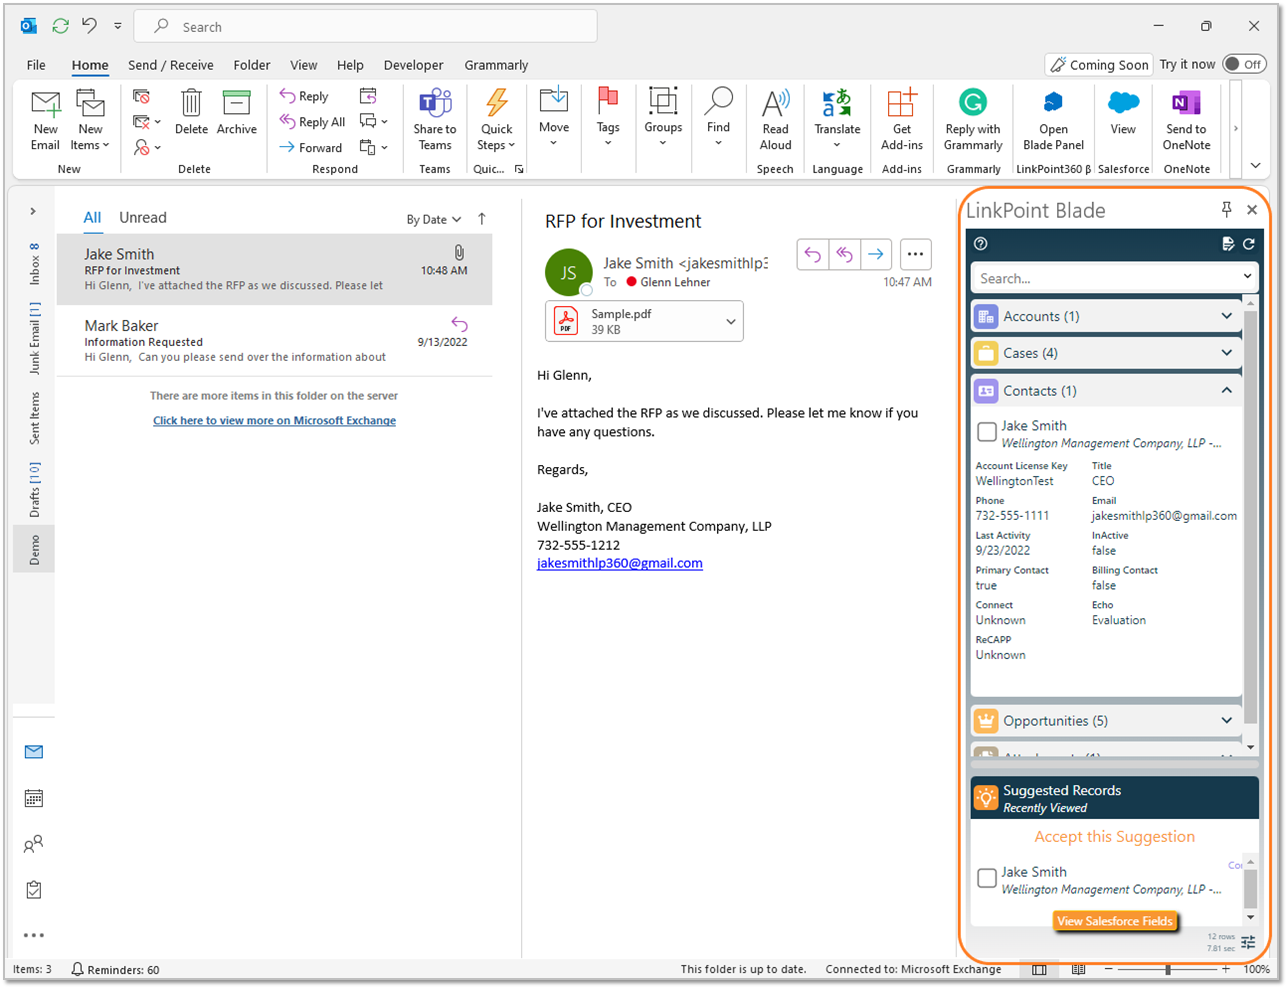
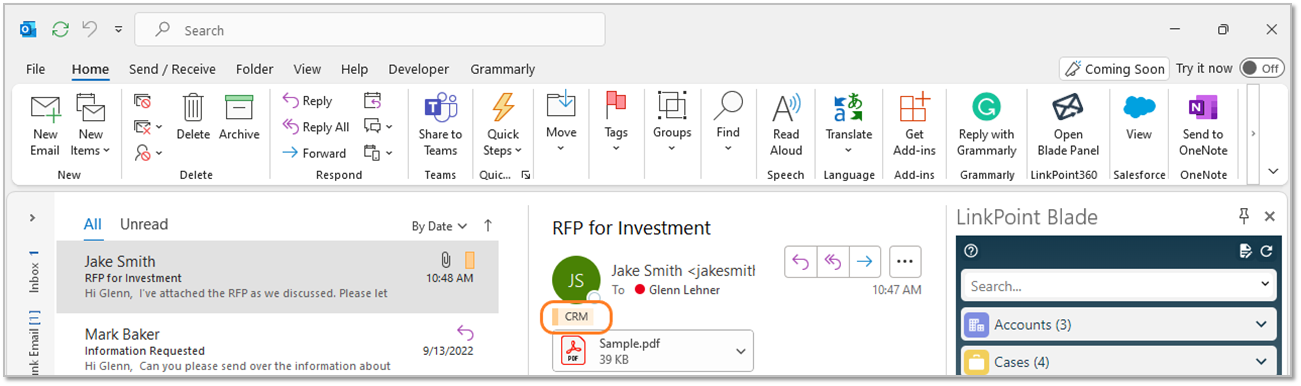
Select or compose an email. Note that the Side Panel returns Search Results based on the sender and/or recipient email address(es) and the related Salesforce records.

Select the option to Accept This/These Suggestions in the Suggested Records section to record the email to all of the listed suggested records.
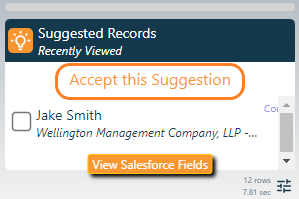
Tip: LinkPoint Blade automatically suggests contacts and/or leads in Salesforce if they are included in the To, From, Cc, or Bcc fields of the email. If there are no matching contacts or leads in Salesforce, the Relate to Salesforce section will not display any suggestions.

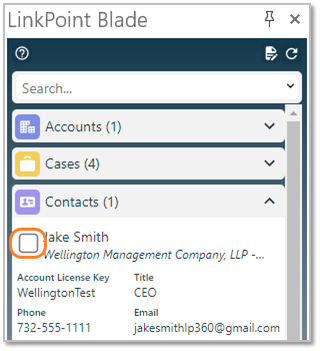
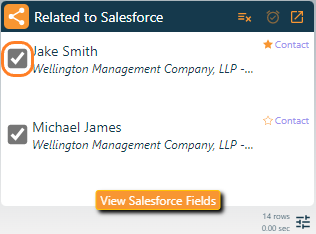
Select the Relate to Salesforce checkbox next to records in the Search Results to record the email to the selected record.

Warning: Salesforce does not allow users to associate records to contacts and leads at the same time. Try selecting only contacts or only leads and record the email.

Enter text in the Search field, and press Enter or click the Search icon to search for additional records.
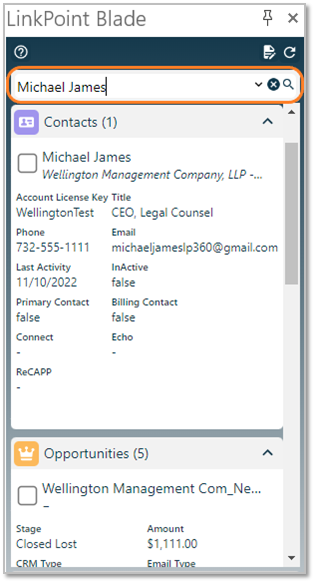
Tip: The Side Panel Search Bar will retain the last 10 terms entered for faster search access. Users can click the v icon in the Search Bar to select a previous search term.

Deselect the Relate to Salesforce checkbox to disassociate the email from a selected record. Unchecking all of the selections will remove the email from Salesforce.
Tip: An Outlook Category of CRM will be assigned automatically to the email after it has been recorded to Salesforce, providing a visual indicator of recorded emails in Outlook.
Tip: Some SnapShots in the Side Panel may not include a checkbox to relate the item to a Salesforce record. The option to Relate to Salesforce only appears when working with a supported Outlook item (i.e. email, calendar event, or task).
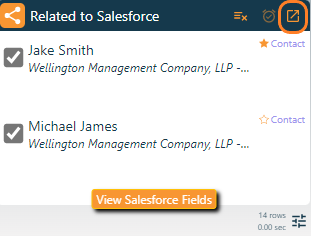
Tip: To view the recorded email, click the Open Record icon in the Related to Salesforce header. This will open the email as a completed task in Salesforce in a web browser.

Change the Primary Contact for the recorded email if selecting multiple Contact records in the Side Panel. Note that the first Contact selected is automatically designated as the Primary Contact and is indicated with a solid orange star icon. Click the outline star for a different selected Contact in the Related to Salesforce list to change the Primary Contact.
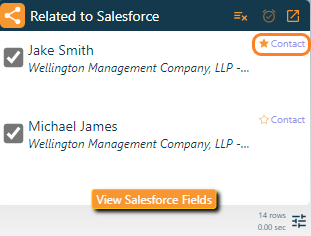
Tip: Primary Contact selection is only supported for Salesforce orgs where the option to “Allow Users to Relate Multiple Contacts to Events” is enabled. Primary Contact designation allows users to choose the best Contact to align a recorded item with in Salesforce when the item is related to multiple records. This enhances reporting metrics and ensures that data is allocated with accuracy for orgs with the “relate multiple contacts” setting enabled. Follow up Tasks created from recorded emails automatically associate to the selected Primary Contact.

Download: Access the complete LinkPoint Blade User Guide in .pdf format. Get the User Guide

Still need help? Contact our Support Team