
Additional Resources: Refer to the Establish Calendar Auto Sync Settings section for more information.

Click the images throughout the Knowledge Base to see full size versions of screen captures.

Select or compose an email, and select the record(s) to relate the item to in Salesforce. At least one record must be selected to create a related follow up.
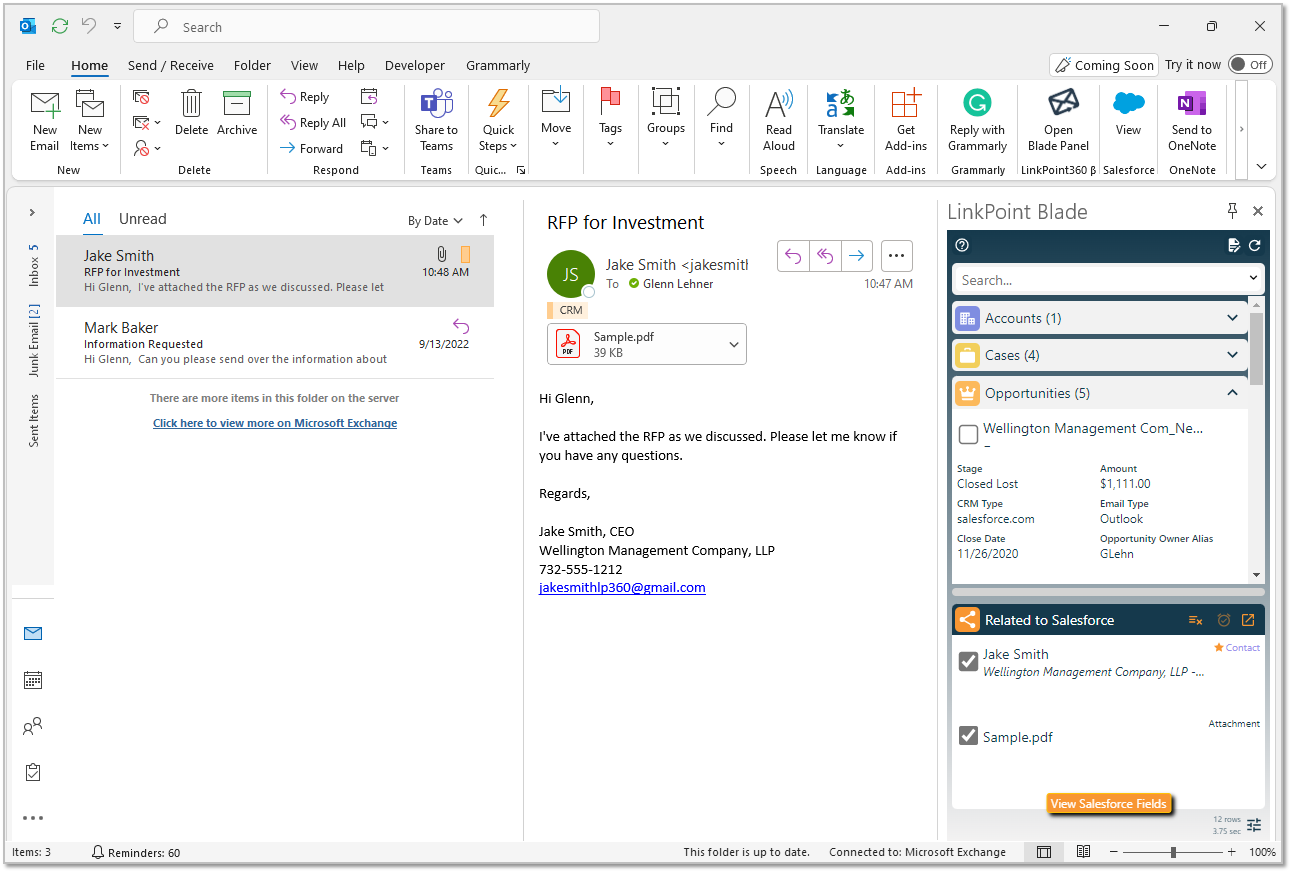

Click the Follow Up icon in the Related to Salesforce section in the Side Panel. Note the icon color is a dull orange indicating that a follow up has not been created yet.

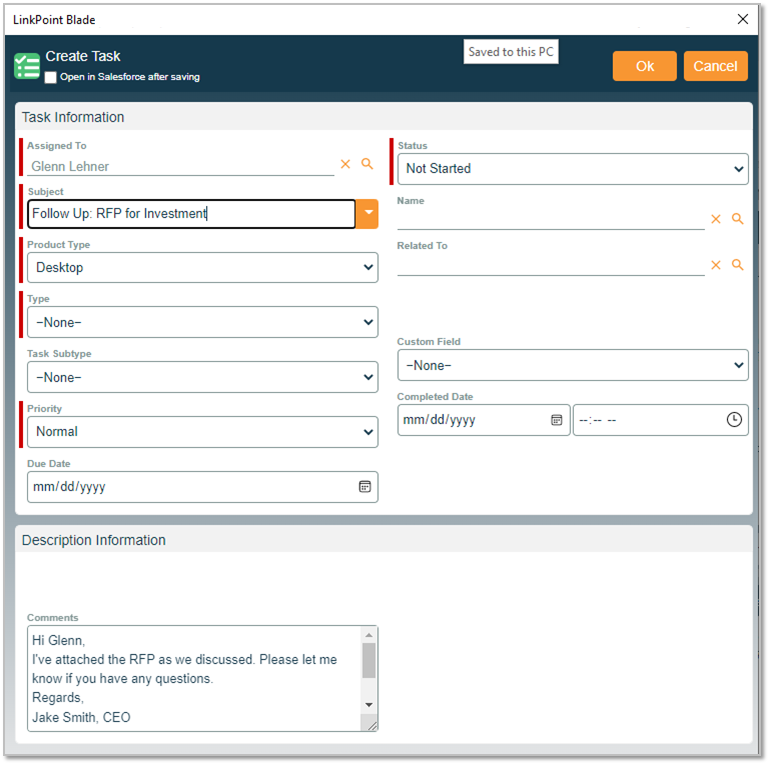
Review the SnapForm. Note that some fields such as Subject, Description, and related records have been prepopulated based on the email content. Edit as needed, complete all required fields, and click the OK button to create the item in Salesforce.

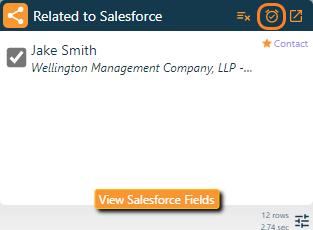
Click the Follow Up icon in the Related to Salesforce section in the Side Panel to edit the item. Note the icon color is a bright orange indicating that a follow up exists and is available for editing.

Download: Access the complete LinkPoint Blade User Guide in .pdf format. Get the User Guide

Still need help? Contact our Support Team