
Additional Resources: Users can further refine the Salesforce objects and fields included throughout the Side Panel in the Preferences Pane. Refer to the Edit Preferences section of this User Guide for more information.

Click the images throughout the Knowledge Base to see full size versions of screen captures.

Tip: Inbound emails will be recorded in real time when Relate to Salesforce selections are made. Outbound emails may take up to 15 minutes to be recorded in Salesforce. If needed, you can also run the instant sync which will start the email synchronization. Refer to the Initiate Email Background Sync section of this User Guide for more information.

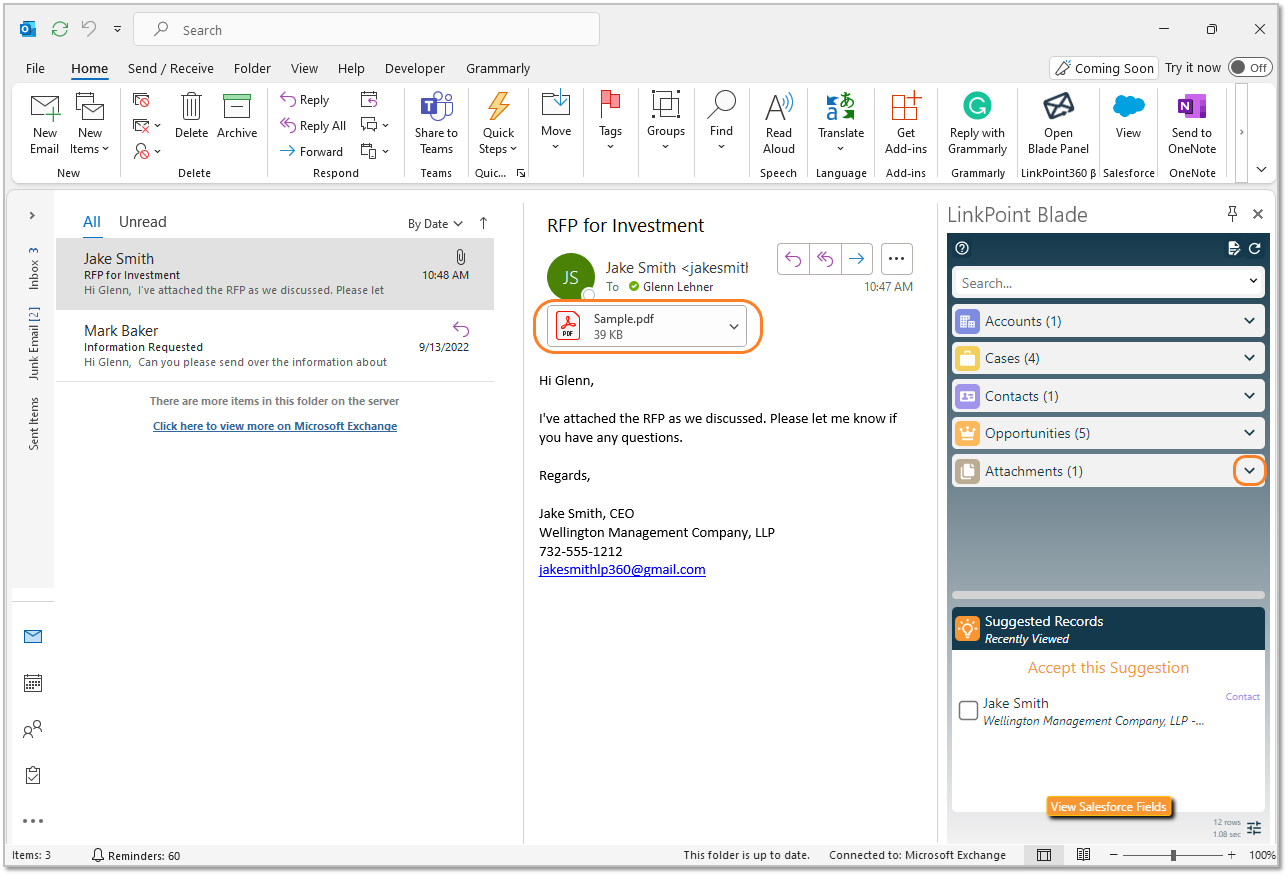
Select or compose an email containing at least one attachment. Note that the Side Panel includes Attachments in the Search Results. Click the Expand icon to view the list of attachments on the email.

Select the record(s) to relate the email to in Salesforce. Then click the Attachments checkbox for the attachment.
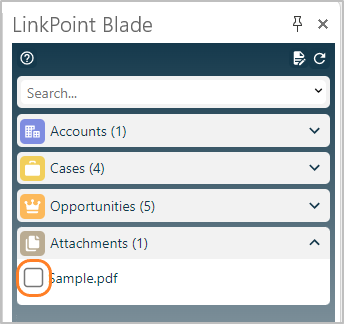
Tip: Users must select at least one record to relate the email to in Salesforce before the attachment can be recorded.

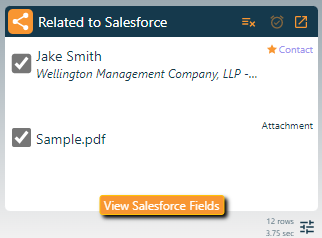
Note that the attachment is listed in the Related to Salesforce section. The file will be uploaded to Salesforce and related to all of the listed records when the email is recorded. Attachments on inbound emails are recorded in real time when Relate to Salesforce selections are made. Attachments on outbound emails are recorded when the email is sent.

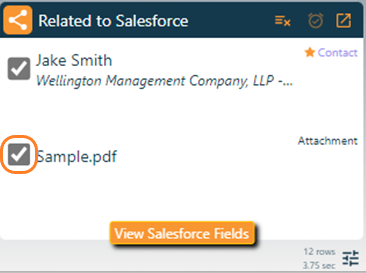
Deselect the Related to Salesforce checkbox to remove the attachment from Salesforce

Download: Access the complete LinkPoint Blade User Guide in .pdf format. Get the User Guide

Still need help? Contact our Support Team