An Organization is the overall account level within Desktop Plus Edition. Admins will always have access to a single Organization for their company. In this section, you will become familiar with the available options on the Organization level.


Click the images throughout the Knowledge Base to see full size versions of screen captures.
Reviewing Organization Options

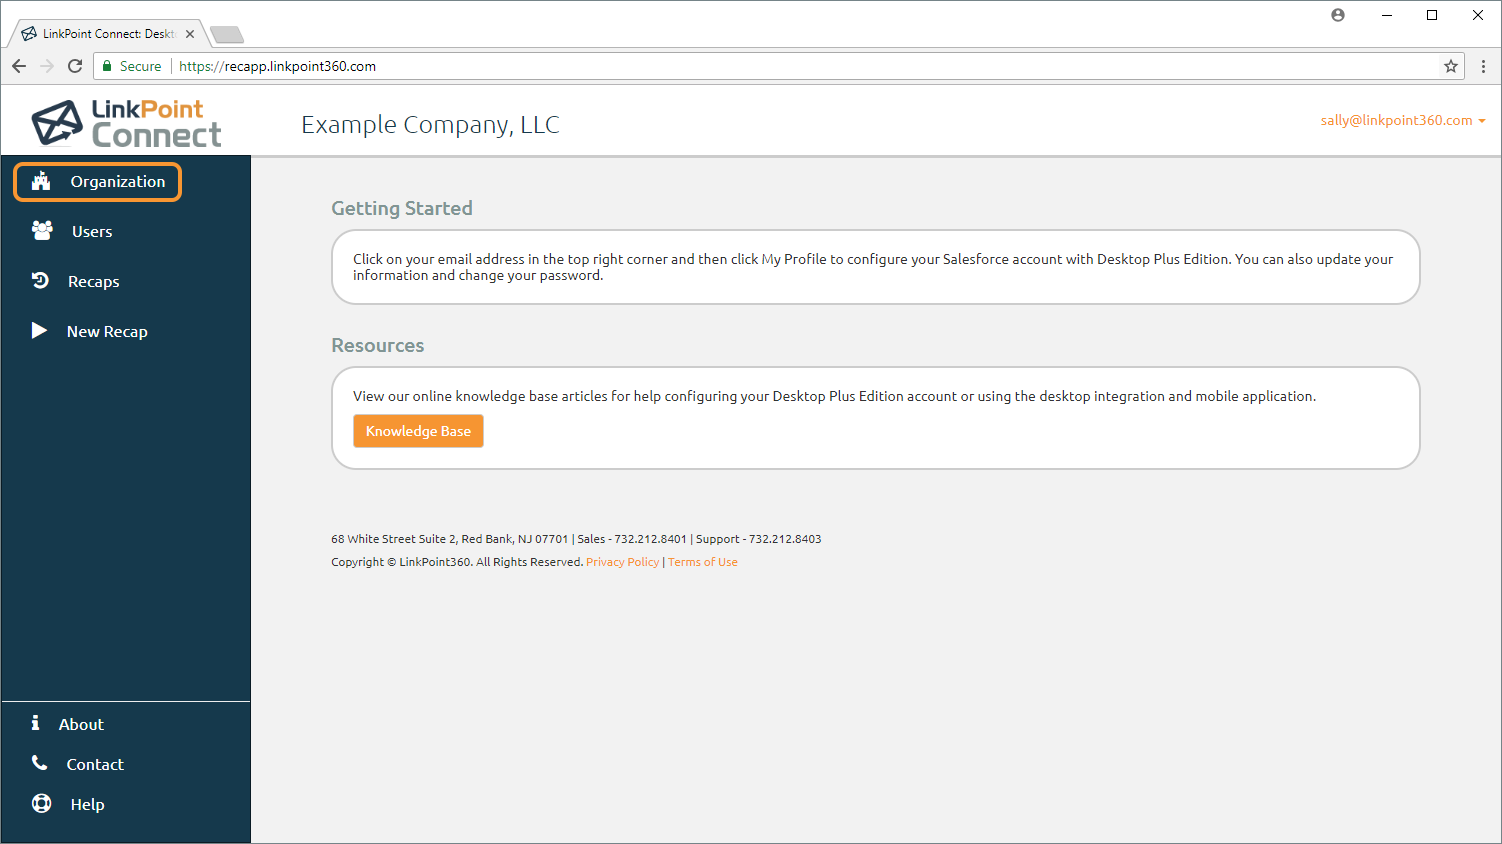
Log into Desktop Plus Edition and select Organization in the left navigation.

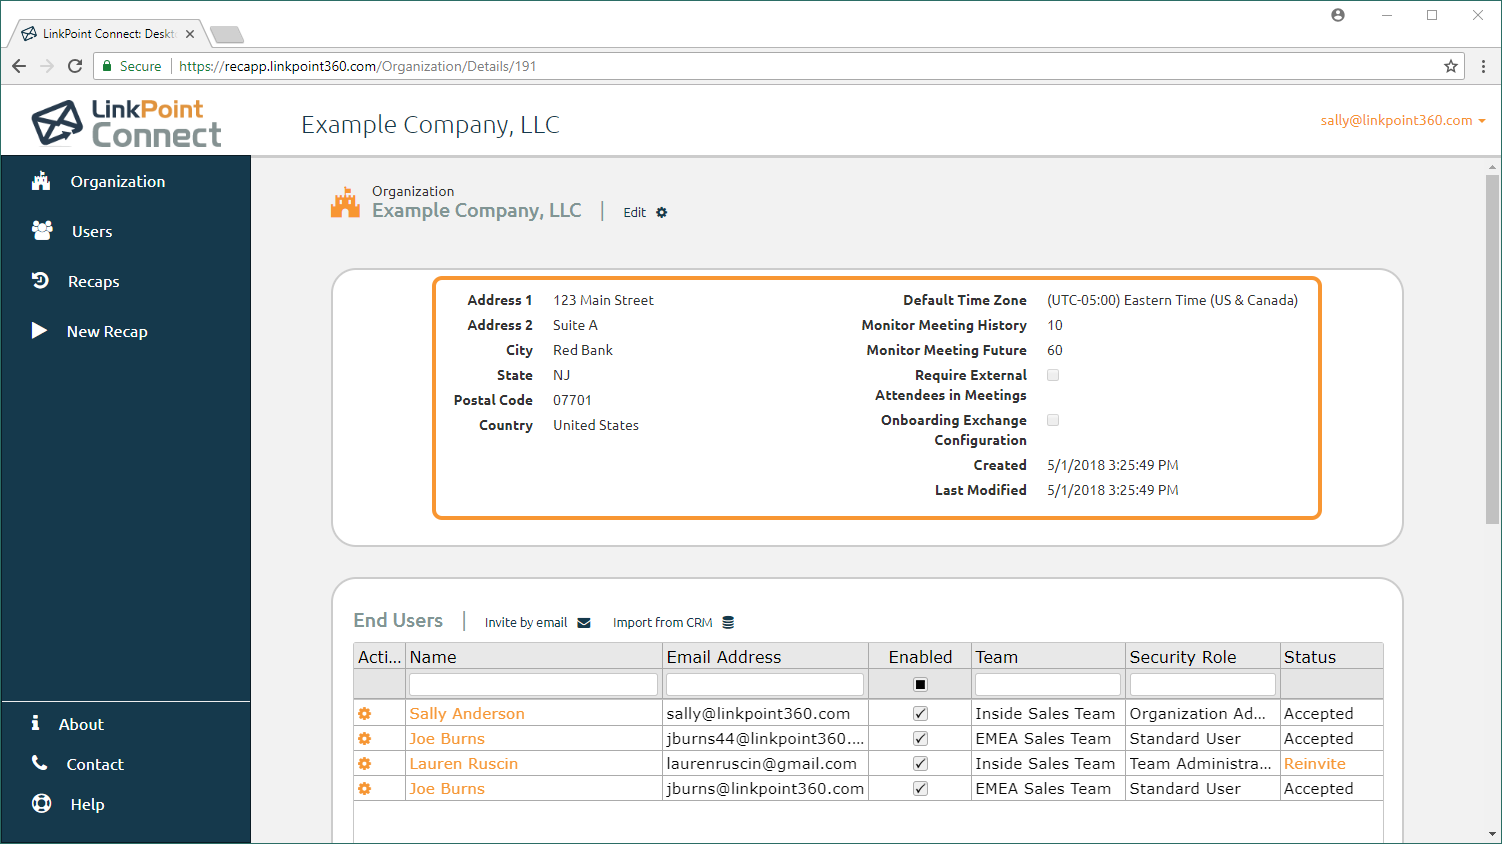
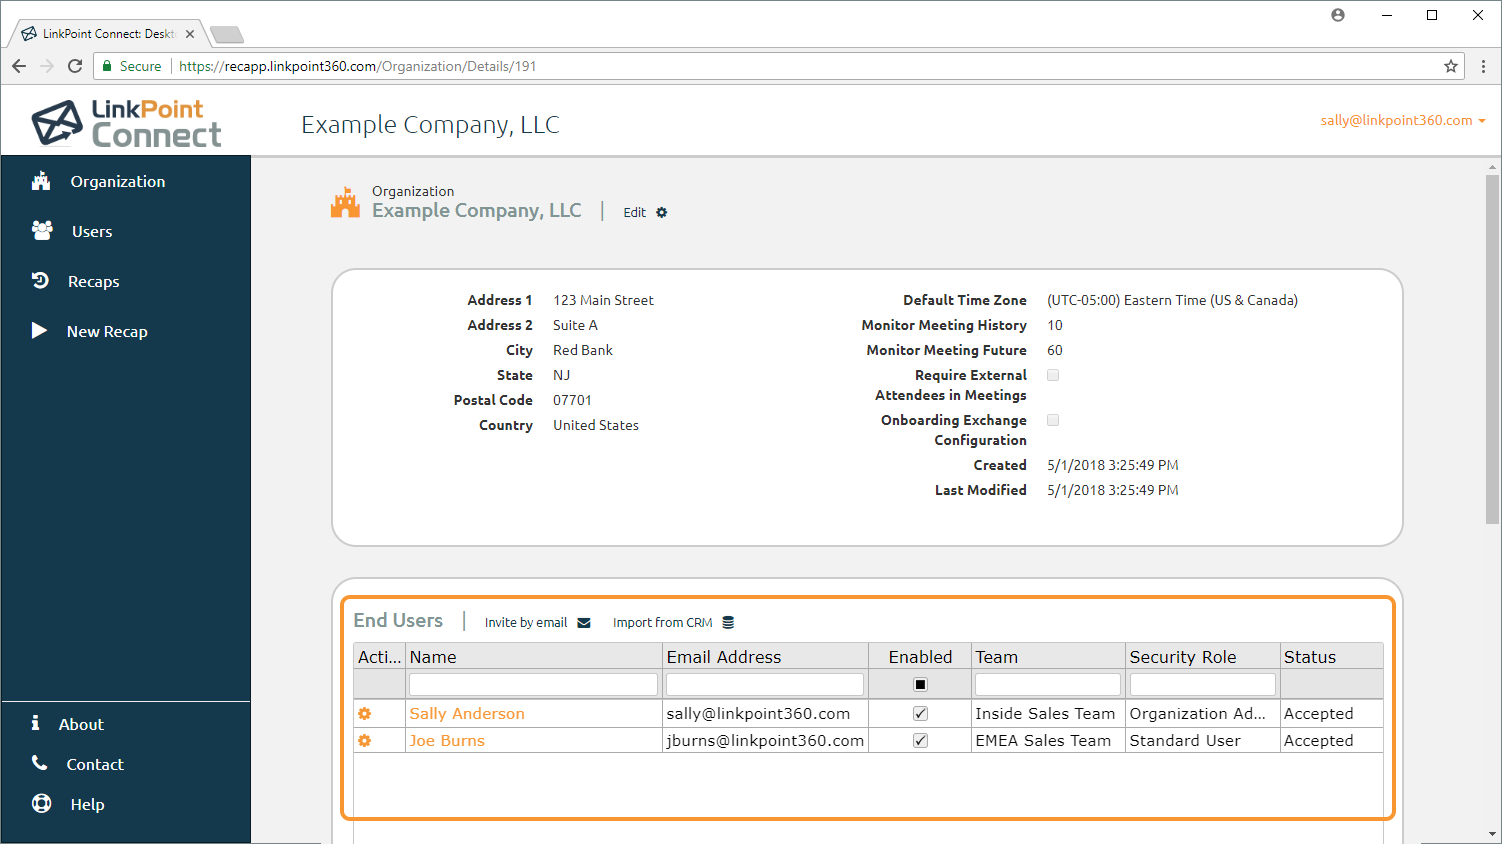
Review the available Organization details.
- Address Fields: The information used for billing and mailing purposes. Includes Address 1,
Address 2, City, State, Postal Code, and Country. - Time Zone: The time zone selected for the Desktop Plus Edition account.
- Monitor Meeting History: Establishes the lower limit of the date range for the Exchange calendar integration to consider meetings.
- Monitor Meeting Future: Establishes the upper limit of the date range for the Exchange calendar integration to consider meetings.
- Require External Attendees in Meetings: This setting determines whether the system will prompt a user to complete a Meeting Recap after every instance of a meeting on a calendar, or only those meetings that have external contacts included (i.e. related events or personal items)
- Onboarding Exchange Configuration: Enable to include Exchange Host Configuration access as part of the Setup Wizard for new users. Note that your organization must have Exchange enabled as part of your initial implementation in order for this to work.
- Created: The date the account was provisioned.
- Last Modified: The date the account details were last updated.


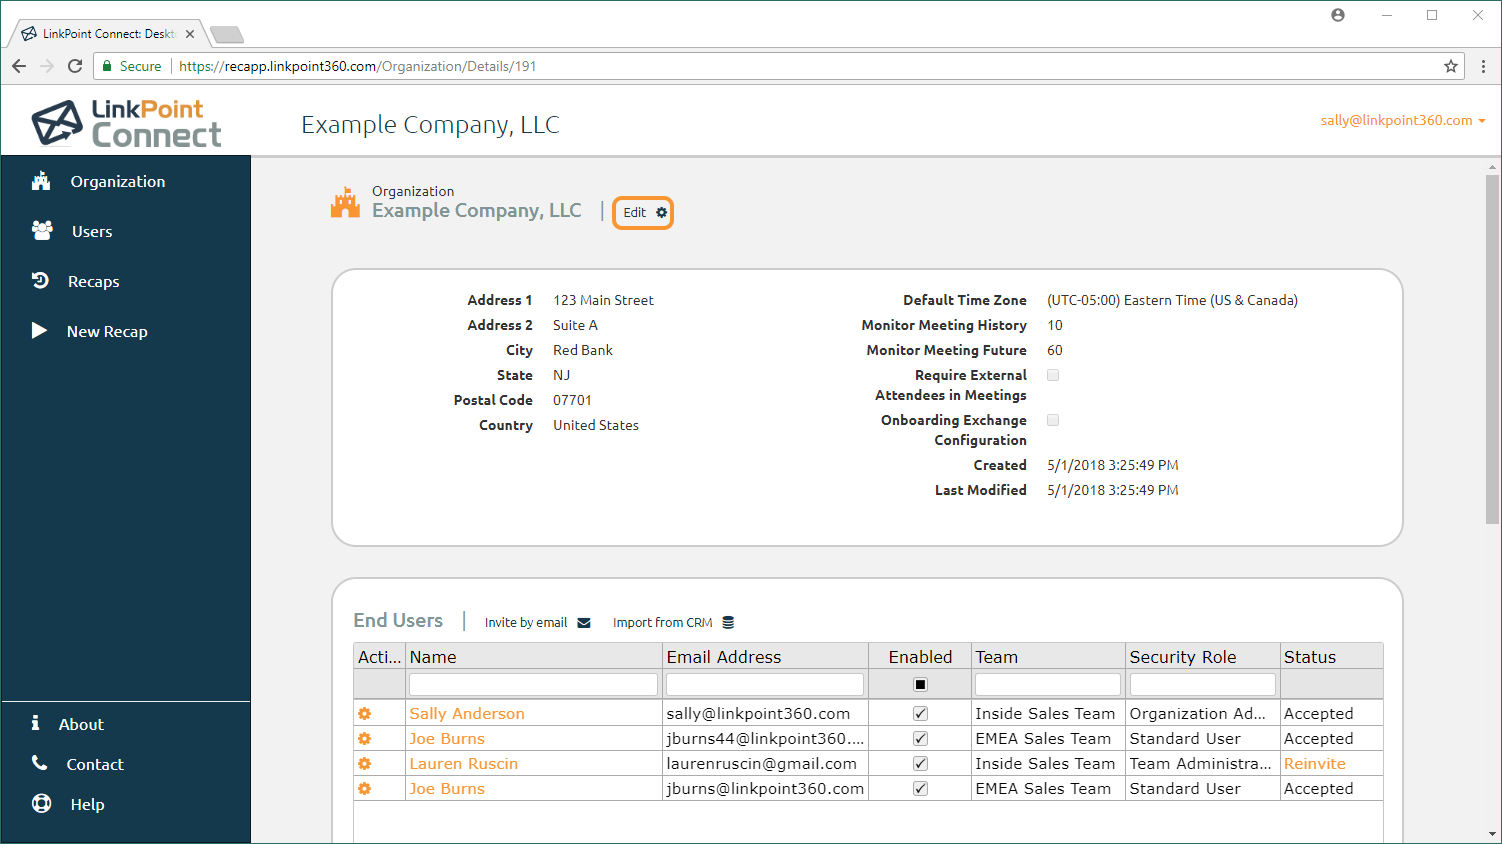
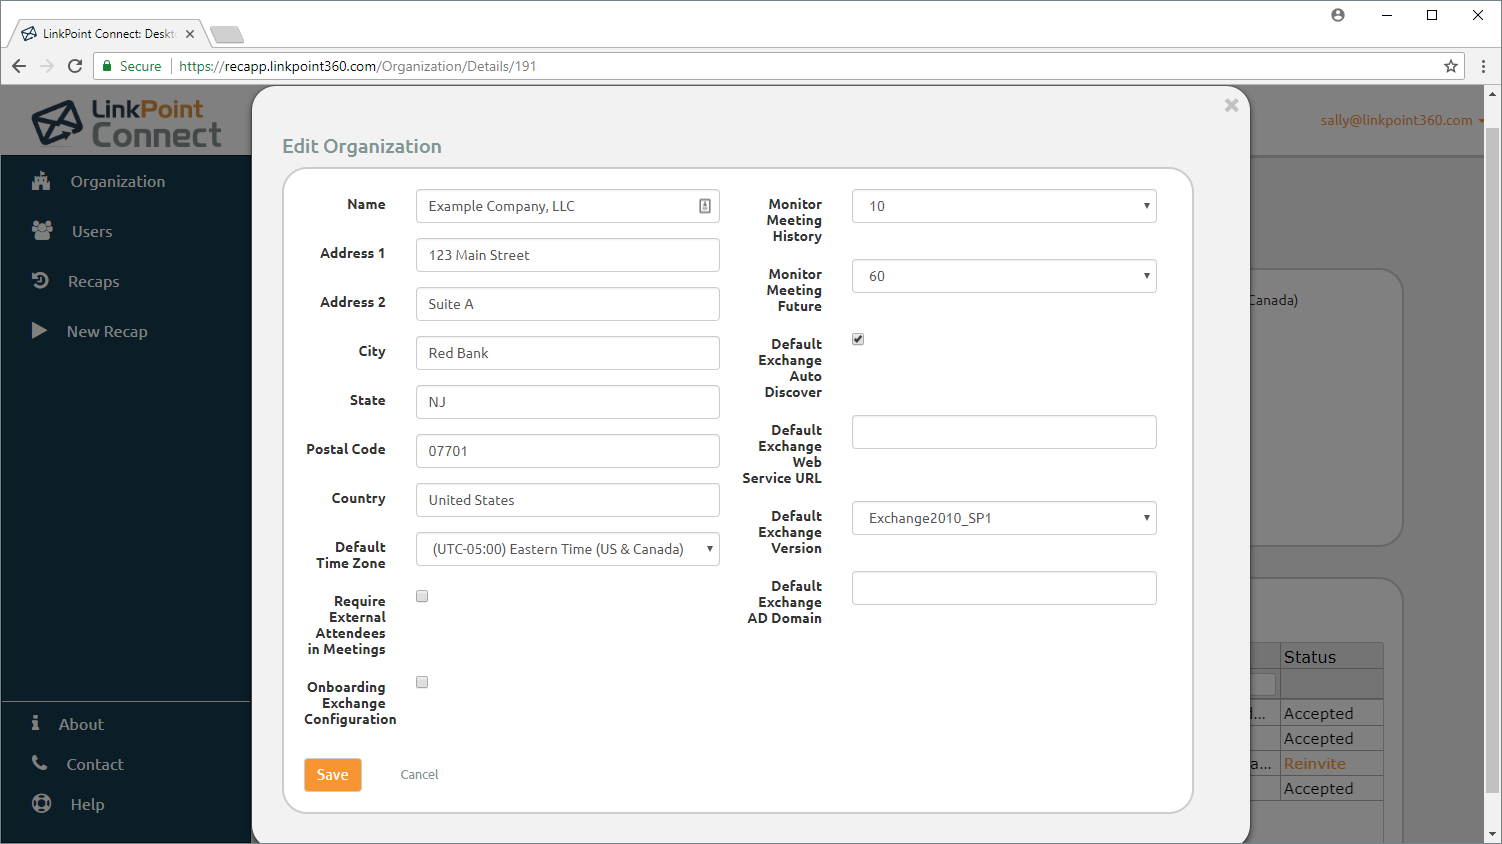
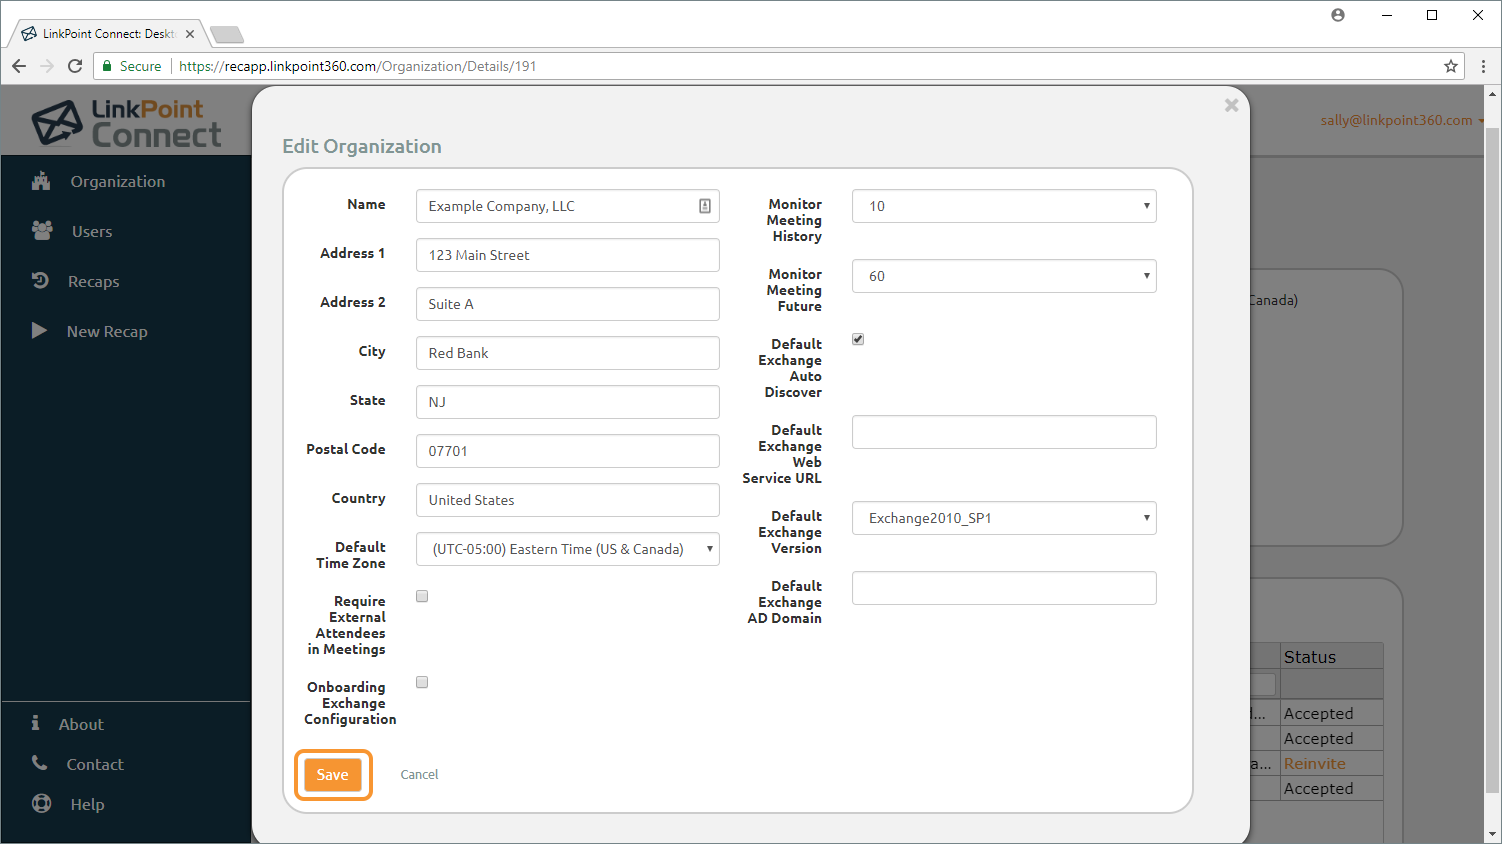
Edit the necessary fields in the Edit Organization window.

Tip: Note that additional fields are included in the Edit window than are displayed on the Organization screen. For companies with the Microsoft Exchange integration enabled, these fields help determine how users throughout the account will establish this connection. This integration is disabled by default for all new accounts. These will establish the default values for all users.
- Default Exchange Autodiscover: Select the option to use Autodiscover to identify how Desktop Plus Edition can connect to Exchange.
- Default Exchange Autodiscover URL: Some organizations configure their Exchange environments to block autodiscover connections. Enter the URL in the provided field. This can be provided to you by your internal IT admin.
- Default Exchange Version: Some organizations configure their Exchange environments to block autodiscover connections. Enter the Exchange Version in the provided field. This can be provided to you by your internal IT admin.
- Default Exchange AD Domain: Some organizations require users to sign into their Exchange account using an Active Directory domain. Enter the domain in the provided field. This can be provided to you by your internal IT admin.

Additional Resources: Learn more about integrating with Exchange in the Connecting to Microsoft Exchange section of this User Guide.


Additional Resources: Learn more about working with Users in the Managing Users section of this User Guide.


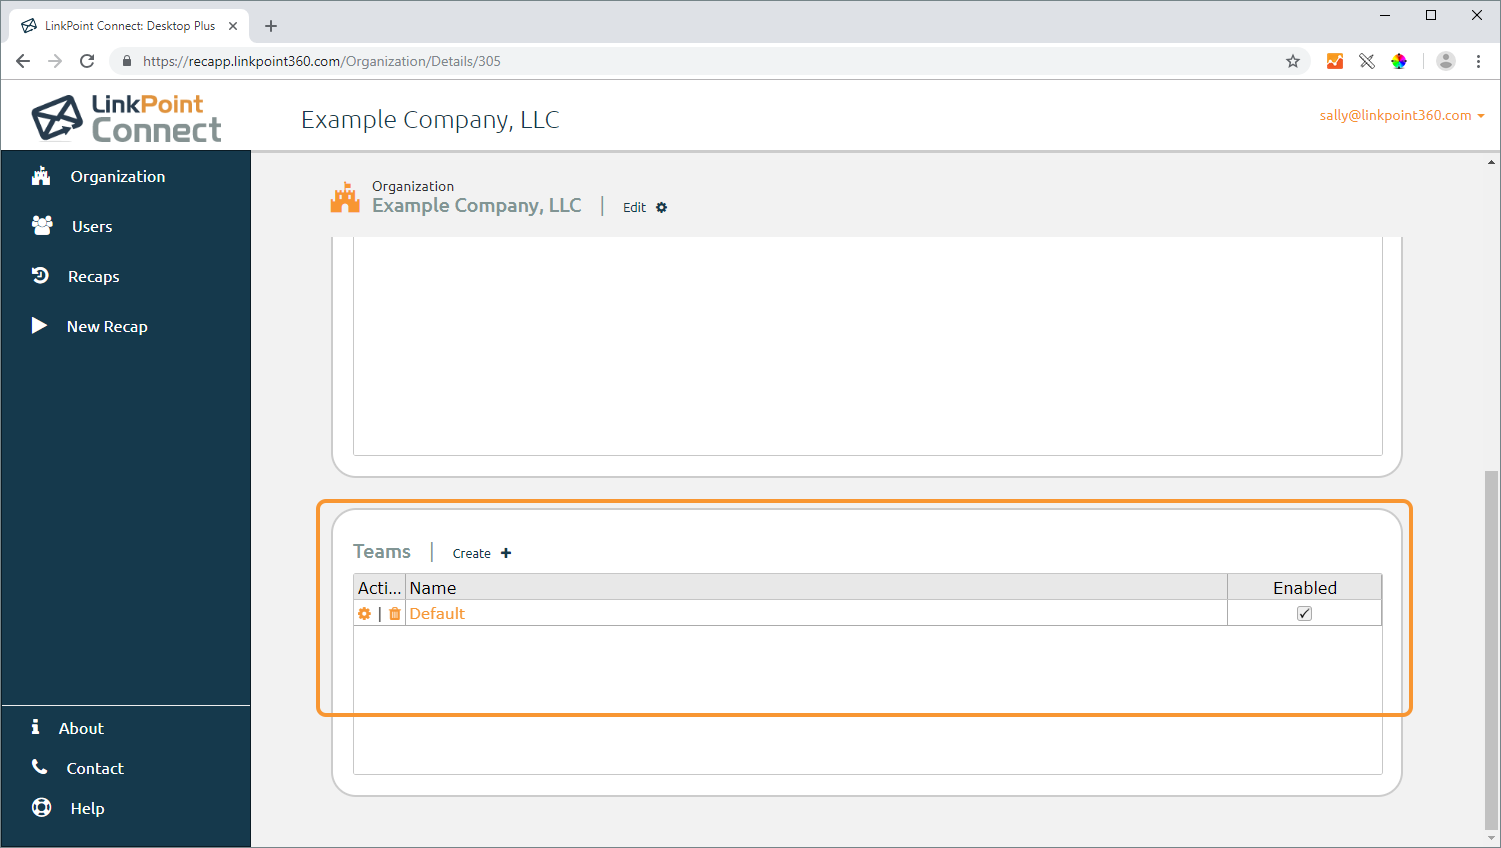
Tip: Teams cannot be deleted if there are users assigned to them. Since the Organization Admin is automatically assigned to the Default Team during the setup process for the account, the team must be renamed or the user must be reassigned before deleting the Default Team.

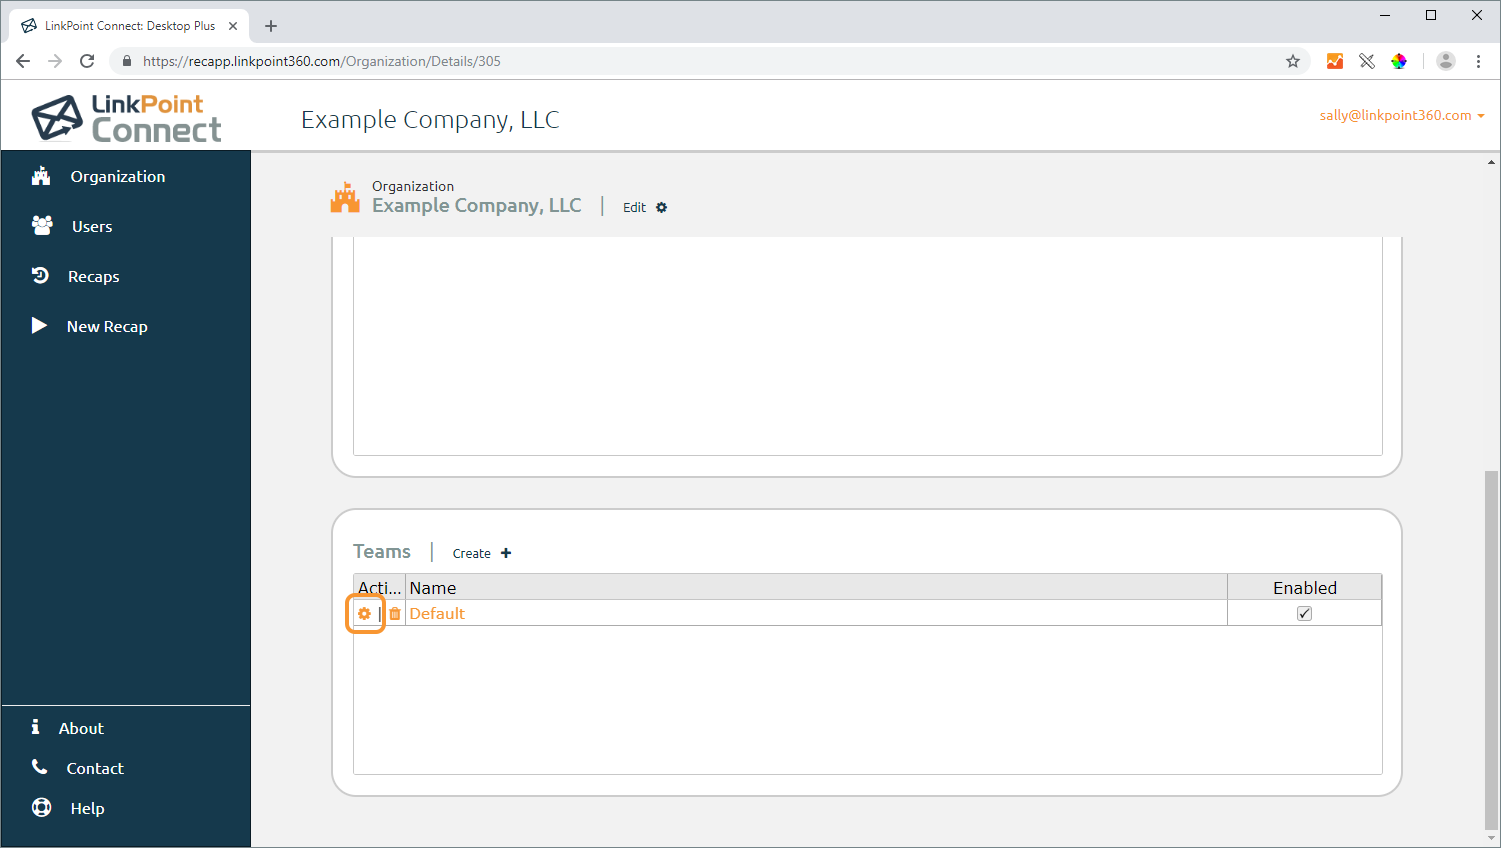
Click the Edit icon to update the Default Team.

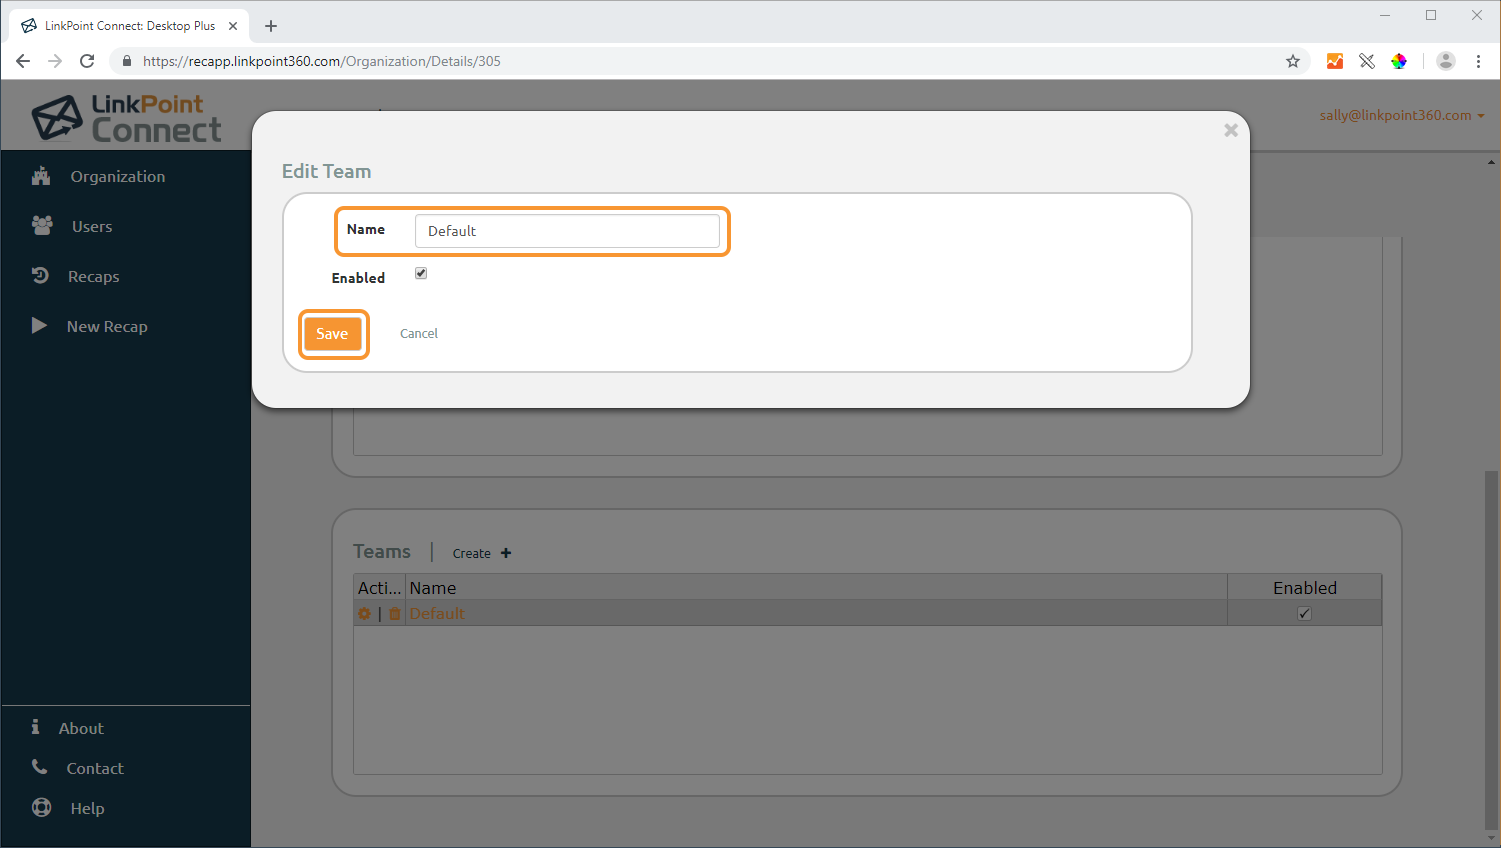
Change the Name in the Edit Team window and click the Save button when finished. Click Close to return to the Organization page.

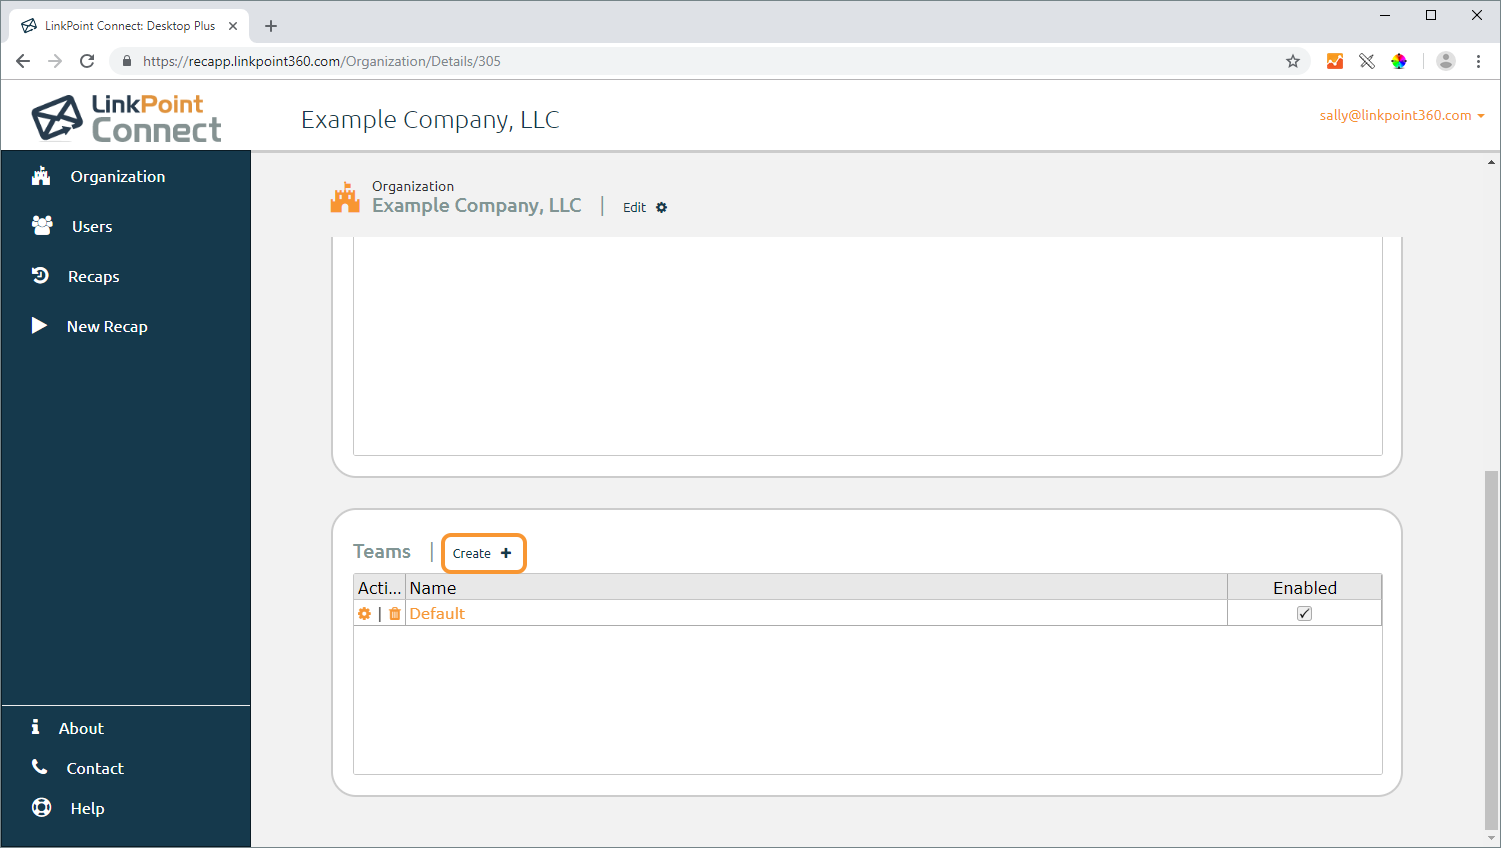
Click the Create option in the Teams section to add a new Team to the account.

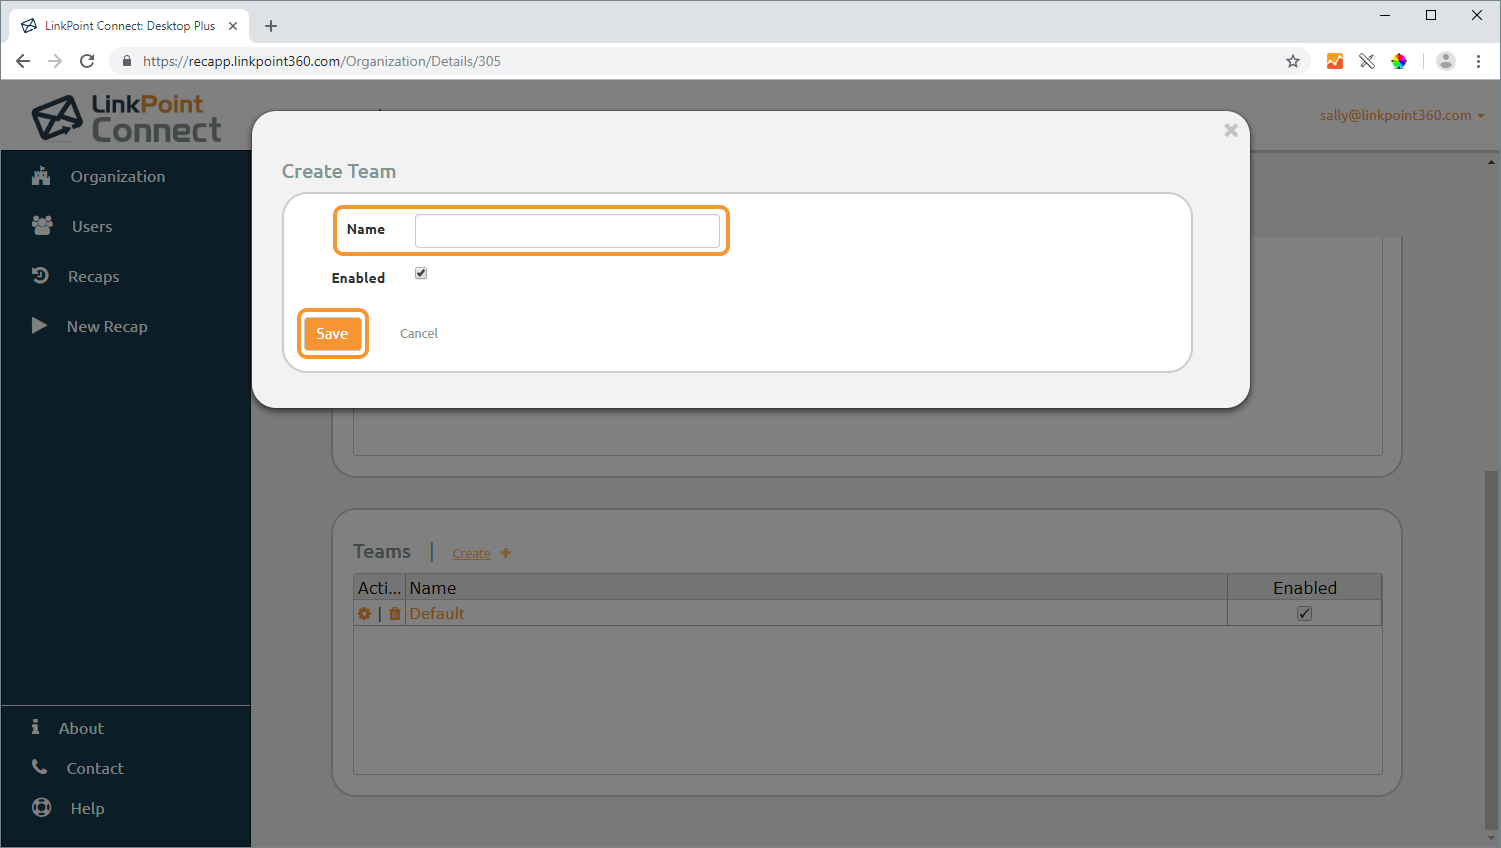
Enter the Name in the Create Team window and click the Save button to continue. Make sure that the Enabled checkbox is selected in order for the Team to be an available option when adding end users. Click Close to return to the Organization page.
Download: Access the complete LinkPoint Connect: Desktop Plus Edition User Guide in .pdf format. Get the User Guide


