
Desktop Plus Edition Admins can review and manage users throughout the system to ensure that the correct users have access to Meeting Recap. In this section, you will become familiar with the available options for user management.

Click the images throughout the Knowledge Base to see full size versions of screen captures.
Reviewing User Details

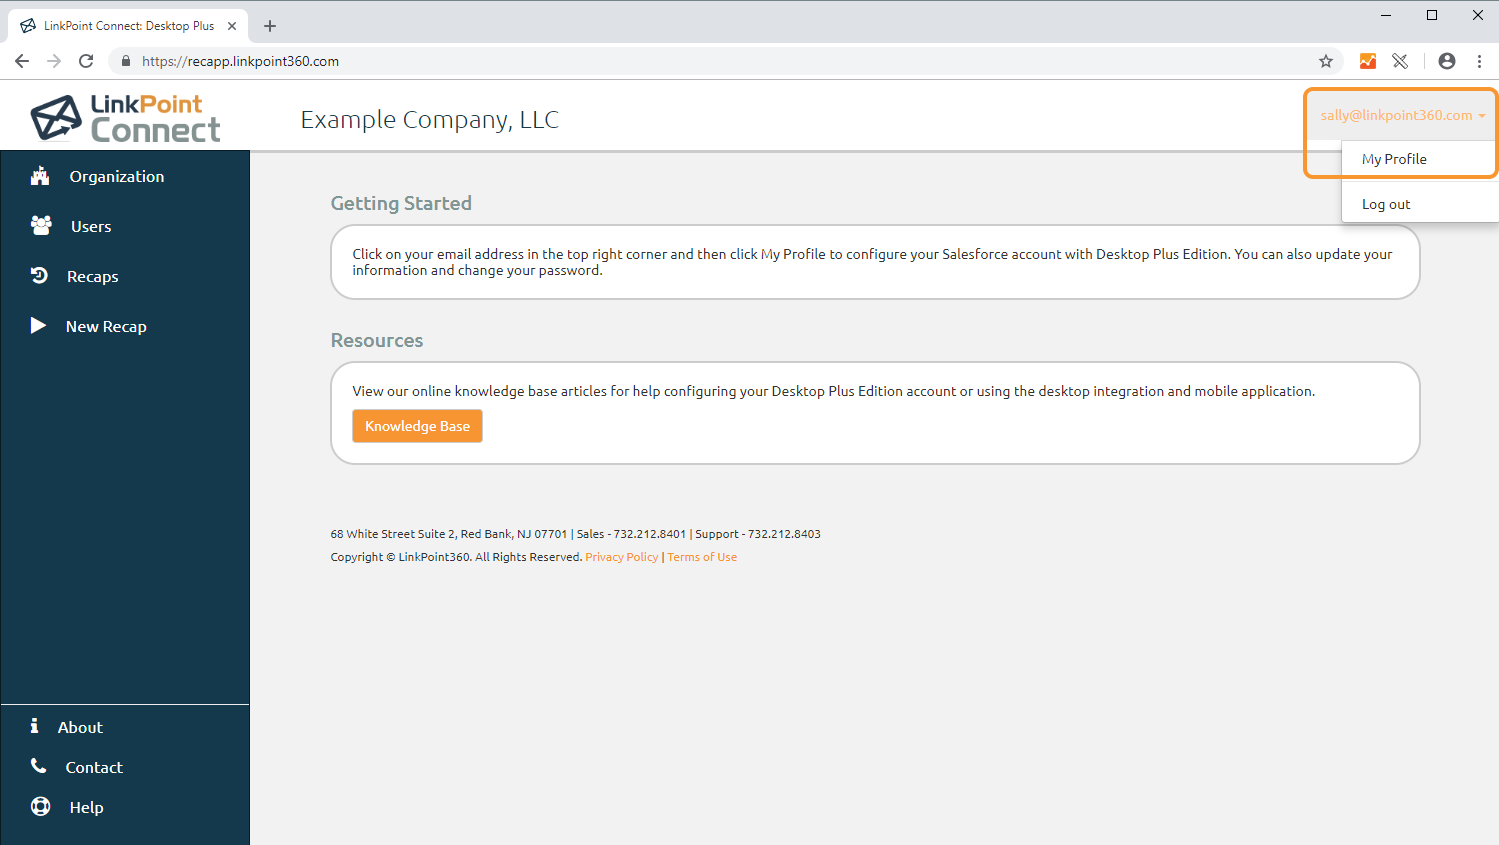

Tip: Admins can click the Users option in the left navigation and then select a User from the list to view and update as needed

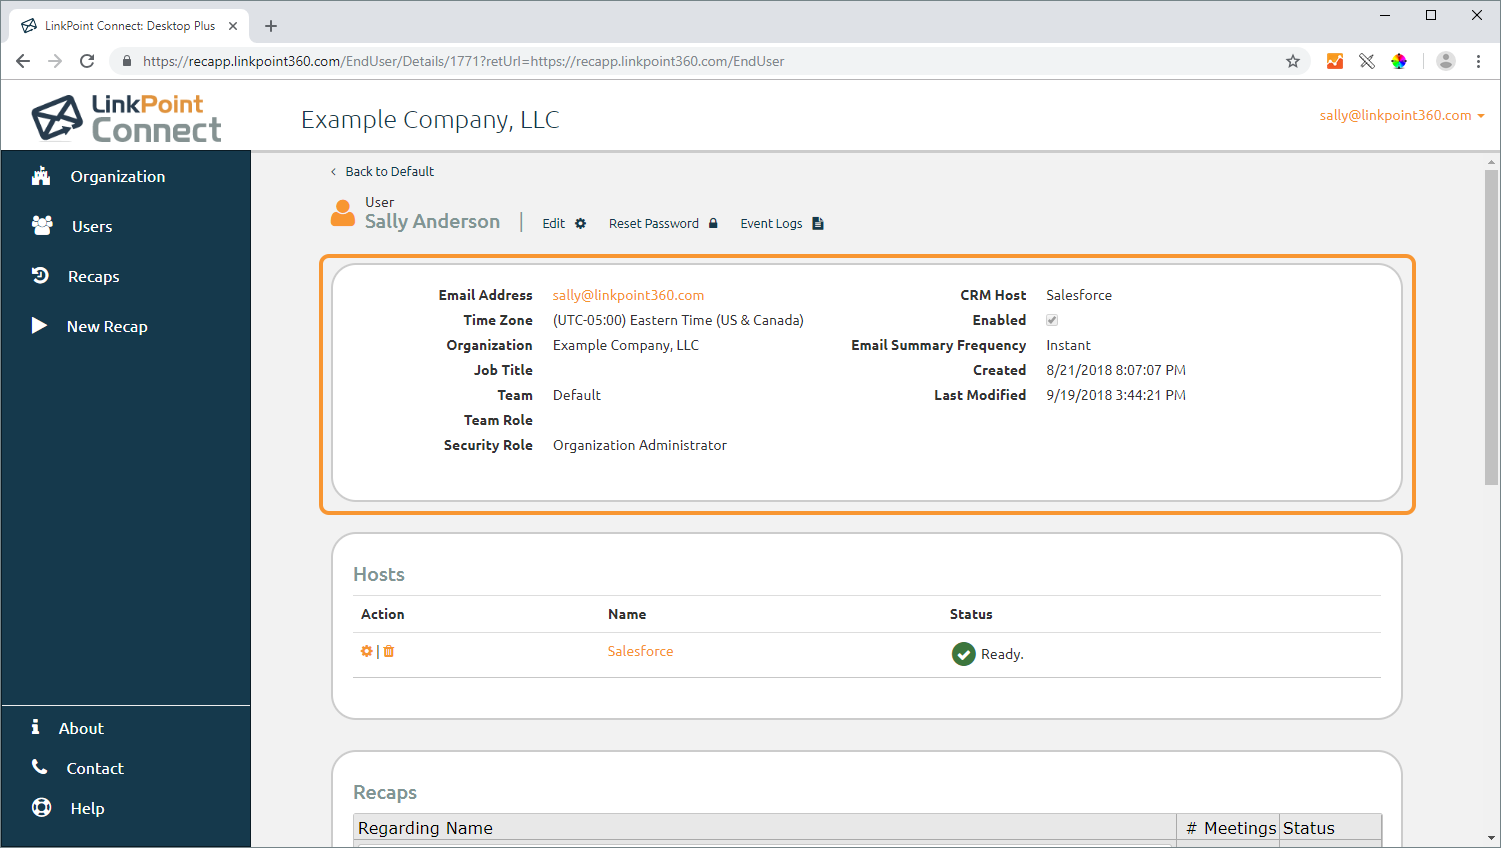
- Email Address: The email address that the user will use to log into their Desktop Plus account and receive notifications from the system.
- Time Zone: The time zone where the user is working. This setting is used to manage when the sync operations are run for that particular user.
- Organization: The company using the Desktop Plus account.
- Job Title: The job title or function of the individual, populated during the set up process.
- Team: The group of users that the individual belongs to. Teams are useful for grouping users with similar responsibilities who will work with the same set(s) of questions.
- Team Role: A secondary grouping of users. Team roles are useful if there are subsets of users within a Team that will work with the same set(s) of questions.
- Security Role: The level of permission to make changes and manage the account. Users only have the access to change their own Profile details.
- CRM Host: The CRM that will be integrated with the Desktop Plus account.
- Email Host: The email system that will be integrated with the Desktop Plus account.
- Enabled: This flag indicates whether the user profile is active.
- Created: The date the user was provisioned.
- Last Modified: The date the user details were last updated.
Tip: Select the Edit link by the User Name to update or change the information displayed.
Additional Resources: Refer to the Managing Users section of this User Guide for more information.

Review the Hosts section for connection status for Salesforce and/or Exchange. Click the Edit icon to edit the credentials. Click the Delete icon to disconnect. You can click on each Host name to view connection details.
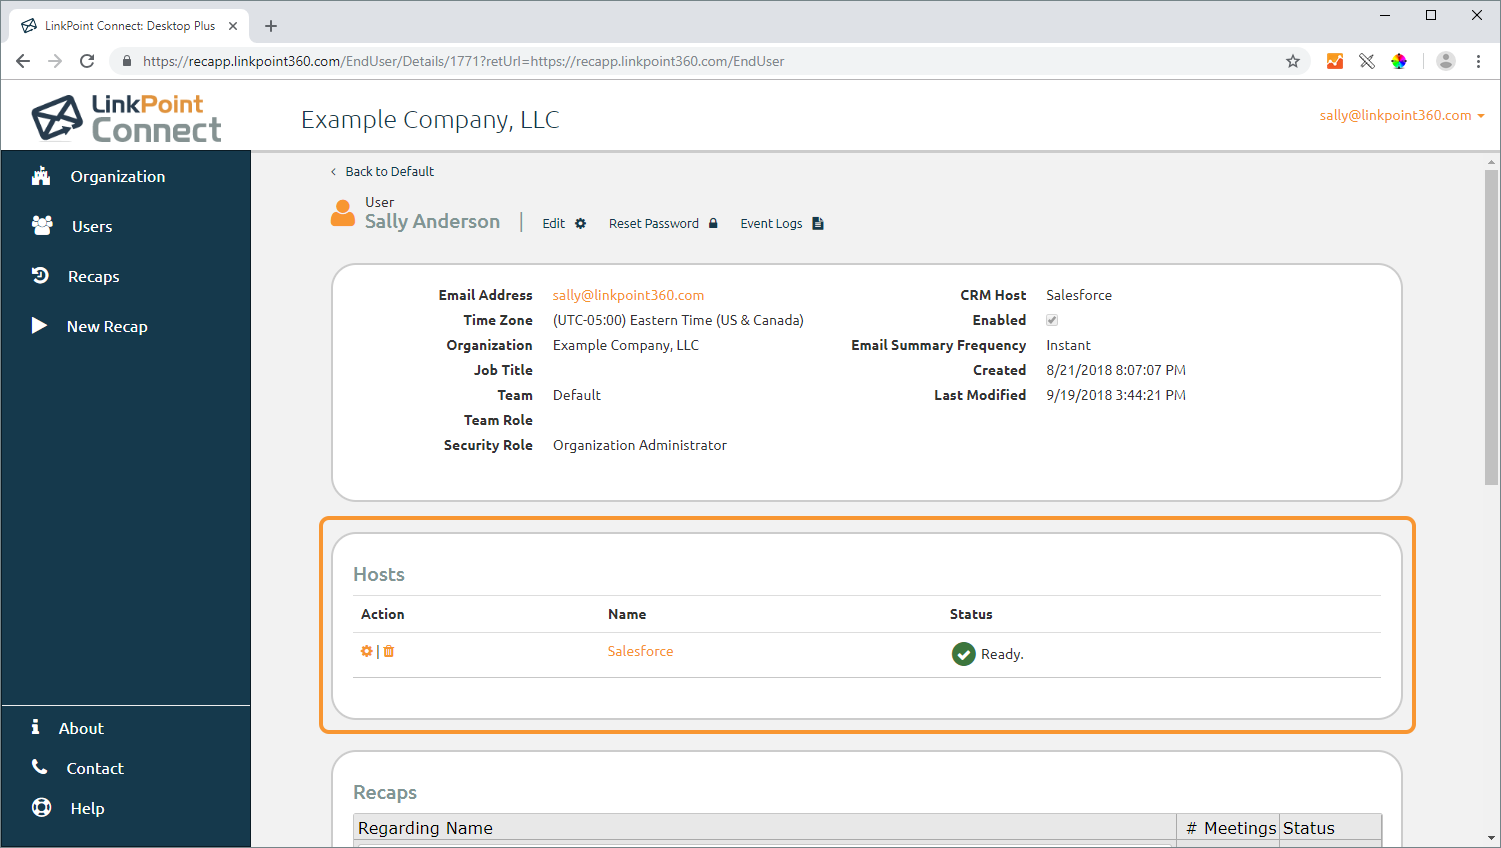
Tip: Integration with Microsoft Exchange is off by default for all new accounts and must be requested as part of the implementation process.
Additional Resources: Refer to the Connecting to Salesforce and Connecting to Microsoft Exchange sections of this User Guide for more information.

Review the Meetings section for a listing of all calendar items recognized by the system for association with a Meeting Recap.
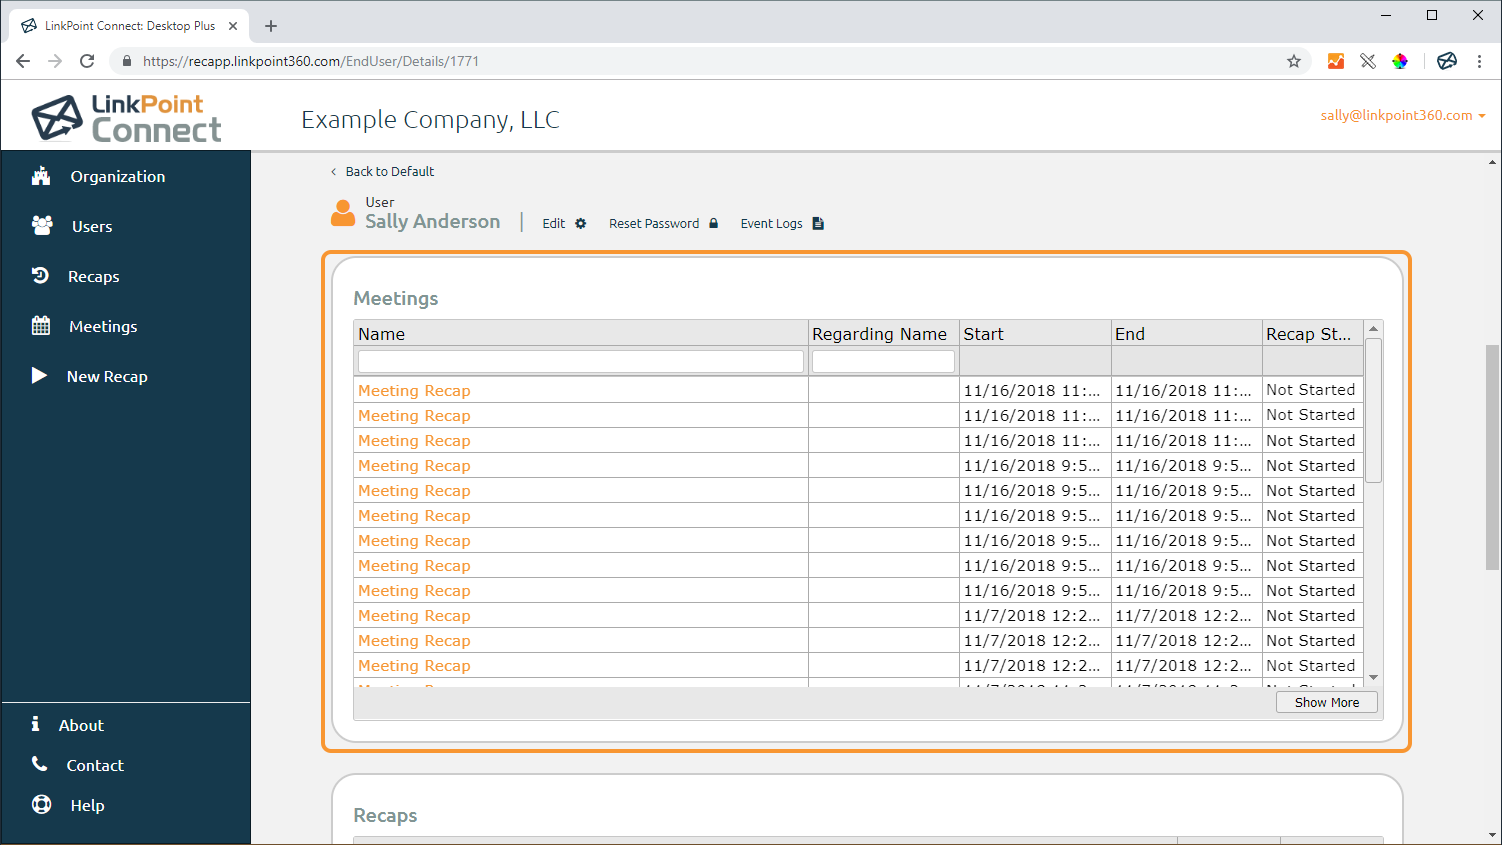
Tip: Integration with Microsoft Exchange is off by default for all new accounts and must be requested as part of the implementation process. New users may not immediately see data populated in this table.

Review the Recaps section for a listing of all Open and Completed Meeting Recaps attributed to the User. Note that this section will be blank when the Desktop Plus account is first created.
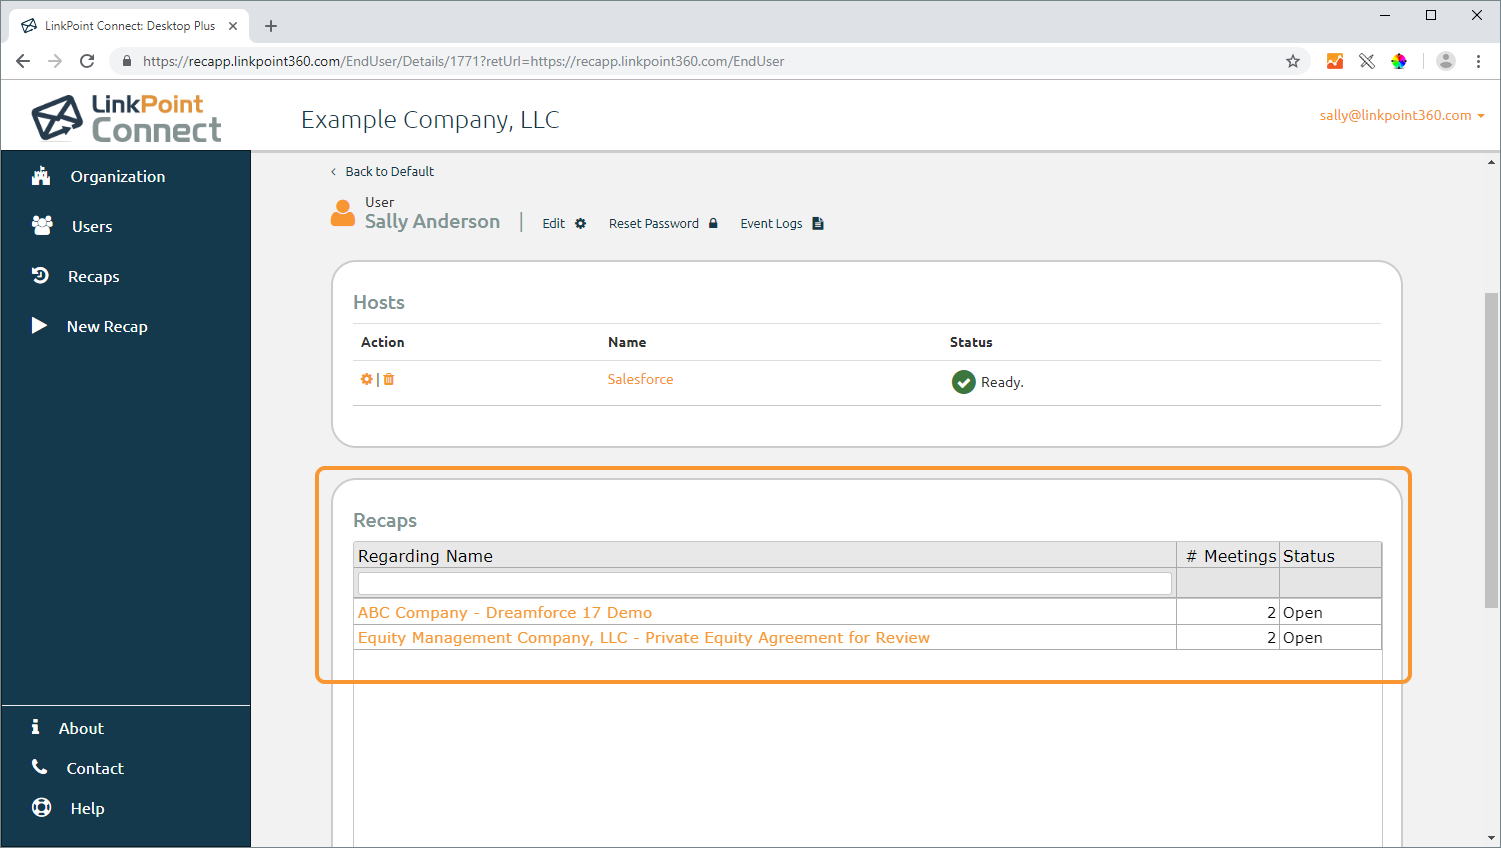
- Regarding Name: The name of the object in Salesforce that the meeting has been related to such as an Opportunity record.
- # Meetings: The number of calendar items in Microsoft Exchange that are related to the Recap.
- Status: An indicator as to whether the Recap is not started, in progress, or completed.

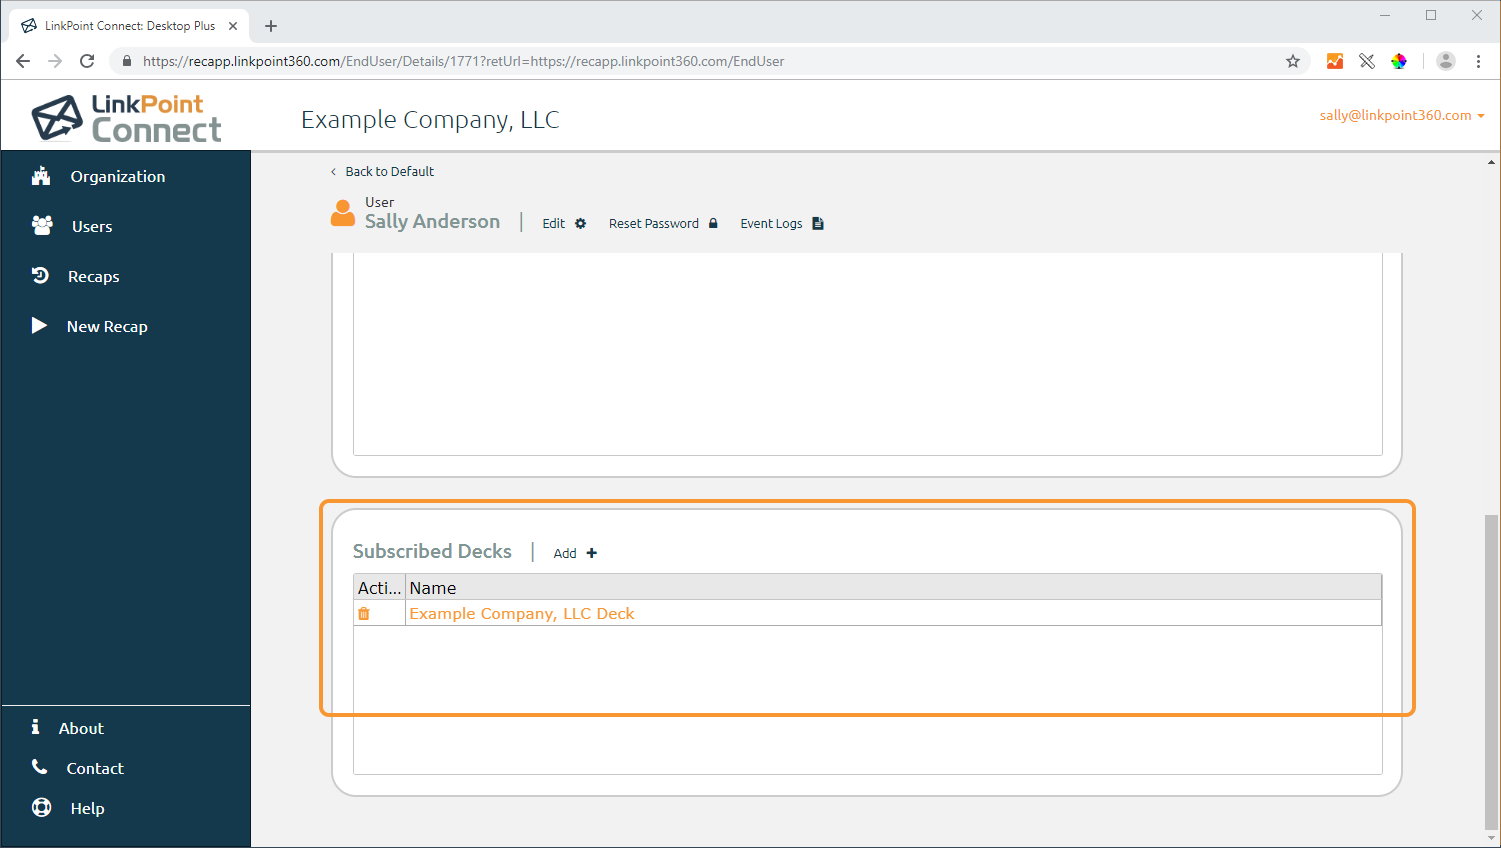
Review the Subscribed Decks section. Decks are sets of predefined questions available for use. This section will display all of the decks that have been made available for the specific user.
![]() Download: Access the complete LinkPoint Connect: Desktop Plus Edition User Guide in .pdf format. Get the User Guide
Download: Access the complete LinkPoint Connect: Desktop Plus Edition User Guide in .pdf format. Get the User Guide
