Syncing Contacts between IBM Notes and Salesforce with Manual Sync
LinkPoint Connect offers users the flexibility to control when and how their contacts are synchronized between IBM Notes and Salesforce with a Manual Sync feature. In this section, you will learn how to use Manual Sync to synchronize contacts both to and from IBM Notes and Salesforce.
Click the images throughout the Knowledge Base to see full size versions of screen captures.
Syncing Contacts between IBM Notes and Salesforce with Manual Sync
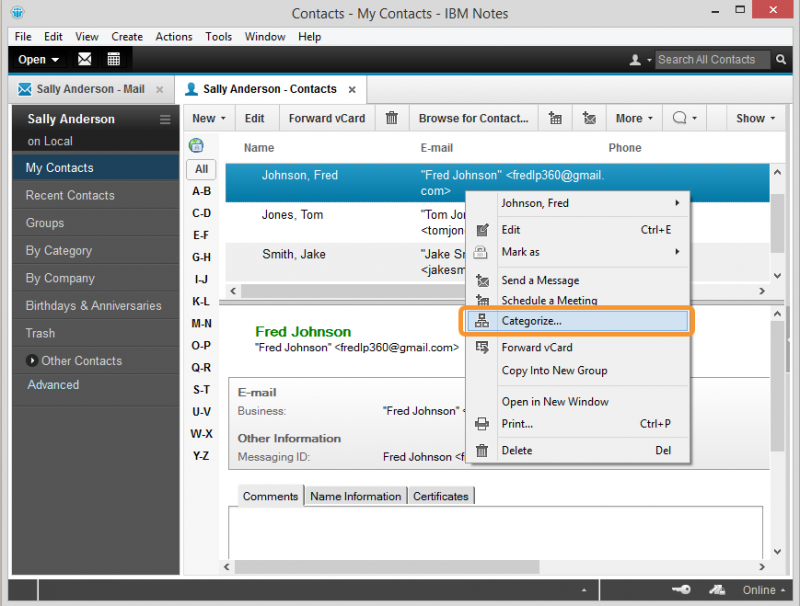
Tip: Before starting a Contact Sync, be sure that the IBM Notes contacts that you want to sync are assigned a Category of CRM. Select a contact, right click and select Categorize.
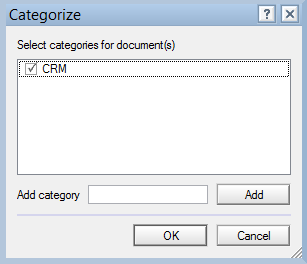
Select CRM category and then click OK. You may need to create the category first if you do not see it in the list of available options.
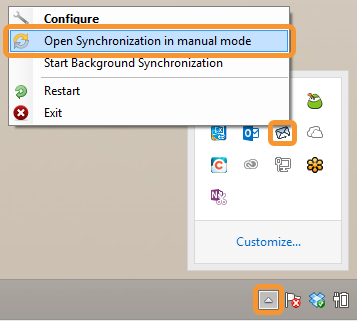
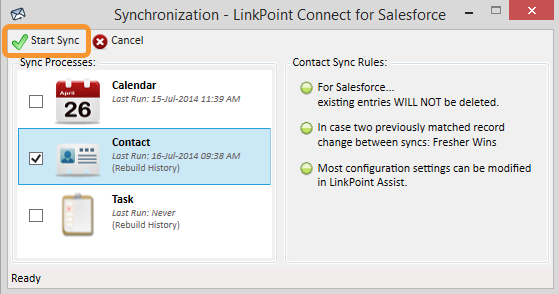
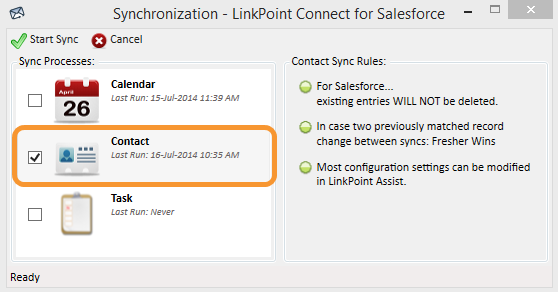
Click the LinkPoint Assist icon in the system tray with the right mouse button and then select Open Synchronization in manual mode.
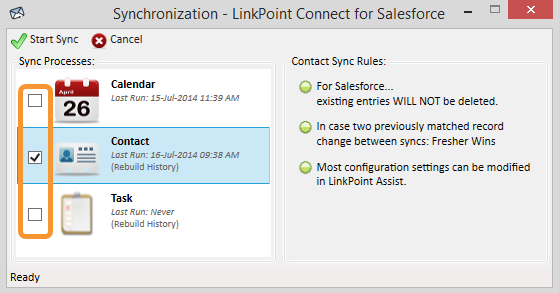
Select the Contact checkbox. Deselect any other items you do not want to sync at this time.
Example: In this example, we will demonstrate how to sync Contact items.
Click the Start Sync button to proceed.
Tip: You will have a chance to review and confirm the items to be synchronized before the tool actually runs the synchronization process.
Additional Resources: Several default Contact Sync Rules are applied as part of the sync process. These settings can be configured using LinkPoint Assist. This includes choosing whether or not to sync items marked as Private.
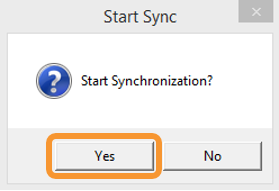
Click Yes in the Start Sync dialogue box.
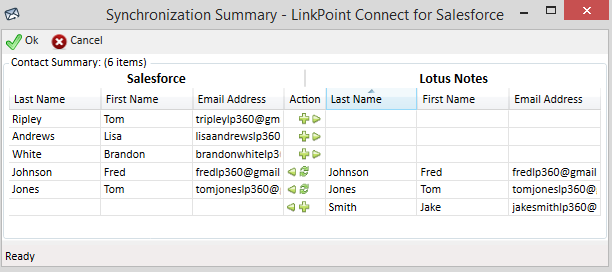
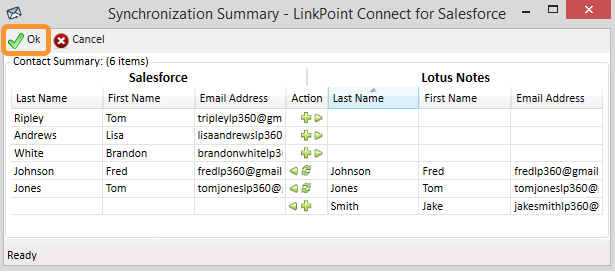
Review the Synchronization Summary window to see a list of all new or updated contacts that match the established sync criteria. Contacts that exist or were updated in Salesforce appear on the left. Contacts that exist or were updated in IBM Notes appear on the right.
Tip: By default, LinkPoint Connect only syncs the Salesforce Contacts that the user owns.
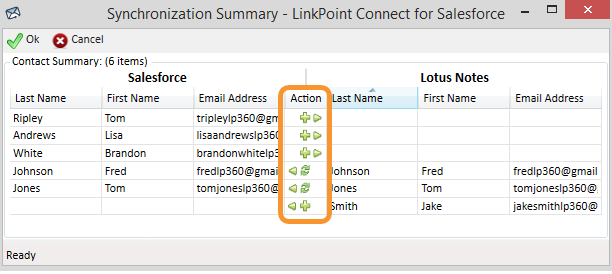
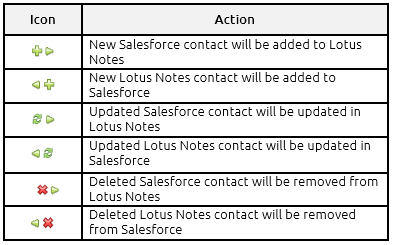
Review the icons in the Action column to determine how LinkPoint Connect will be syncing the displayed contacts. These actions relate to new, updated, or deleted contacts either in Salesforce or IBM Notes.
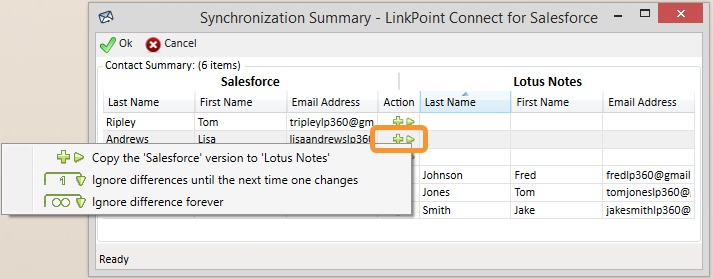
Right click an Action icon to launch a list of additional options for the contact. Users can choose to Ignore differences until the next time one changes or Ignore difference forever.
Example: This is useful for excluding specific contacts from the sync for a single time or to exclude a contact from the sync moving forward.
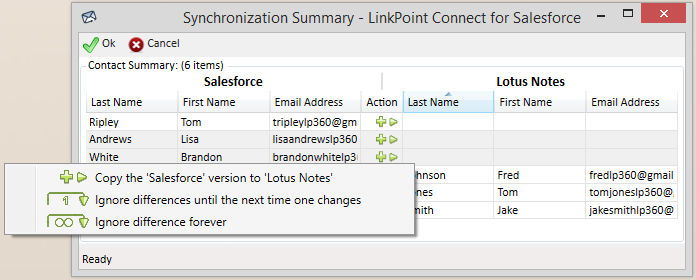
Tip: You can select multiple contacts to apply changes by clicking the contacts with your mouse while holding the Shift key on your keyboard. Once the contacts are selected, right click to review the Action options.
Click the Ok button to confirm the contacts to sync and to run the actual sync process.
Tip: LinkPoint Connect will confirm the sync completion by updating the Last Run date and time in the Synchronization window.
Download: Access the complete LinkPoint Connect: IBM Notes + Salesforce User Guide in .pdf format. Get the User Guide