Using Active Update to Edit Contacts in Salesforce (Outlook + Salesforce)
LinkPoint Connect users can update existing Contacts in Salesforce from within Outlook. As users receive communication from Contacts, they can easily identify any new information and choose the details to update or keep. Active Update also works as a duplicate checker, identifying when matching Contacts already exist and prompting users to choose whether to intentionally create a new record rather than updating an existing one. In this section, you will learn how to update Salesforce Contacts using Active Update.
Tip: Depending on how your organization has configured LinkPoint Connect to mirror your existing business processes, users may not have all of the options described in the following section. Contact your internal IT admin for more information.
Example: In this example, we will demonstrate how to update a Salesforce Contact. The steps are similar for updating Leads and Accounts.
Click the images throughout the Knowledge Base to see full size versions of screen captures.
Using Active Update to Edit Contacts in Salesforce
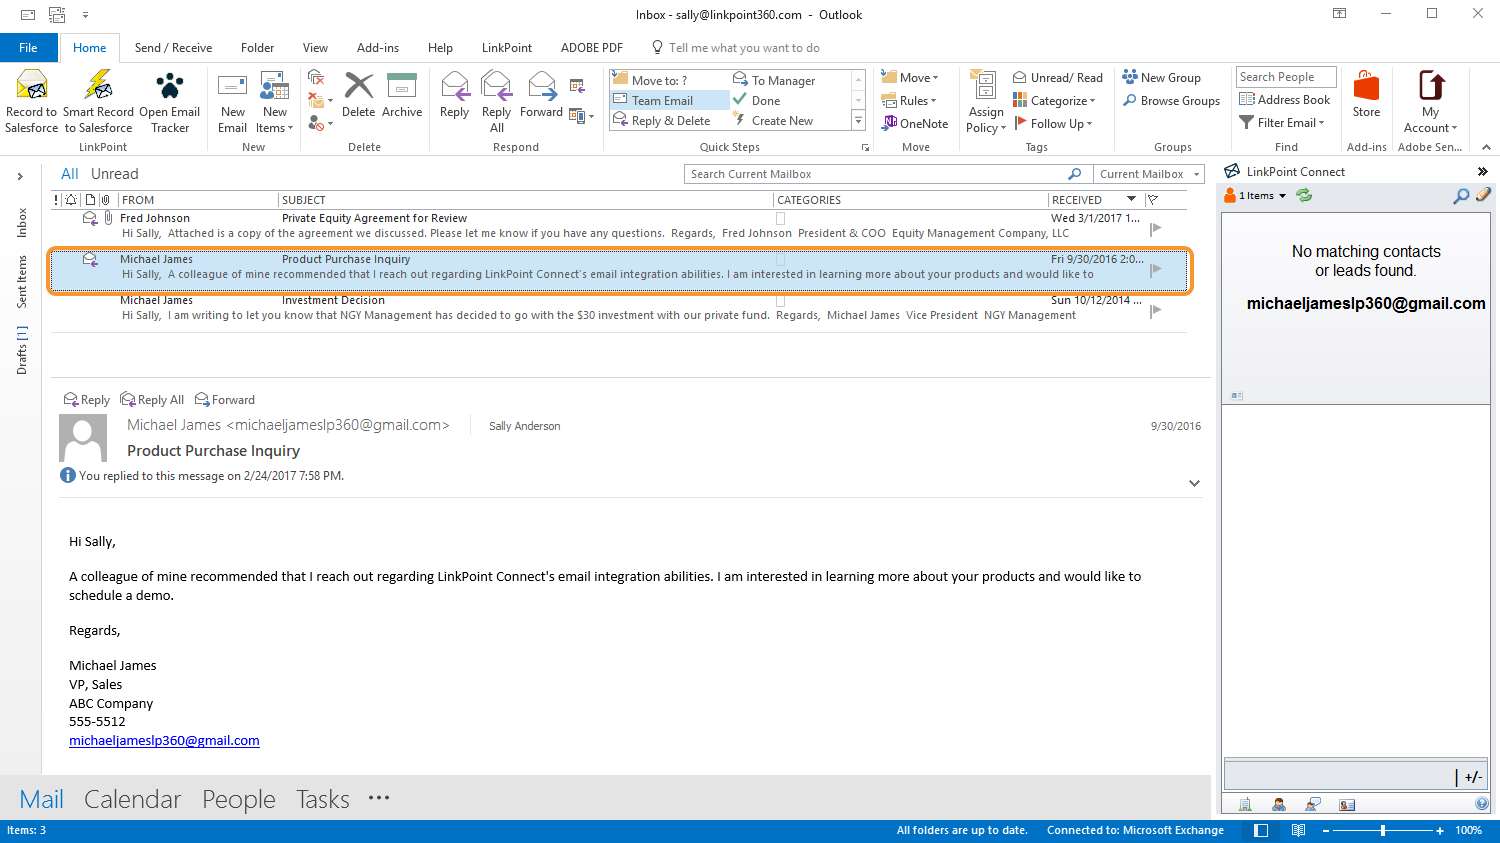
Select an email from an existing Contact. Note that the Side Panel searched Salesforce and found a matching record based on the sender’s email address.
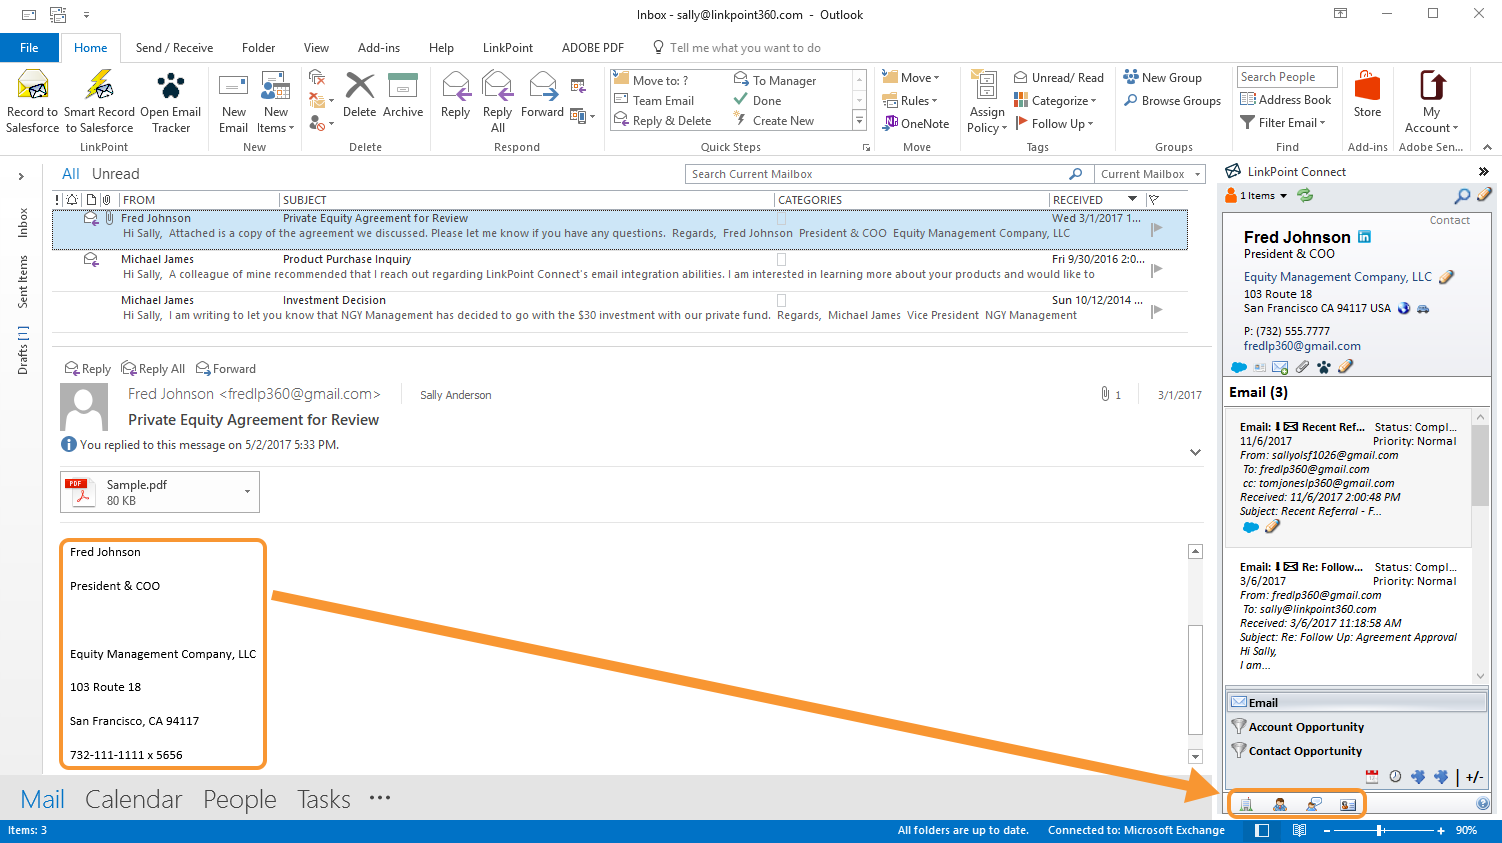
Highlight the signature within the email. Drag and drop the highlighted signature to the Drop Zone at the bottom of the Side Panel. Release the selection over the record type you want to update.
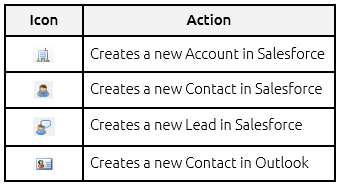
Tip: Users can update Salesforce Accounts, Contacts, and Leads or Outlook Only Contacts by releasing the email signature over the corresponding icon in the Drop Zone.
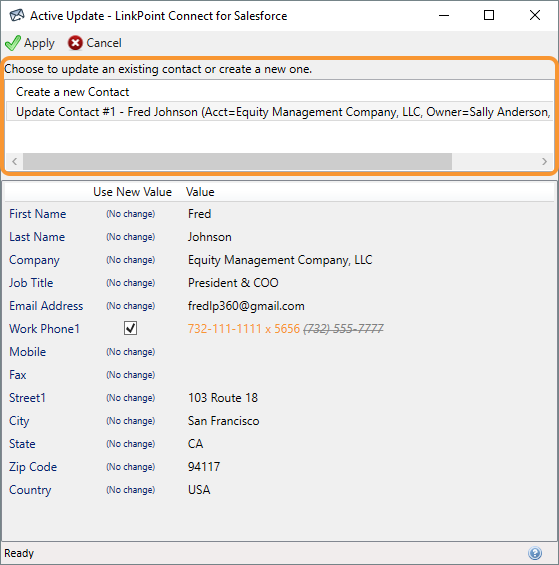
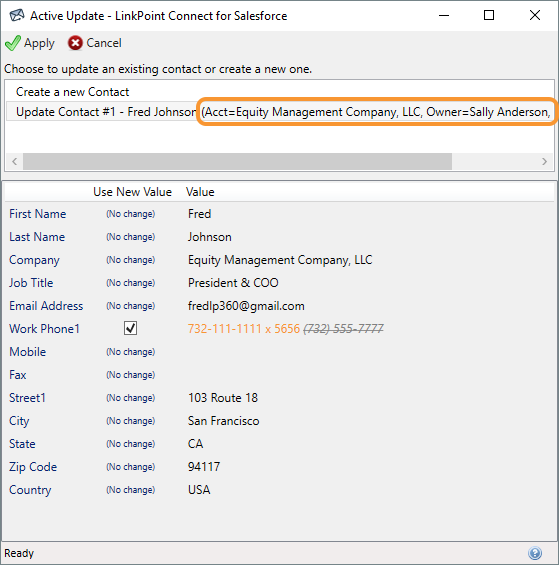
Review the Contact information in the Active Update window. LinkPoint Connect will search Salesforce, identify matching records, and list the records in the top portion of the window.
Tip: You can review some record details, such as the Account and Owner, in the information next to the Contact confirm that you are working with the correct record before making any changes.
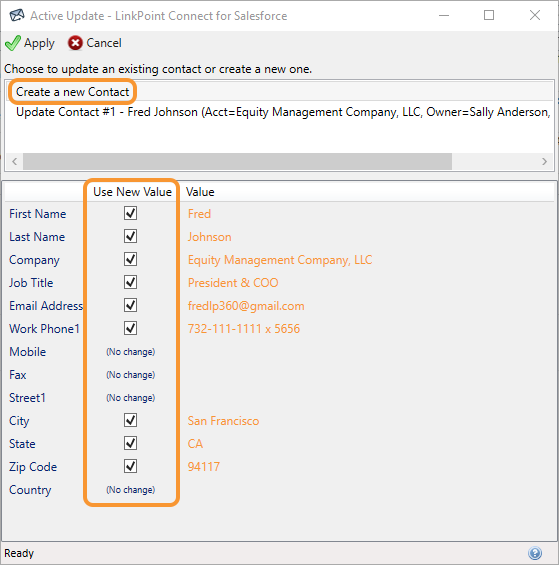
Select Create a new Contact to create a new Salesforce record. Confirm the information to include in the new Contact record by selecting or deselecting the checkboxes for each information field.
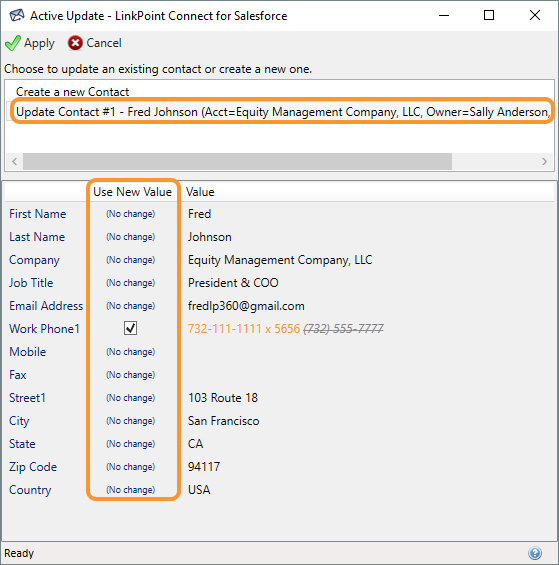
Select a Contact to update from the list. Select a checkbox for a field to overwrite the existing Salesforce record with the new information for that field. Deselect a checkbox to keep the existing value in Salesforce.
Tip: Active Update will display the record fields on the left and the existing field values as they appear currently in Salesforce on the right. The middle column shows whether or not the information from the email signature is new. If the information for a field has not changed, (No change) is displayed. If the details in the email signature are different than the information in Salesforce, the existing Salesforce data will appear in grey, italics, and strikethrough. The new value will be displayed in orange. If you deselect the checkbox, the original data from Salesforce will be displayed.
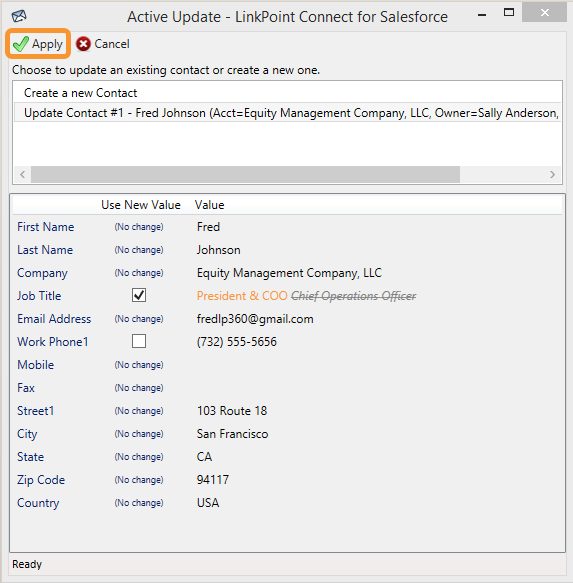
Click Apply to finalize the selection to either create or update the record and launch a Smart Form.
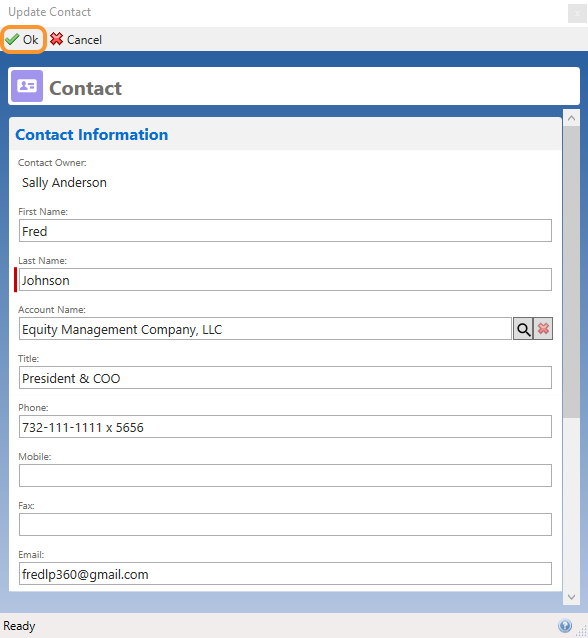
Review the Contact information in the Smart Form to create or edit the Contact. Click Ok to save the changes and create or update the record in Salesforce.
Return to Outlook and select the email from the Contact. Note that the Side Panel now displays the current Contact information from Salesforce.
Download: Access the complete LinkPoint Connect: Microsoft Outlook + Salesforce User Guide in .pdf format. Get the User Guide