Recording Attachments with Emails to Salesforce from Outlook
LinkPoint Connect users are able to record emails to Salesforce without the hassle of copying and pasting data between systems. Users can also work with attachments when recording emails to Salesforce. In this section, you will learn how to record attachments to Salesforce from Outlook.
Tip: Recording attachments works the same for both inbound and outbound emails. However, note that attachments are not recorded when using the Quick Record the email to this record icon on the Side Panel.
Tip: LinkPoint Connect supports Salesforce instances that use the Files Object for attachments. If you have the Files Object enabled in Salesforce, attachments will record to this object and will be displayed in the page layouts wherever the Files Object has been added by your Salesforce administrator. When the Files are recorded, they appear under the Files Related List and a reference is added to the File in the Notes & Attachments Related List. As users continue to record emails and attachments to Salesforce, LinkPoint Connect also retains the associations made by the user. For example, the user can relate the email to a Contact or Account in Salesforce and choose to record the attachment. The recorded File in Salesforce will also display the related items. Organizations not using the Files Object will see attachments within the Notes & Attachments section on the related records.
Click the images throughout the Knowledge Base to see full size versions of screen captures.
Recording Attachments to Salesforce from Outlook
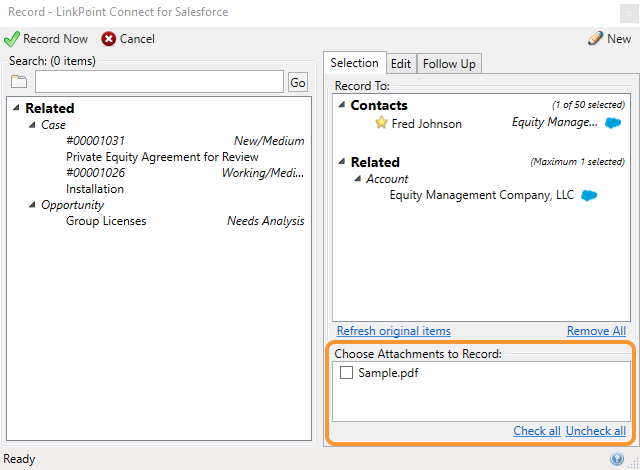
Review the Choose Attachments to Record section within the Record window.
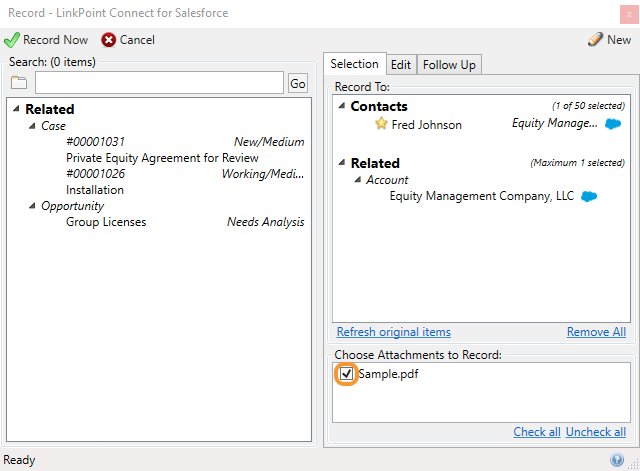
Select the checkbox for each attachment to record along with the email.
Tip: Attachments are listed but deselected by default. Users can control the items that are recorded to Salesforce. Many emails contain graphics, such as social media icons in email signatures, that do not need to be recorded to Salesforce.
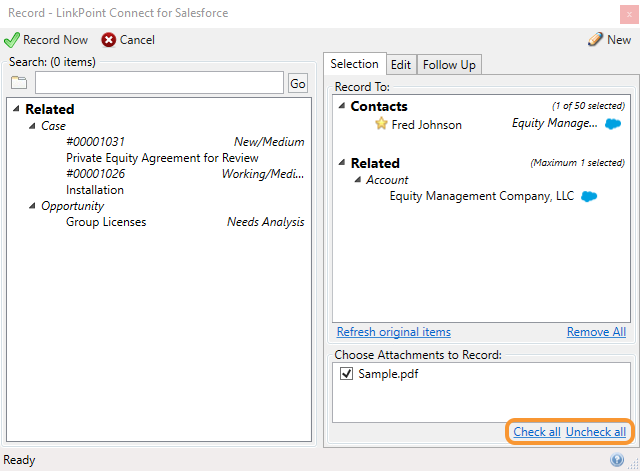
Select the Check all or Uncheck all options to select or deselect all of the attachments in the list.
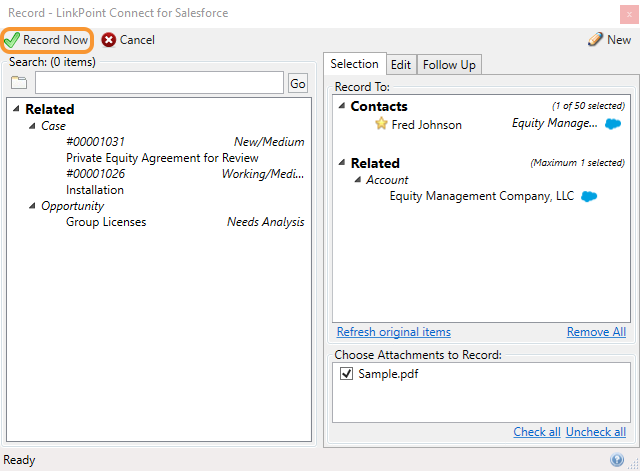
Click the Record Now button to record and send the email, or continue to work with the record options in the next section of this User Guide.
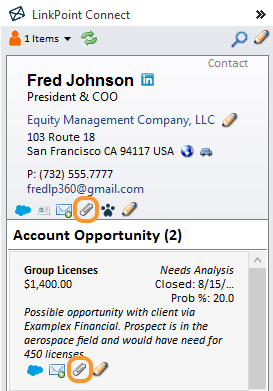
Tip: You can also drag and drop attachments from your email or anywhere on your desktop and release the file on the Attachments icon to record the attachment. If you release the attachment over the Attachments icon on the Business Card, the attachment will be recorded to the Contact or Lead record. If you release the attachment over the Attachments icon on an Opportunity or Case record, the attachment will be recorded to the corresponding record in Salesforce.
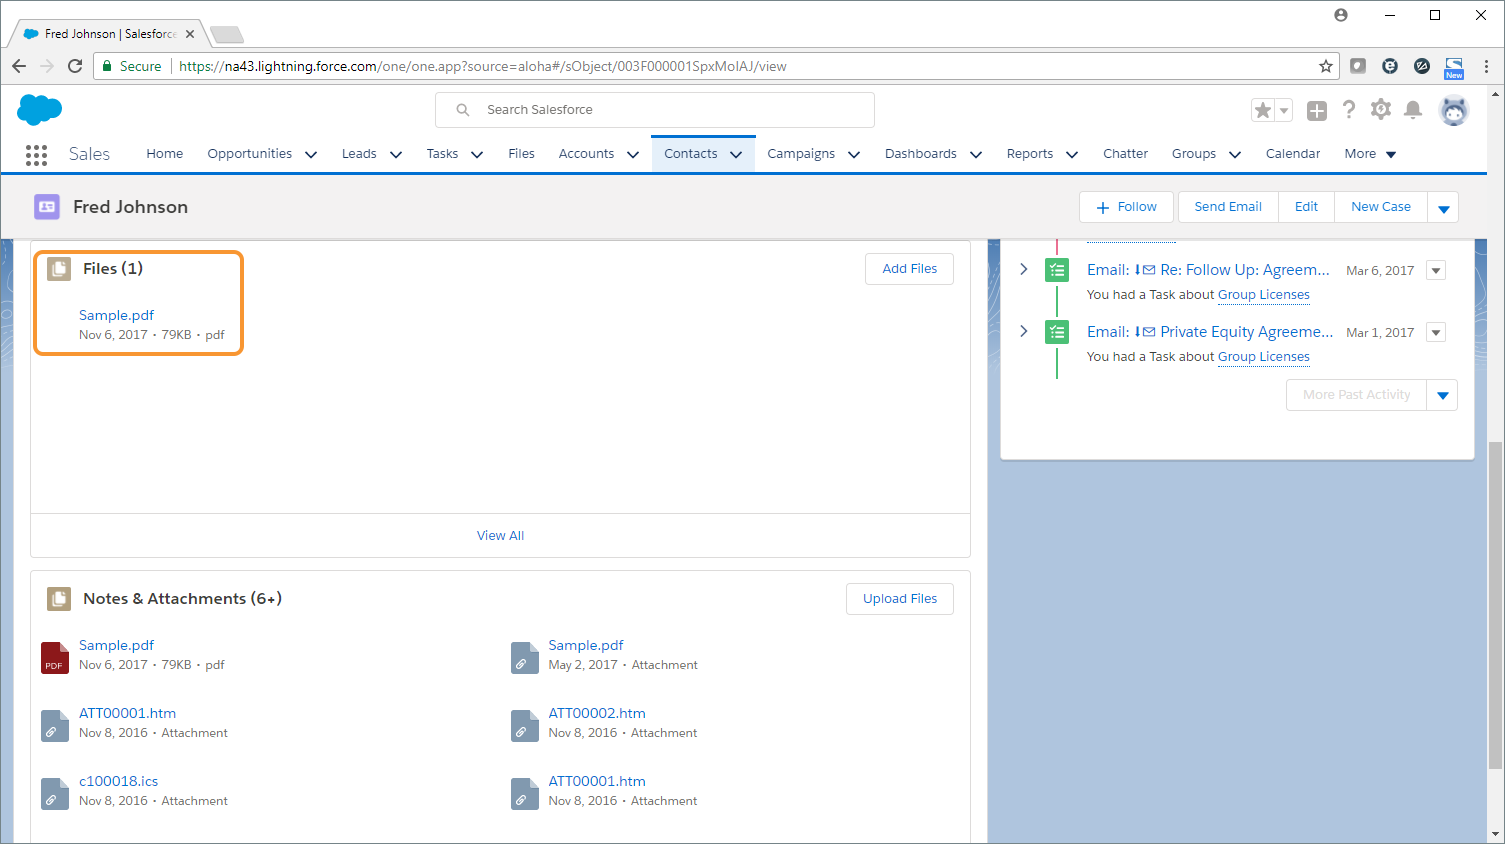
Locate the related record in Salesforce. Note that the attachment is included in the Files section. Click to view the item and the other records that the item is related to
Tip: You may also see the attachment under the Notes & Attachments section of the record. Salesforce will display the Files items under Notes & Attachments for organizations transitioning to the File object. Note that the file has only been recorded once but can be viewed from multiple related tables.
Download: Access the complete LinkPoint Connect: Outlook + Salesforce User Guide in .pdf format. Get the User Guide